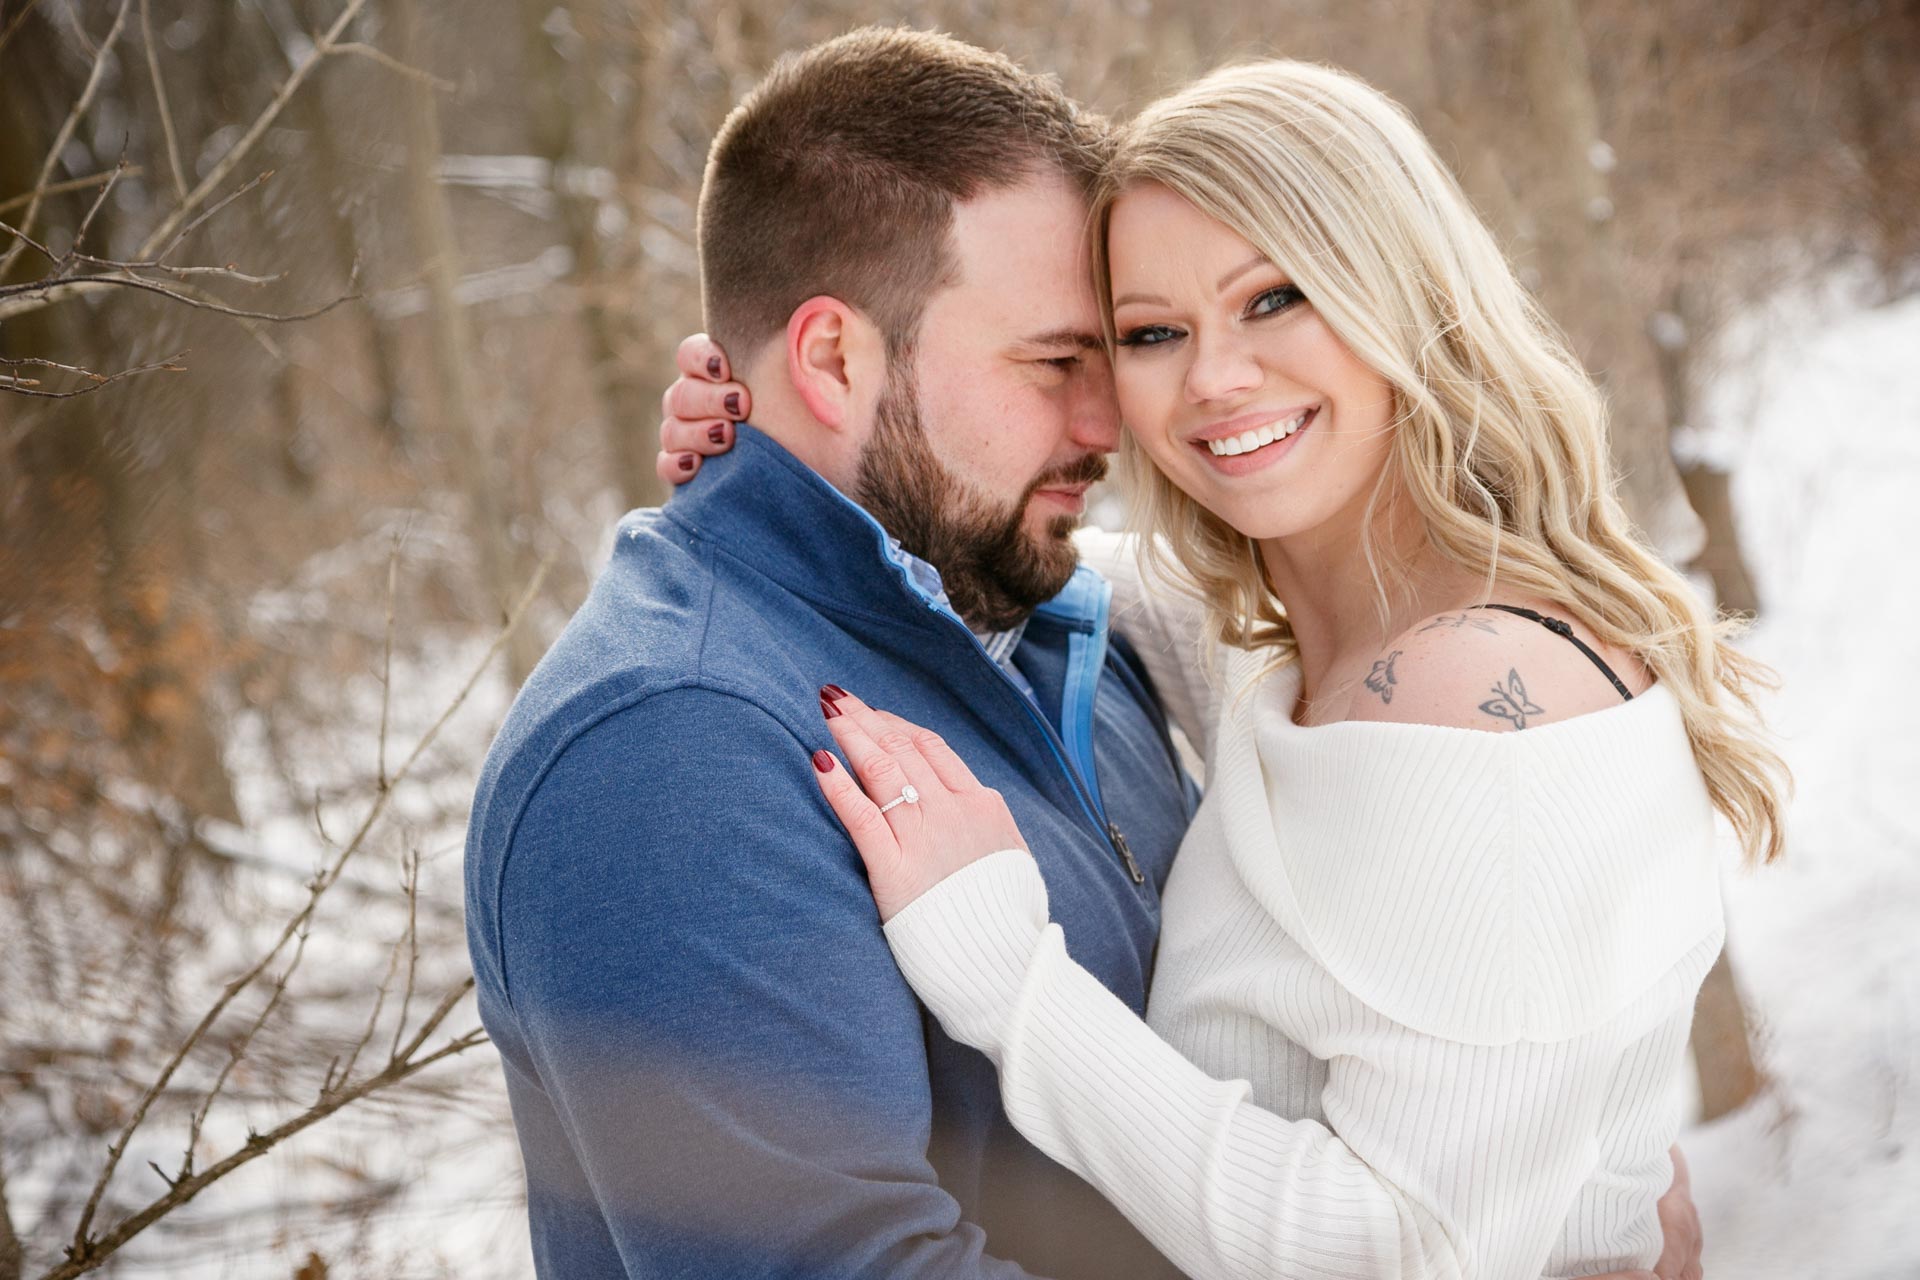
7 Secret Tips from a Wedding Photographer: Capturing Winter Engagement & Wedding Photos

A handy guide for photographers and couples looking to learn the best tips and tricks on how to capture the perfect winter engagement and wedding photos.
As a Wisconsin-based photographer who serves Green Bay, Appleton, Neenah/Menasah and Oshkosh, Adam Shea Photography has extensive experience photographing in extremely cold conditions.
A Wedding Photographer’s Secret Guide: 7 Tips to Creating Gorgeous Winter Photos
You’re a photographer. And you want to photograph outdoors this winter. Hold on! There are a few vital things you should know before hitting the snow.
As a Wisconsin-based photographer, Adam Shea from Adam Shea Photography has experience photographing weddings and engagements in the frigid cold.
In this post, Adam offers tips that will make your life, and your client’s experience, a much happier one.
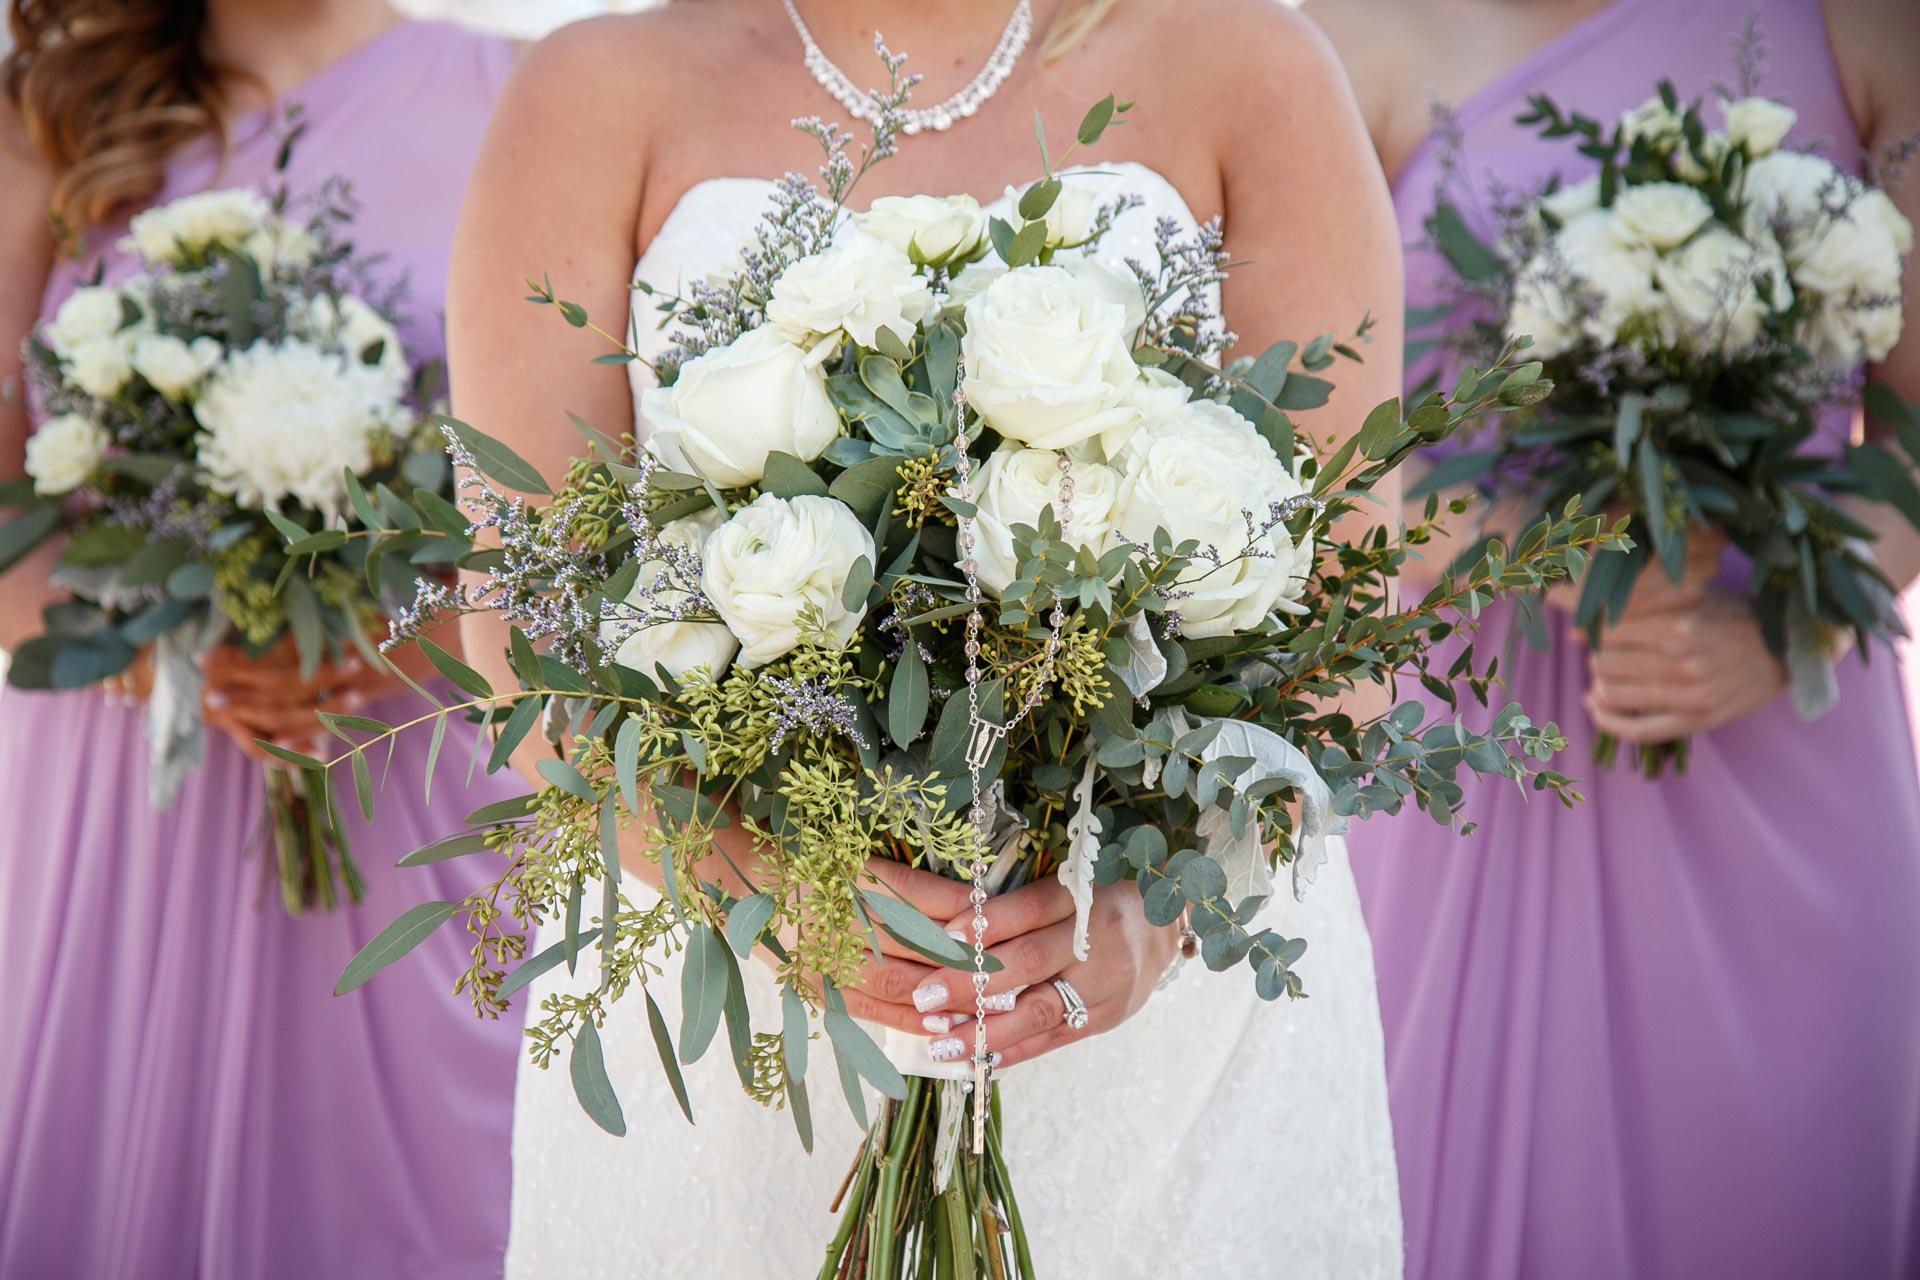
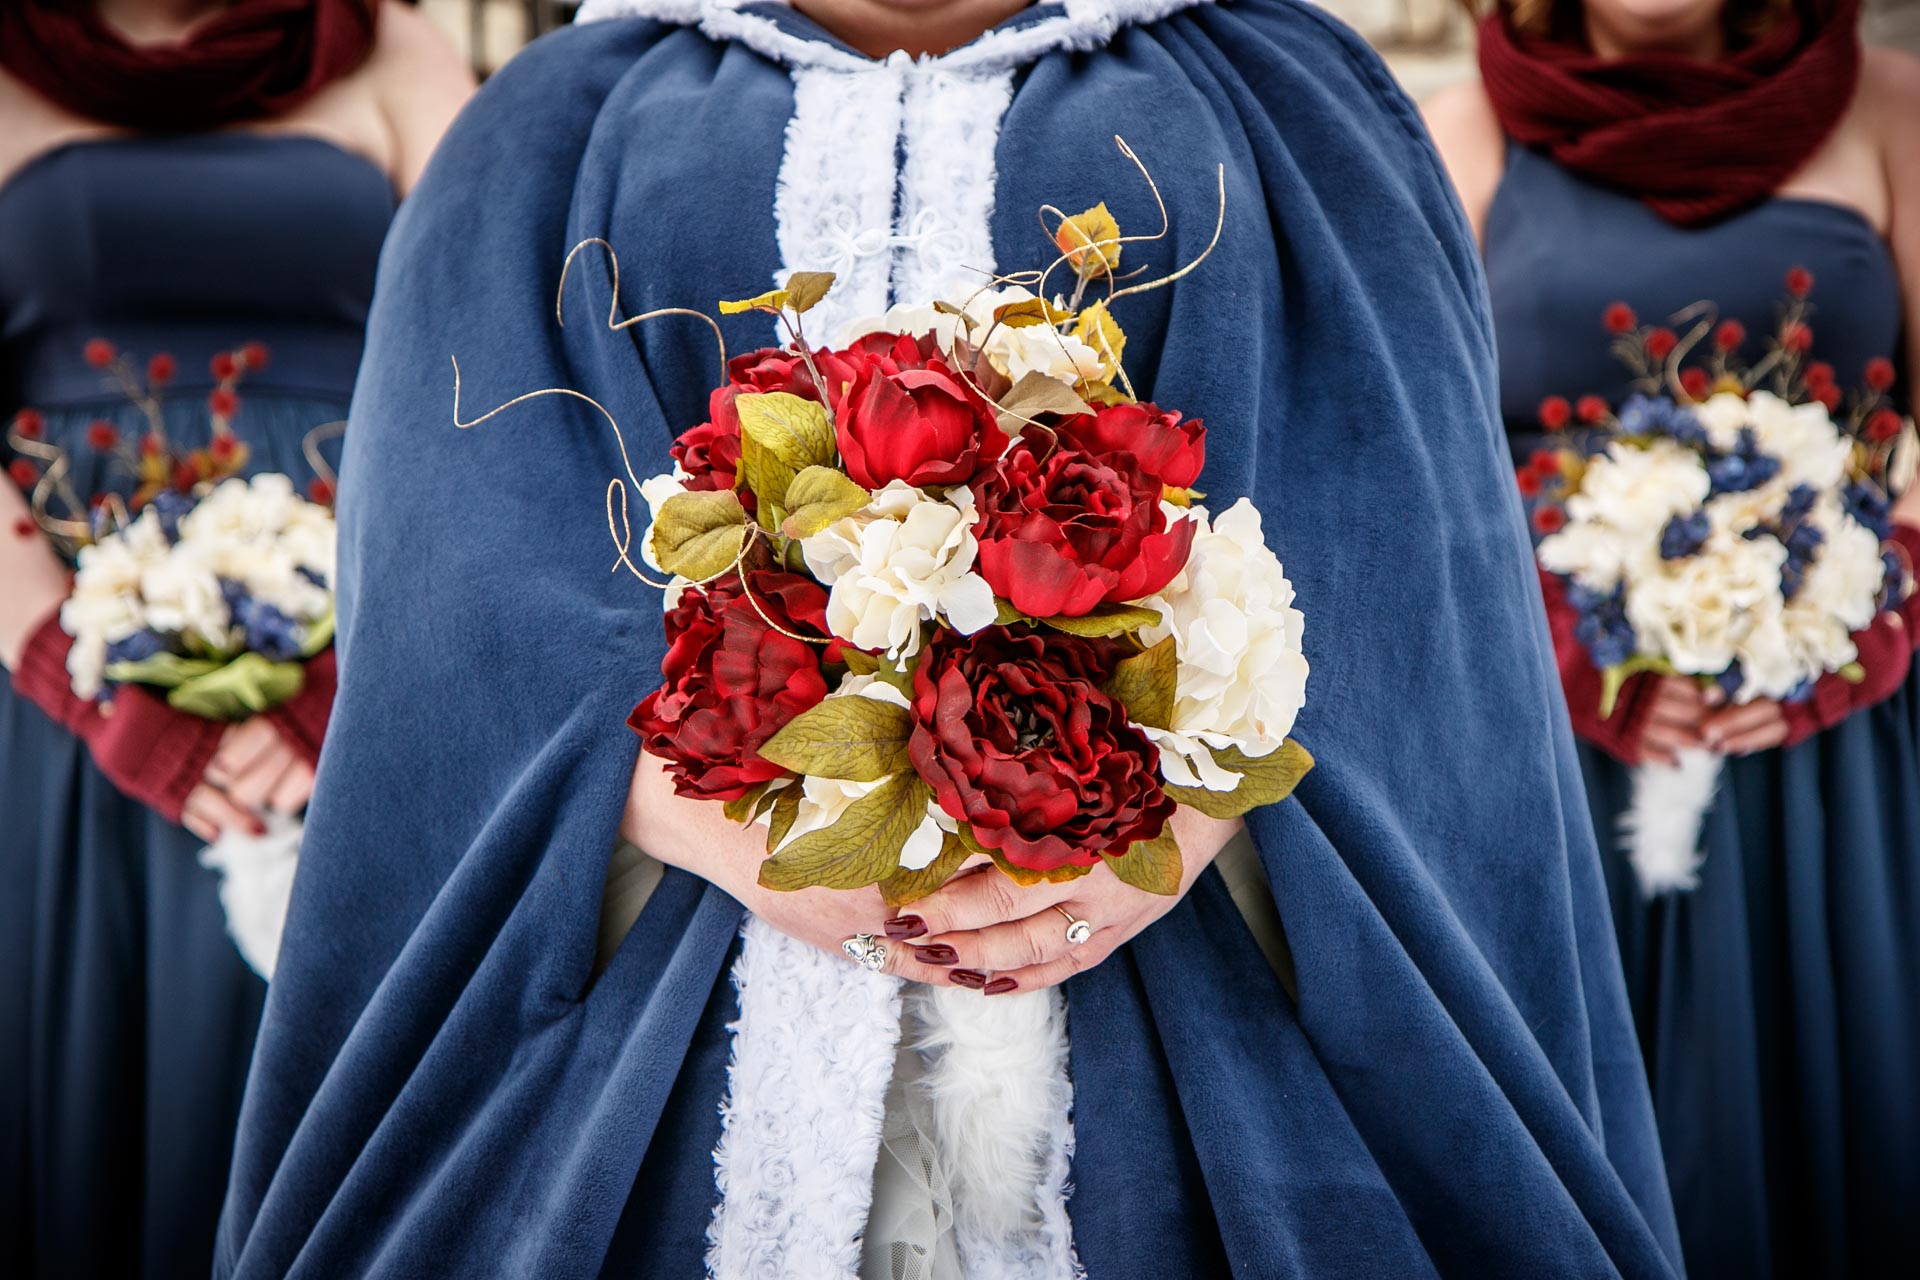
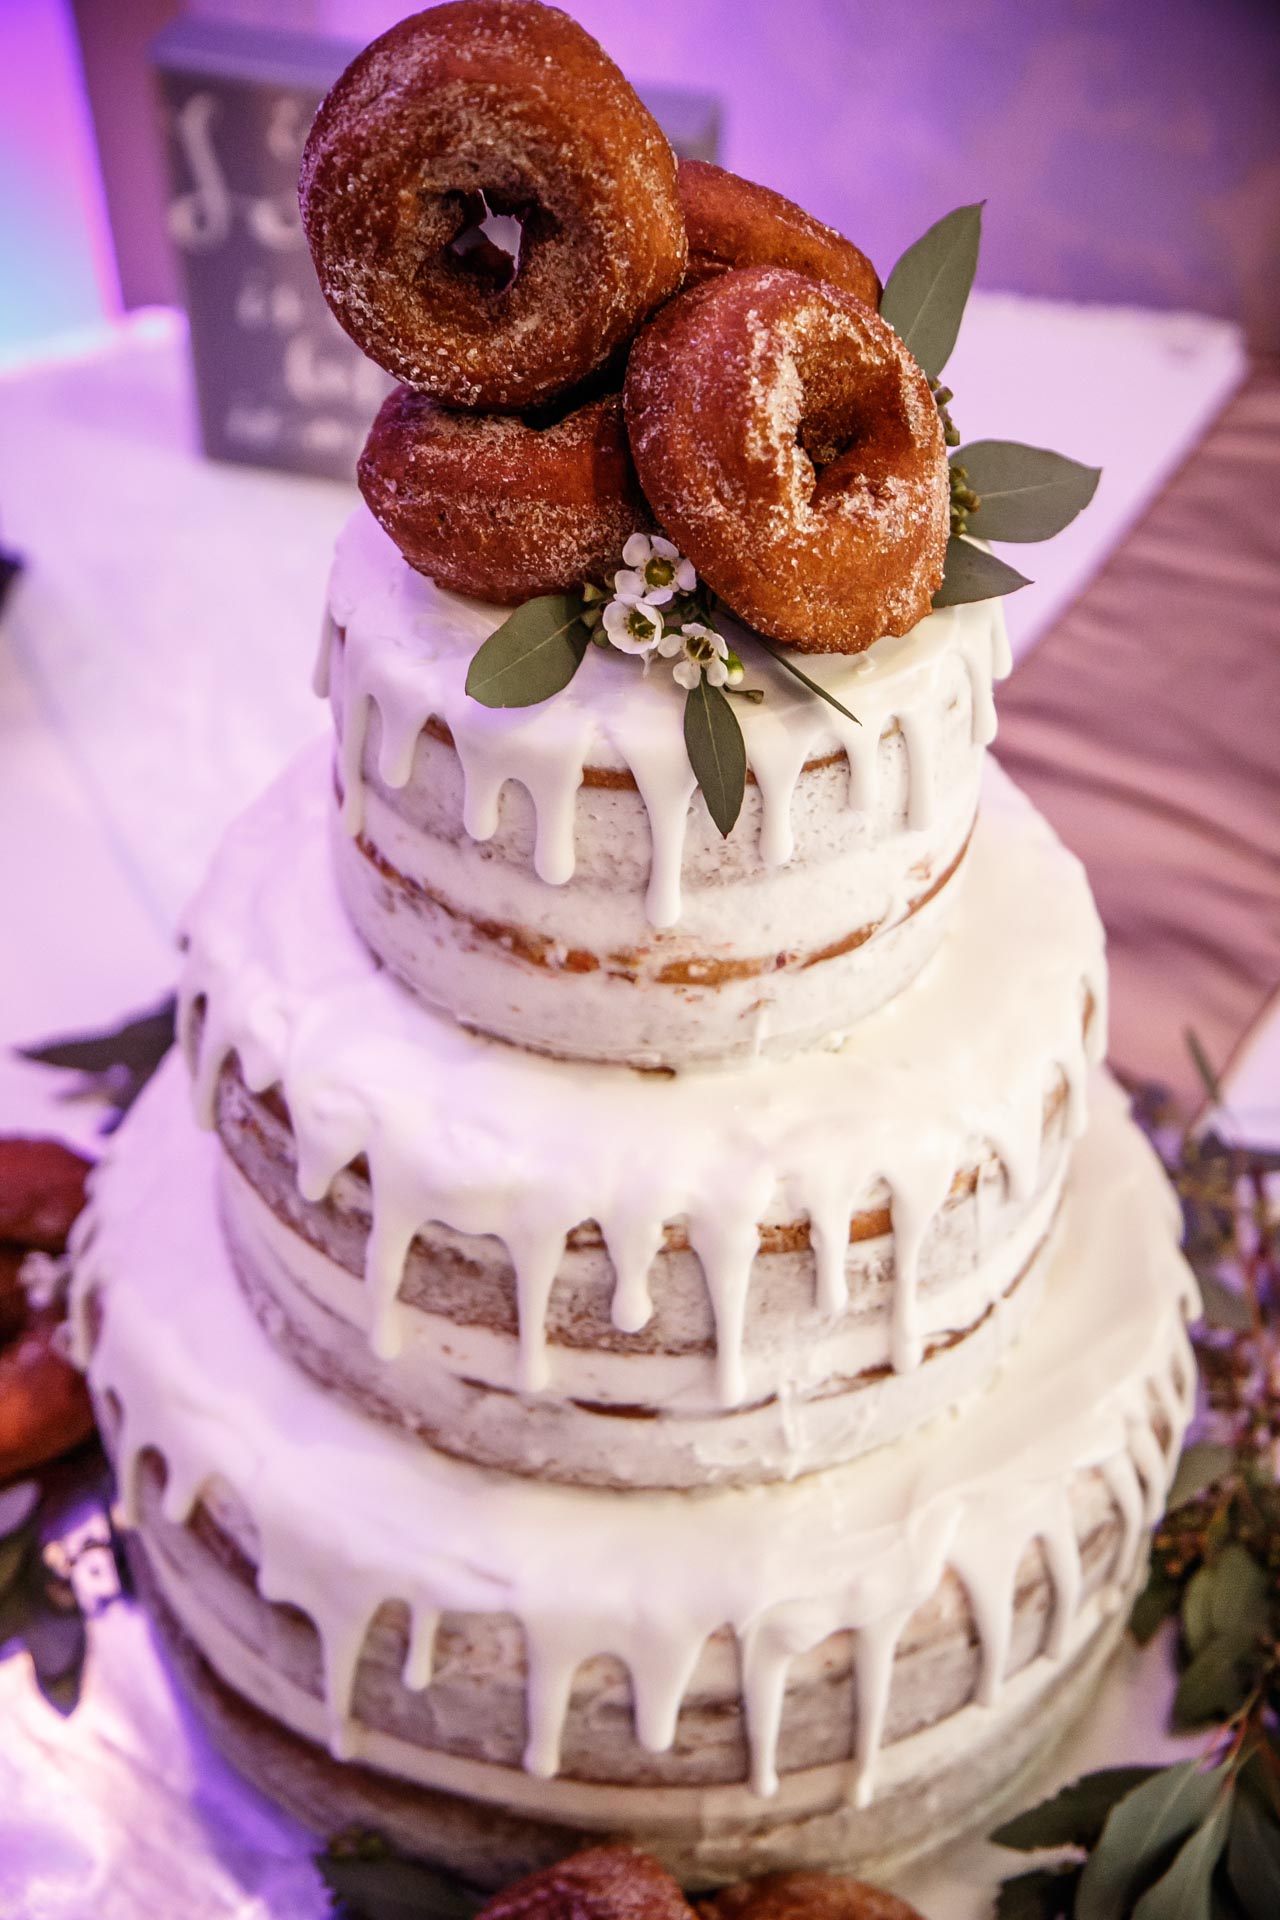
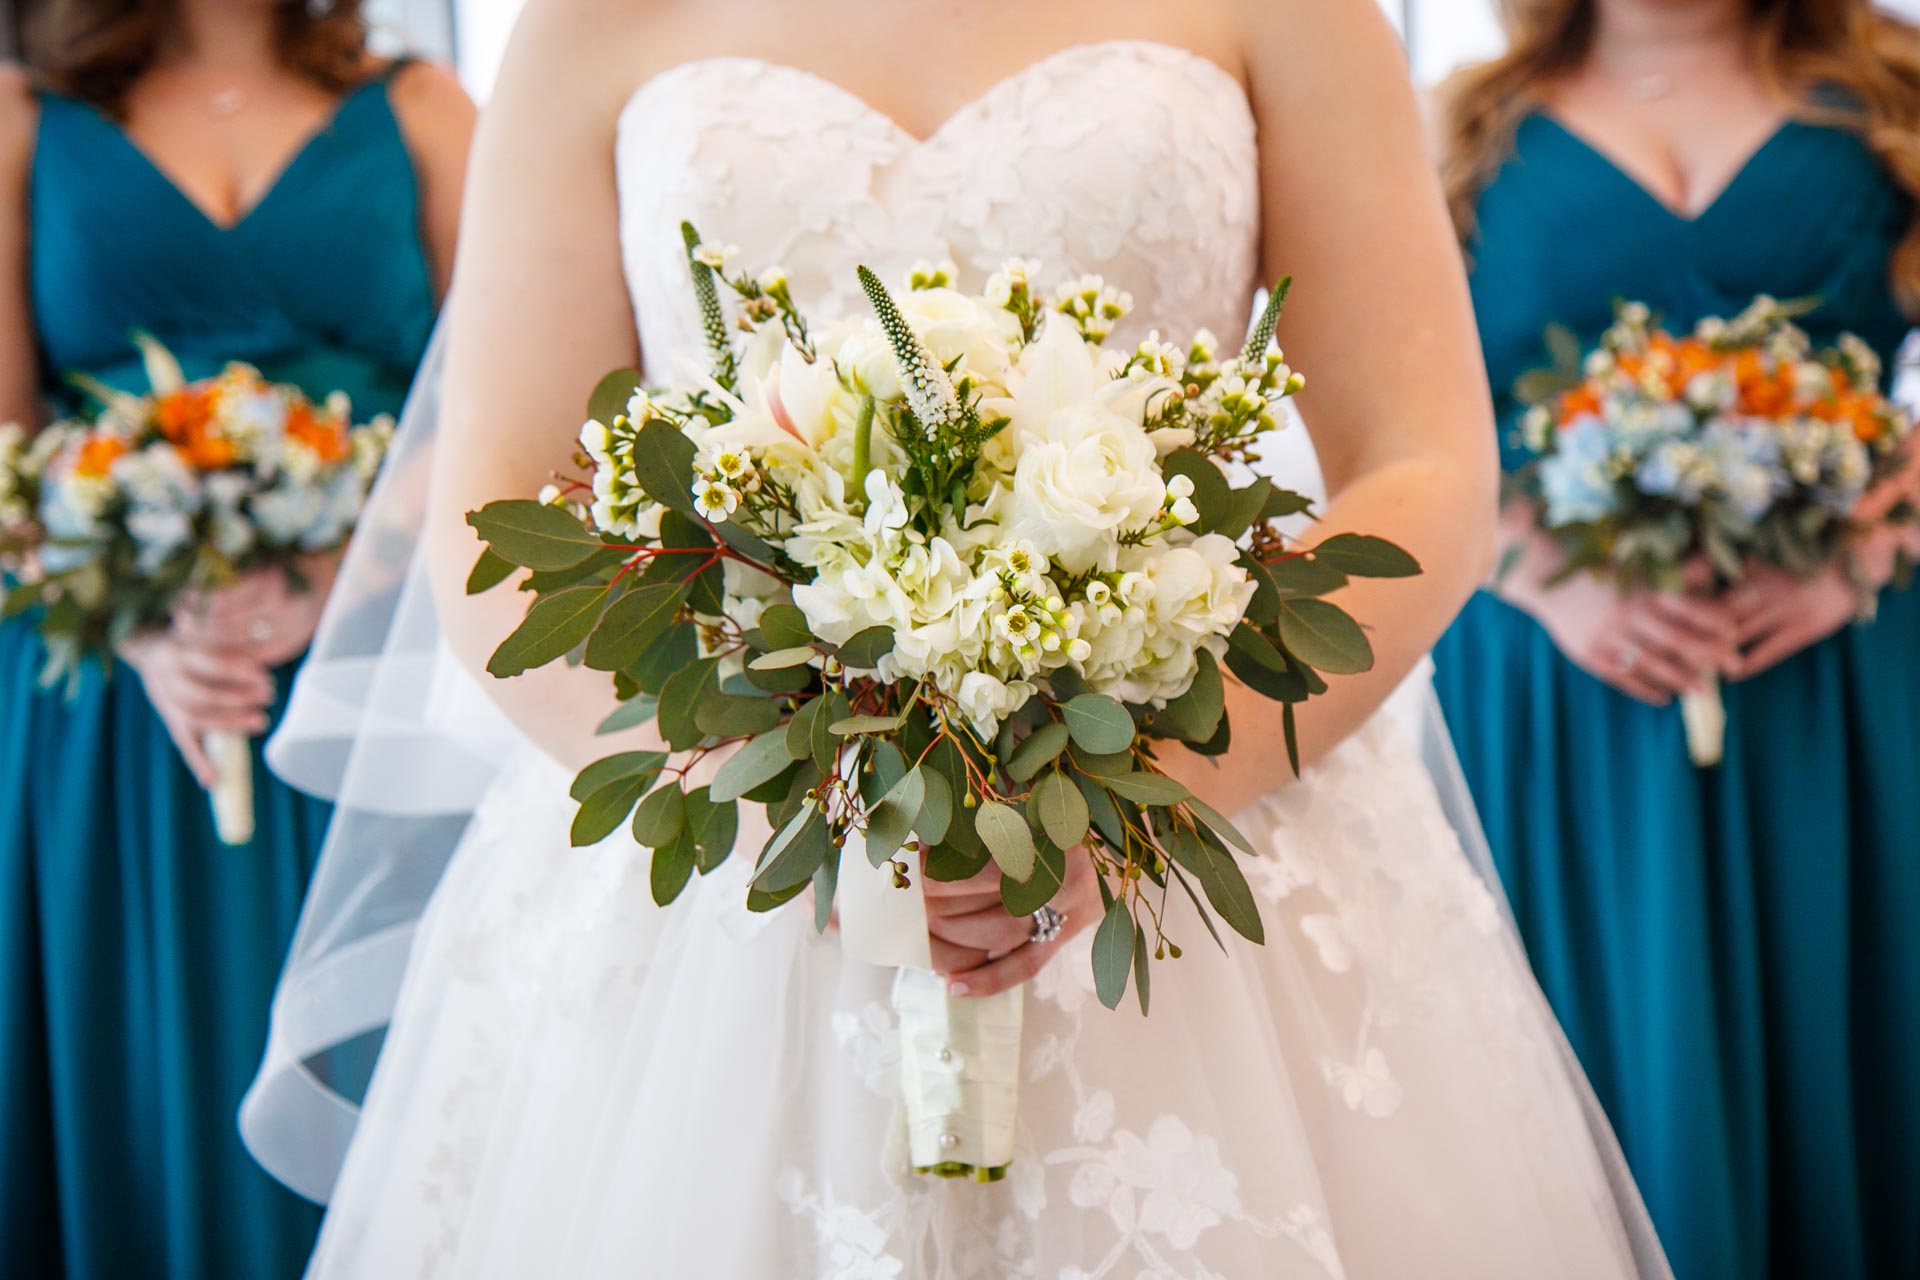
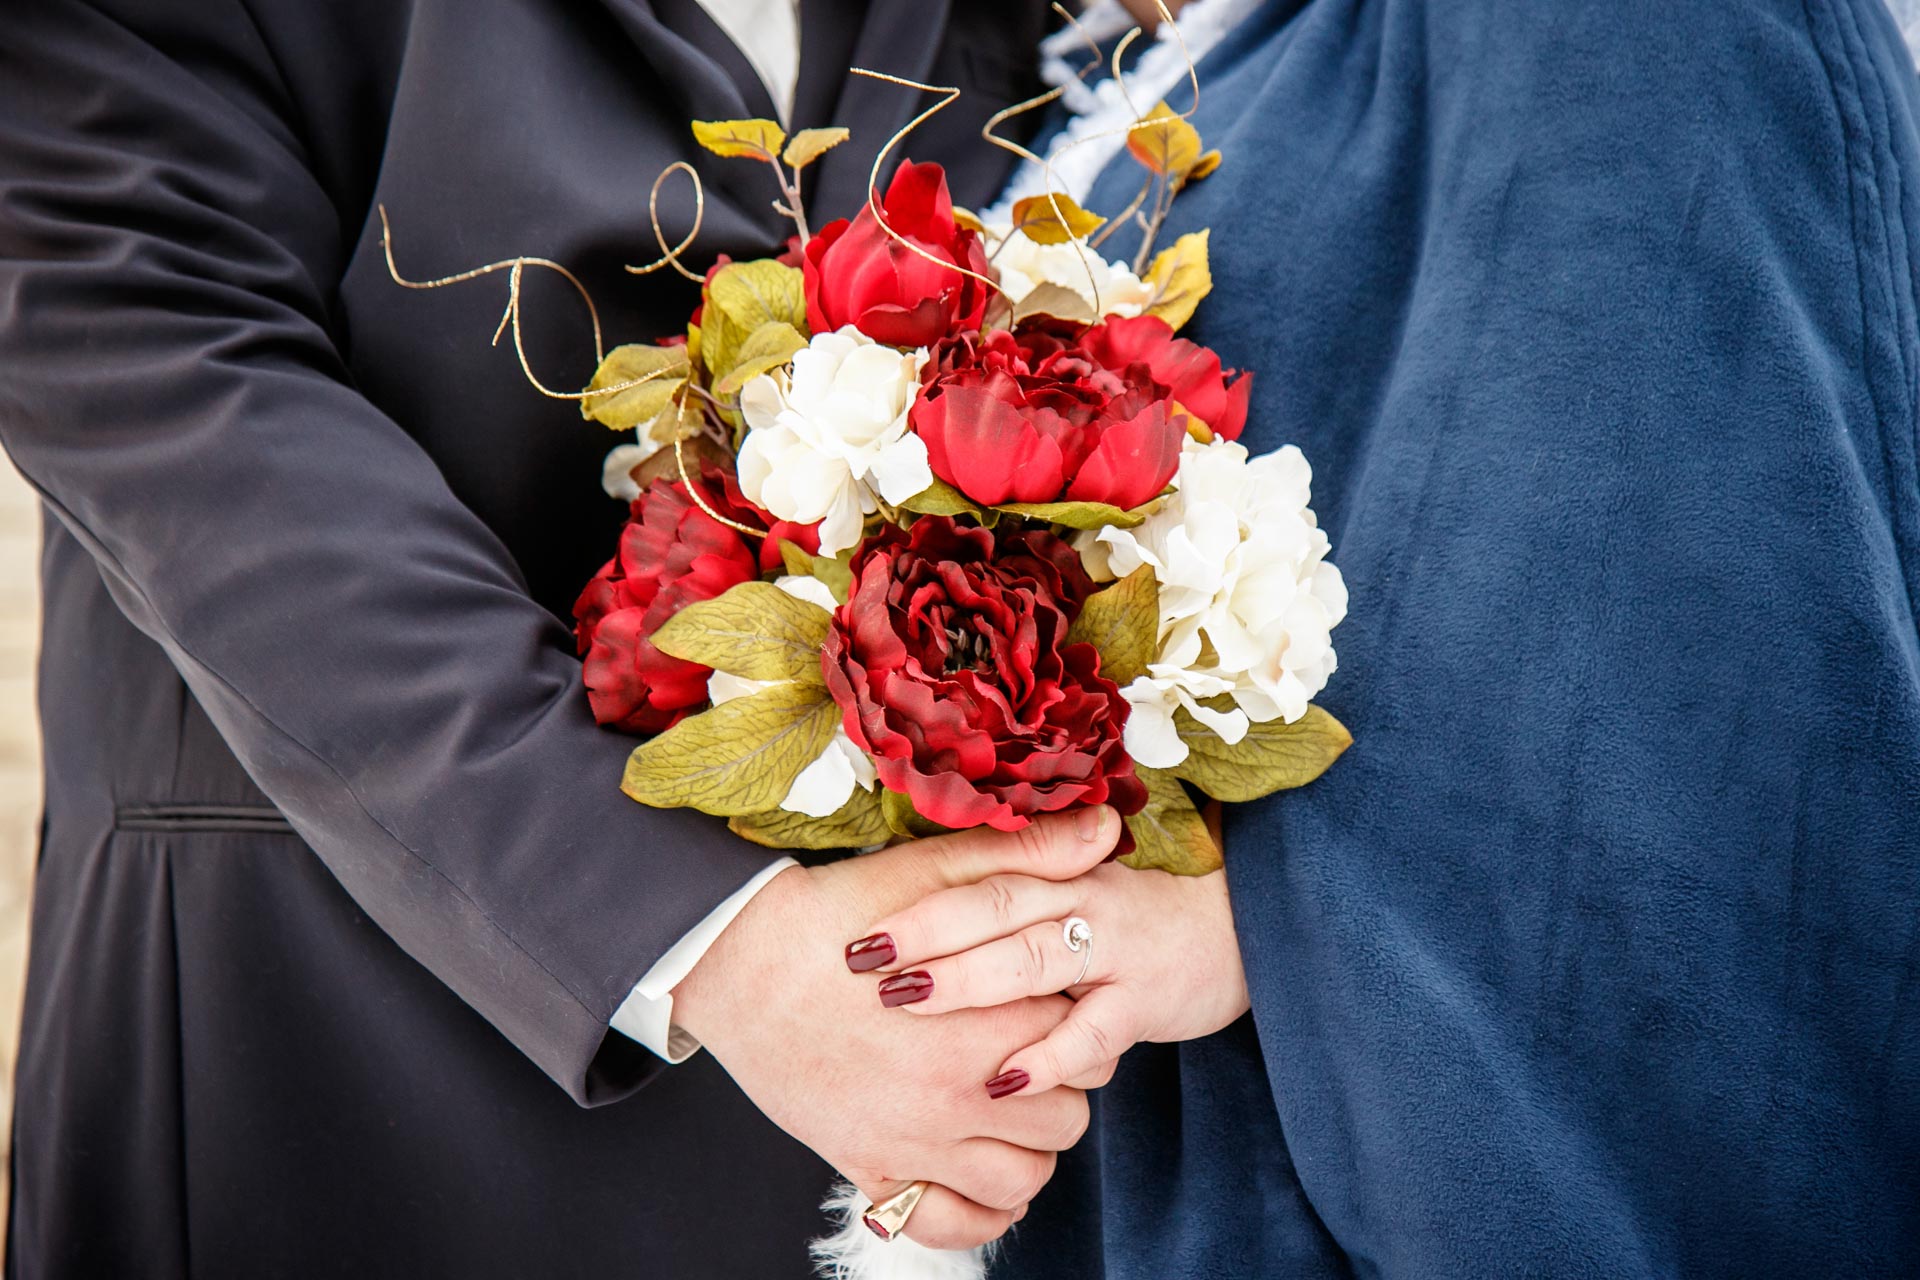
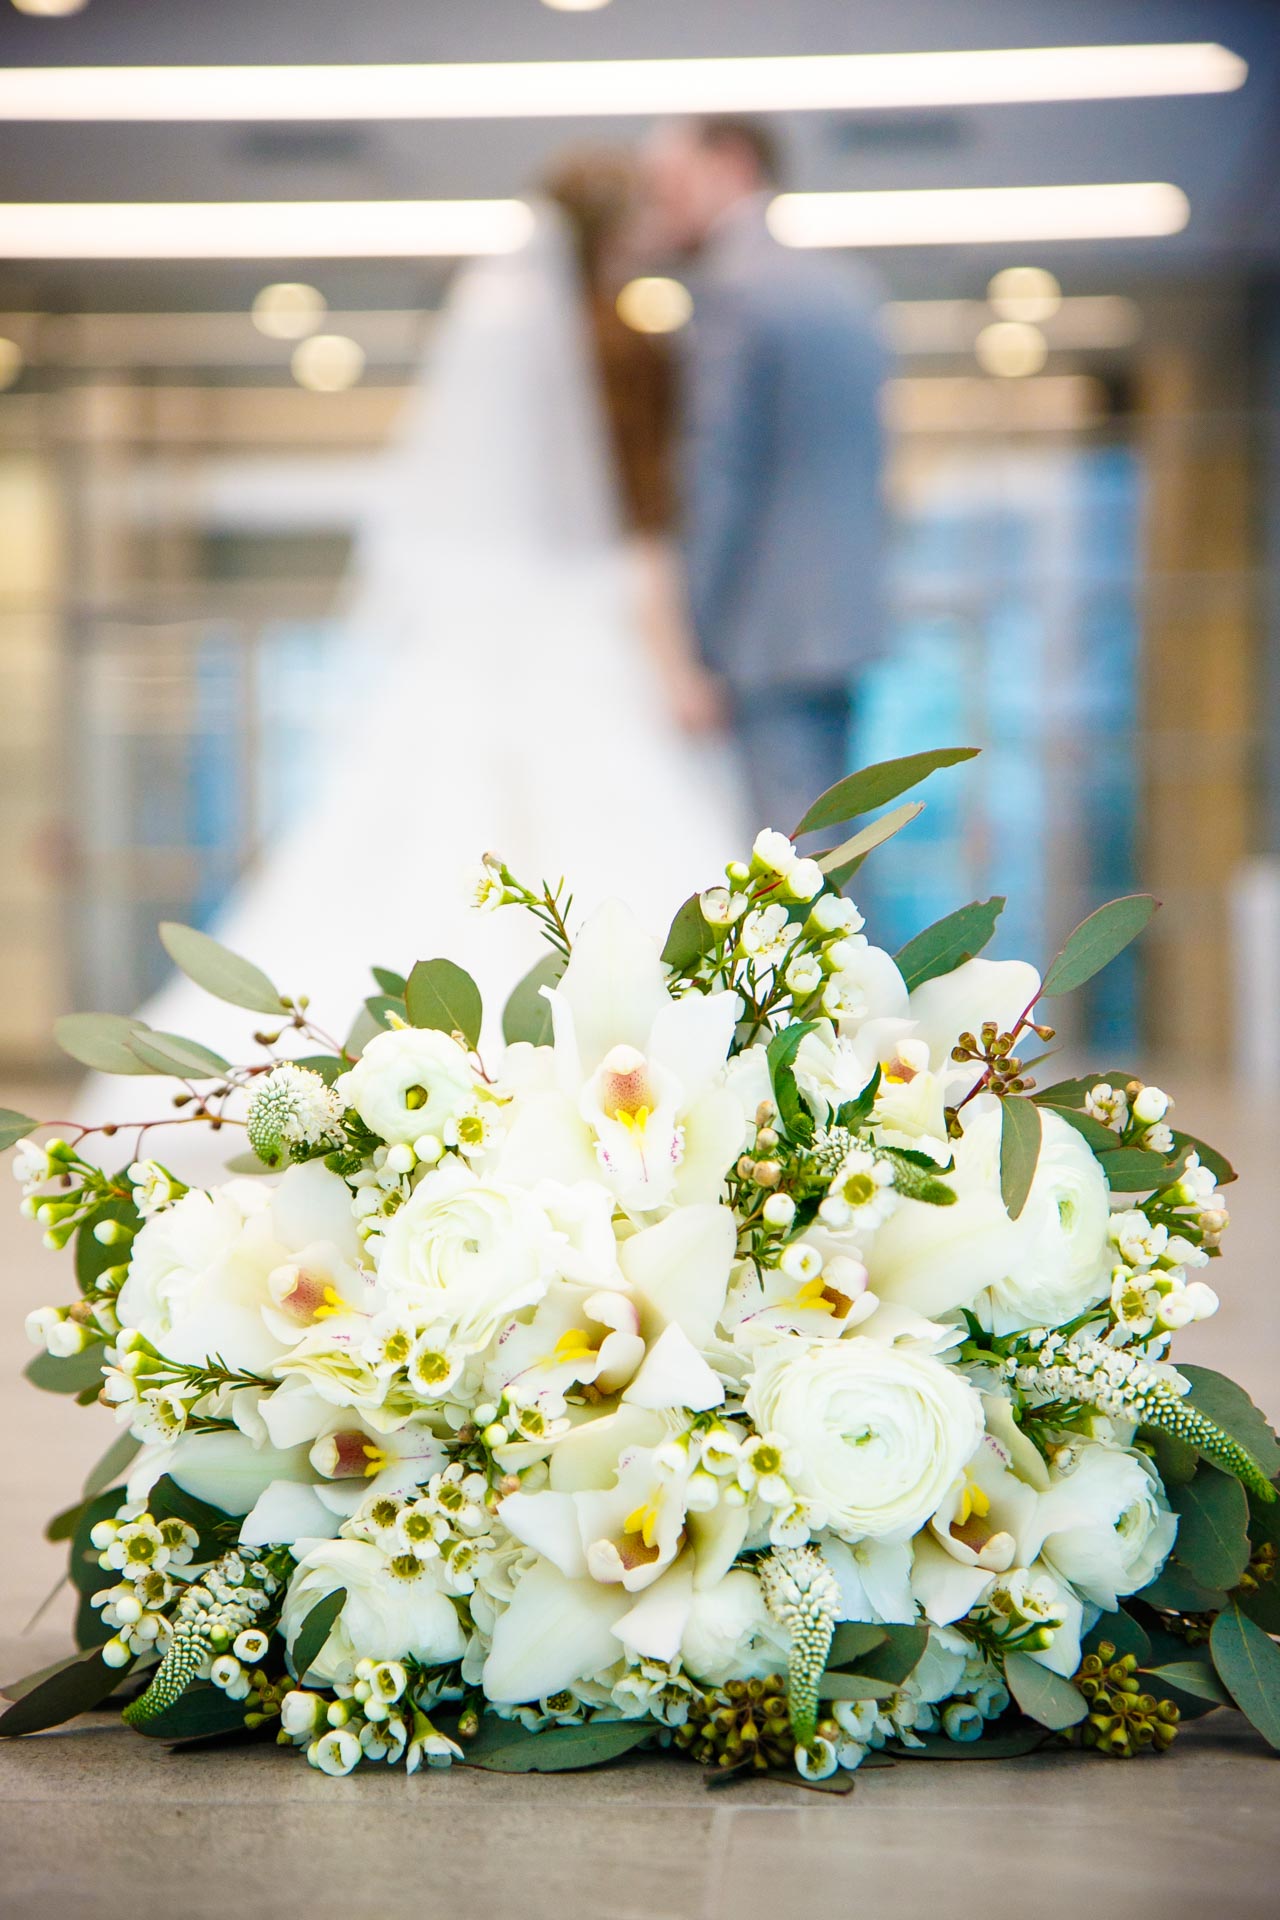
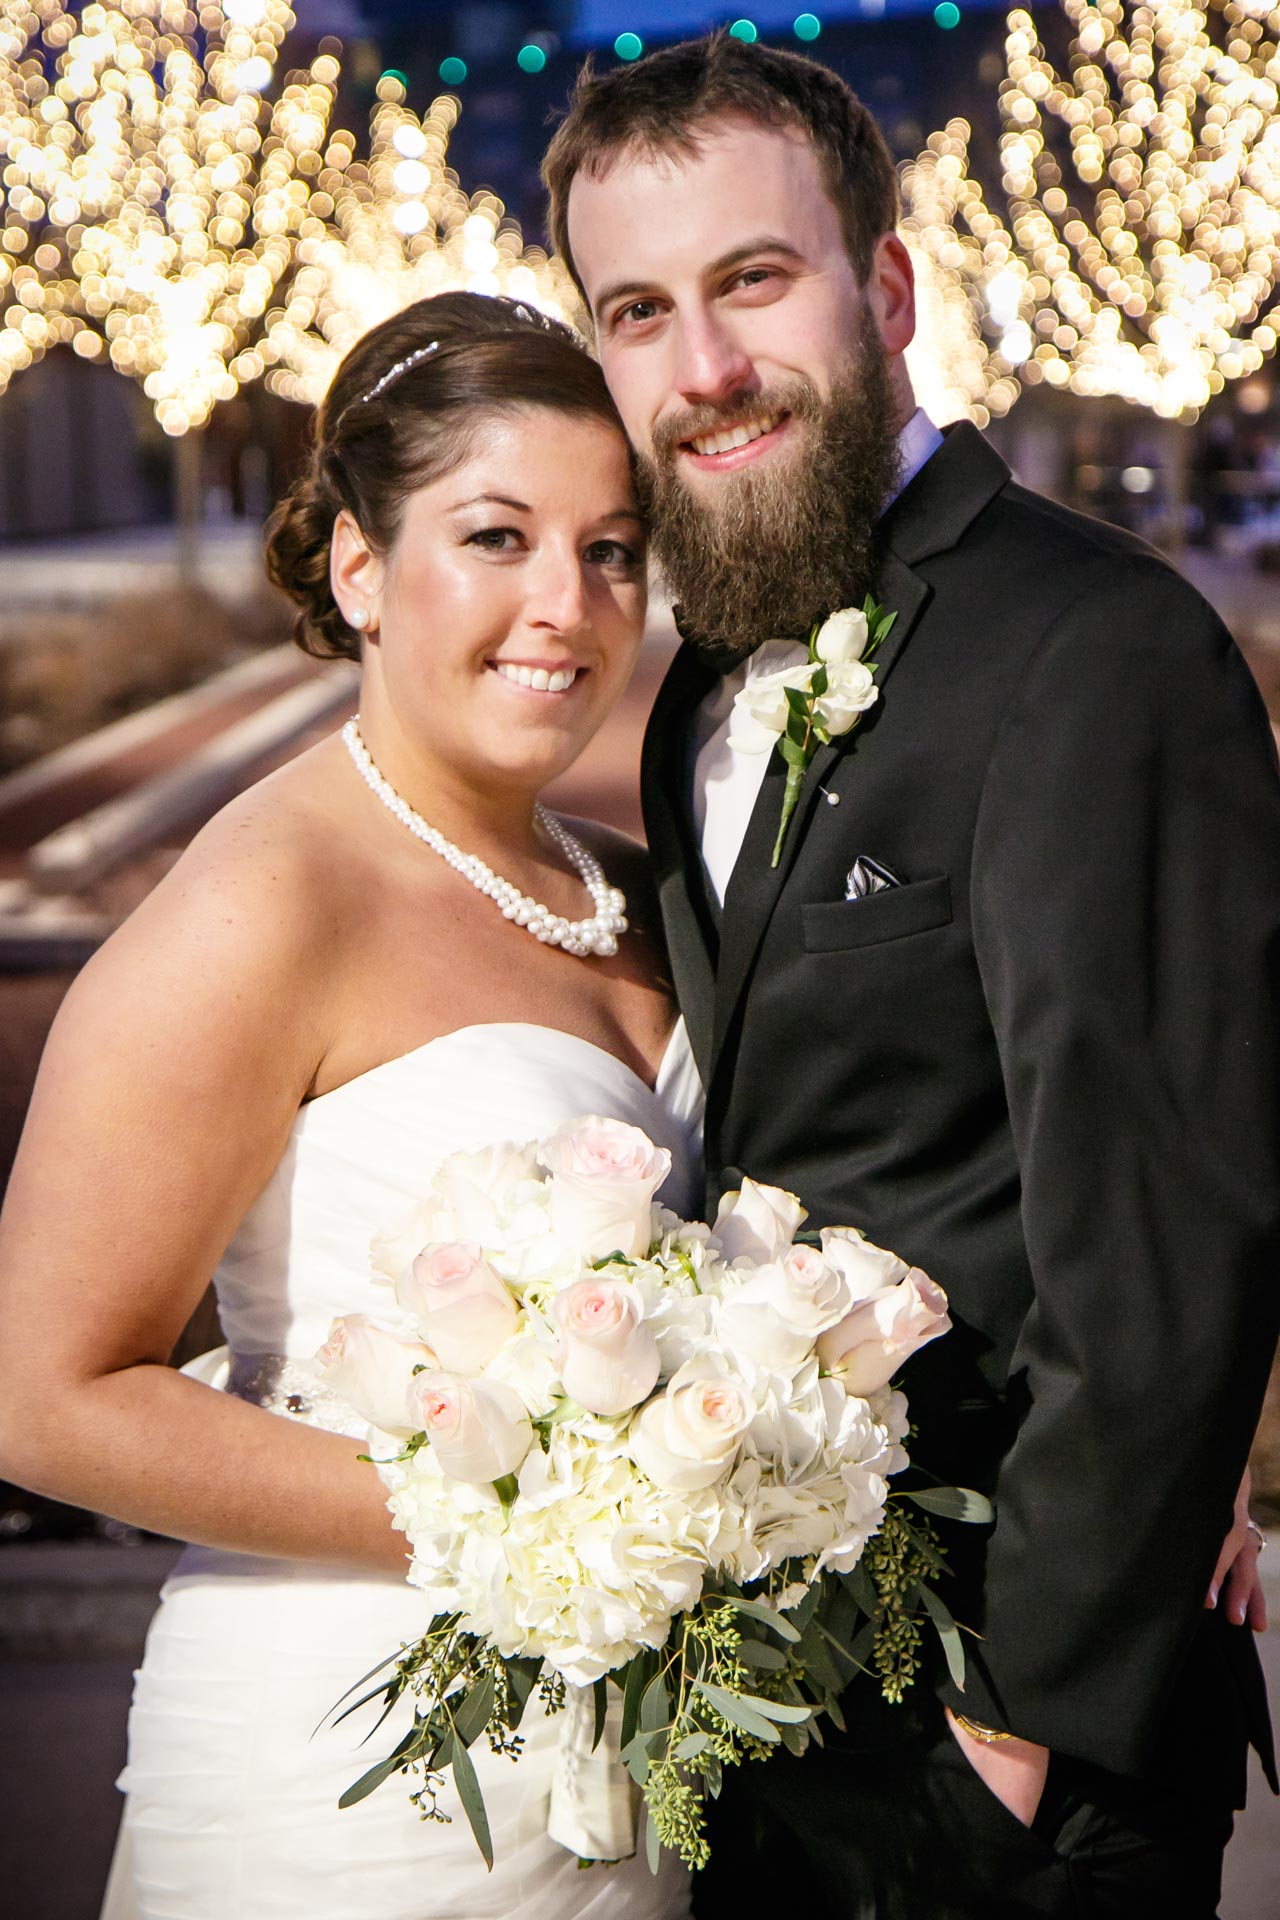
Incorporating Vibrant Colors to Create Beautiful, Stunning Wedding & Engagement Photos
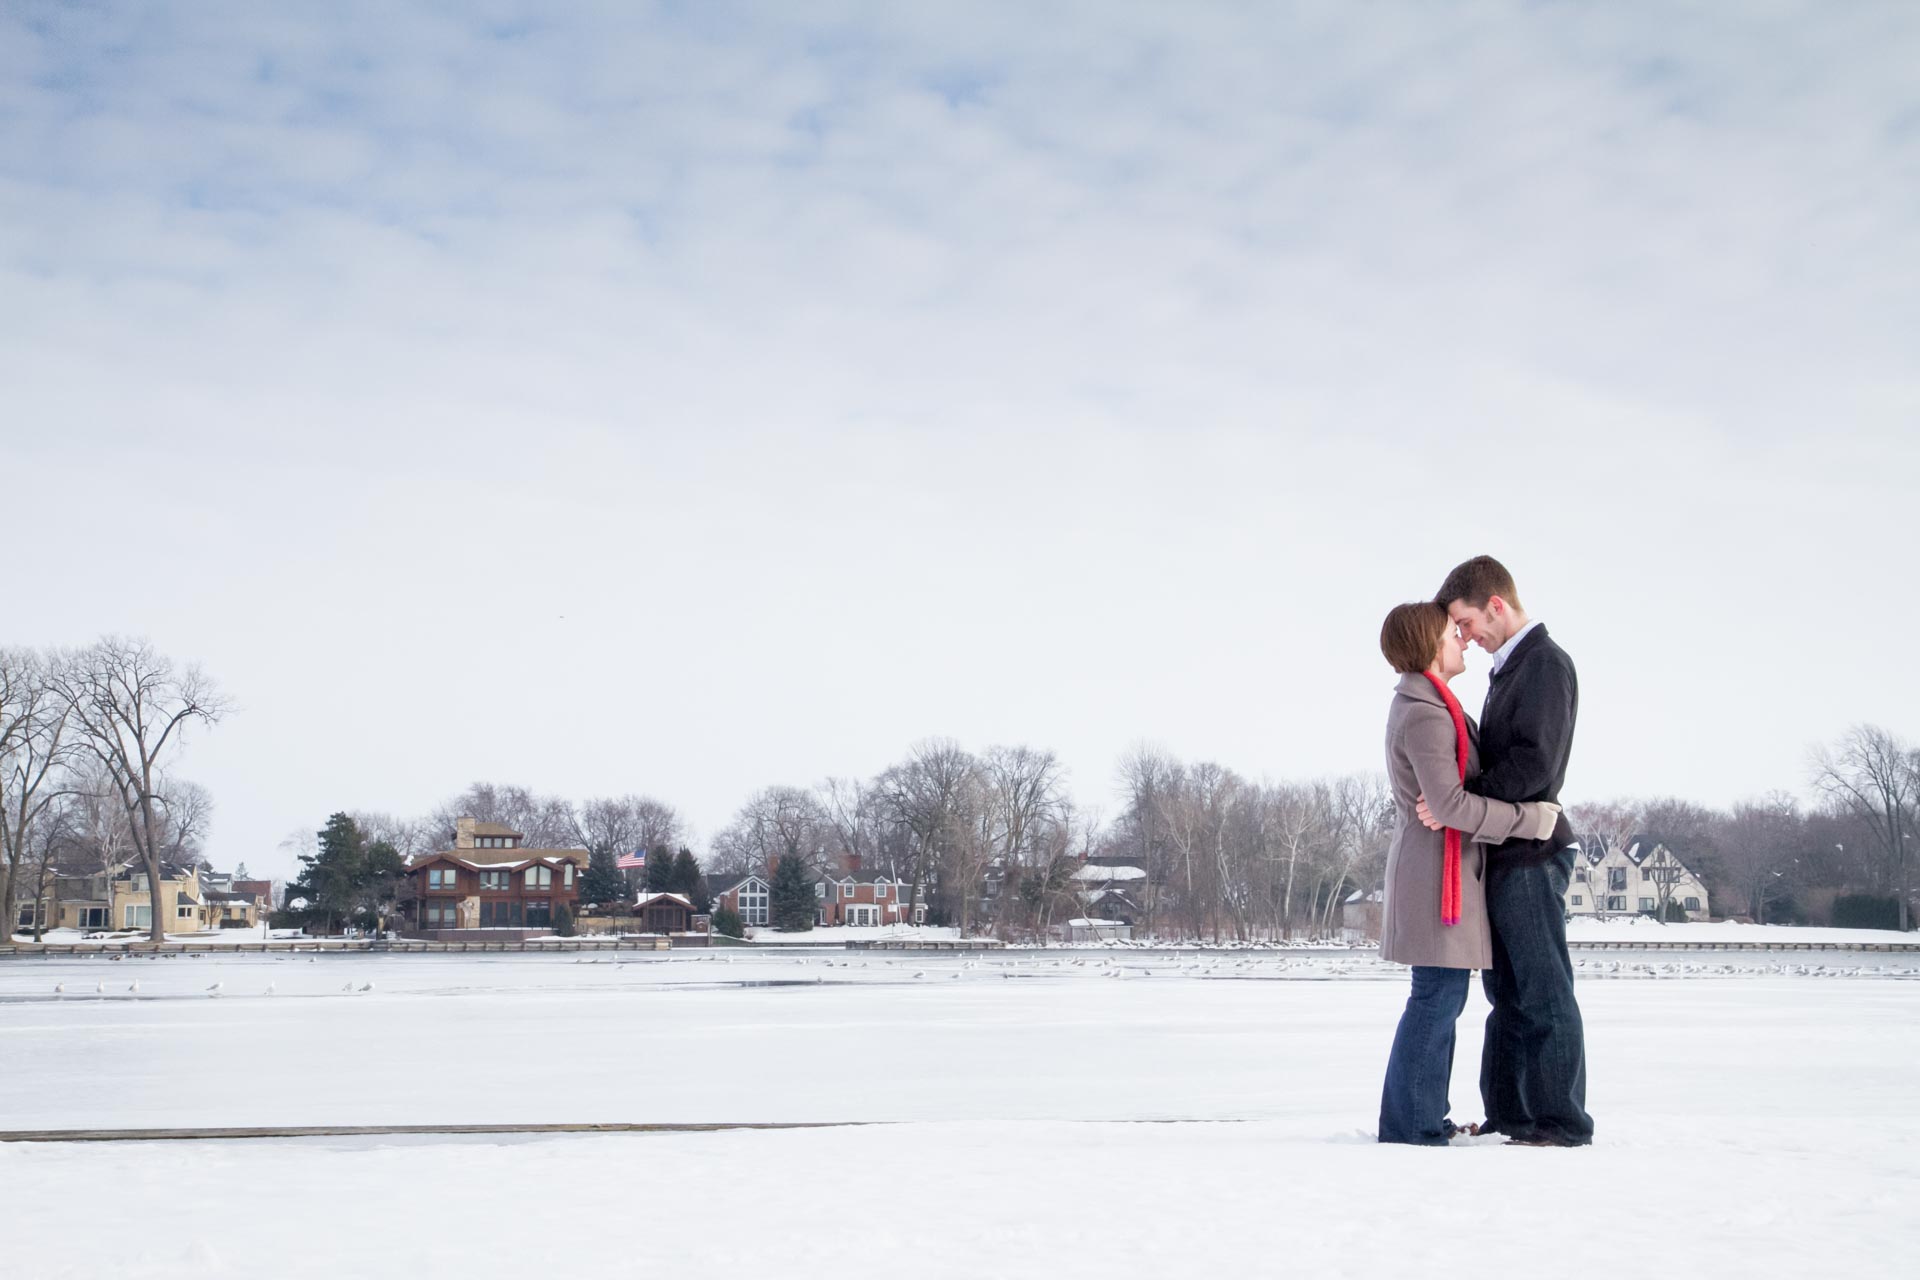
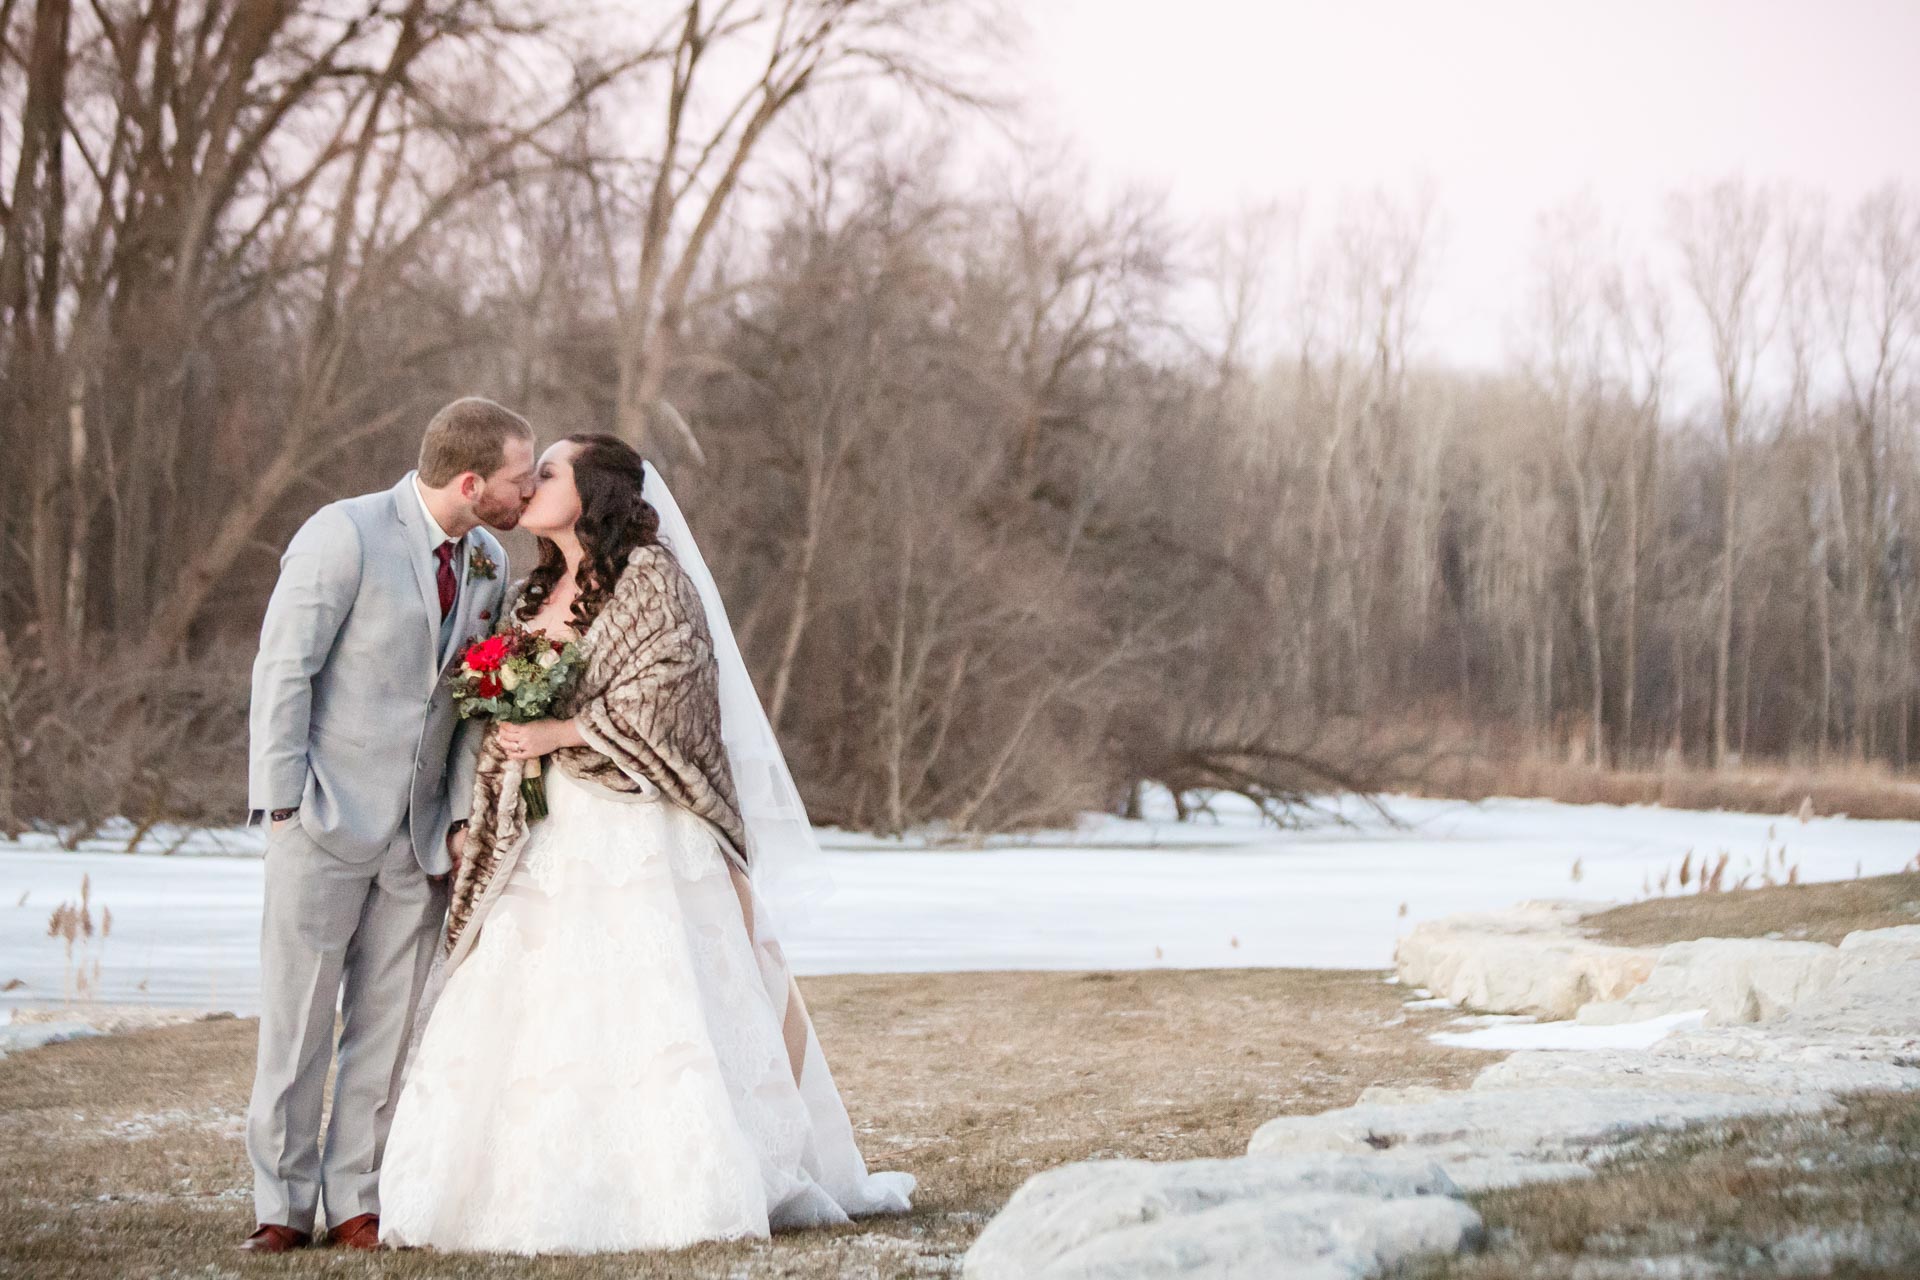
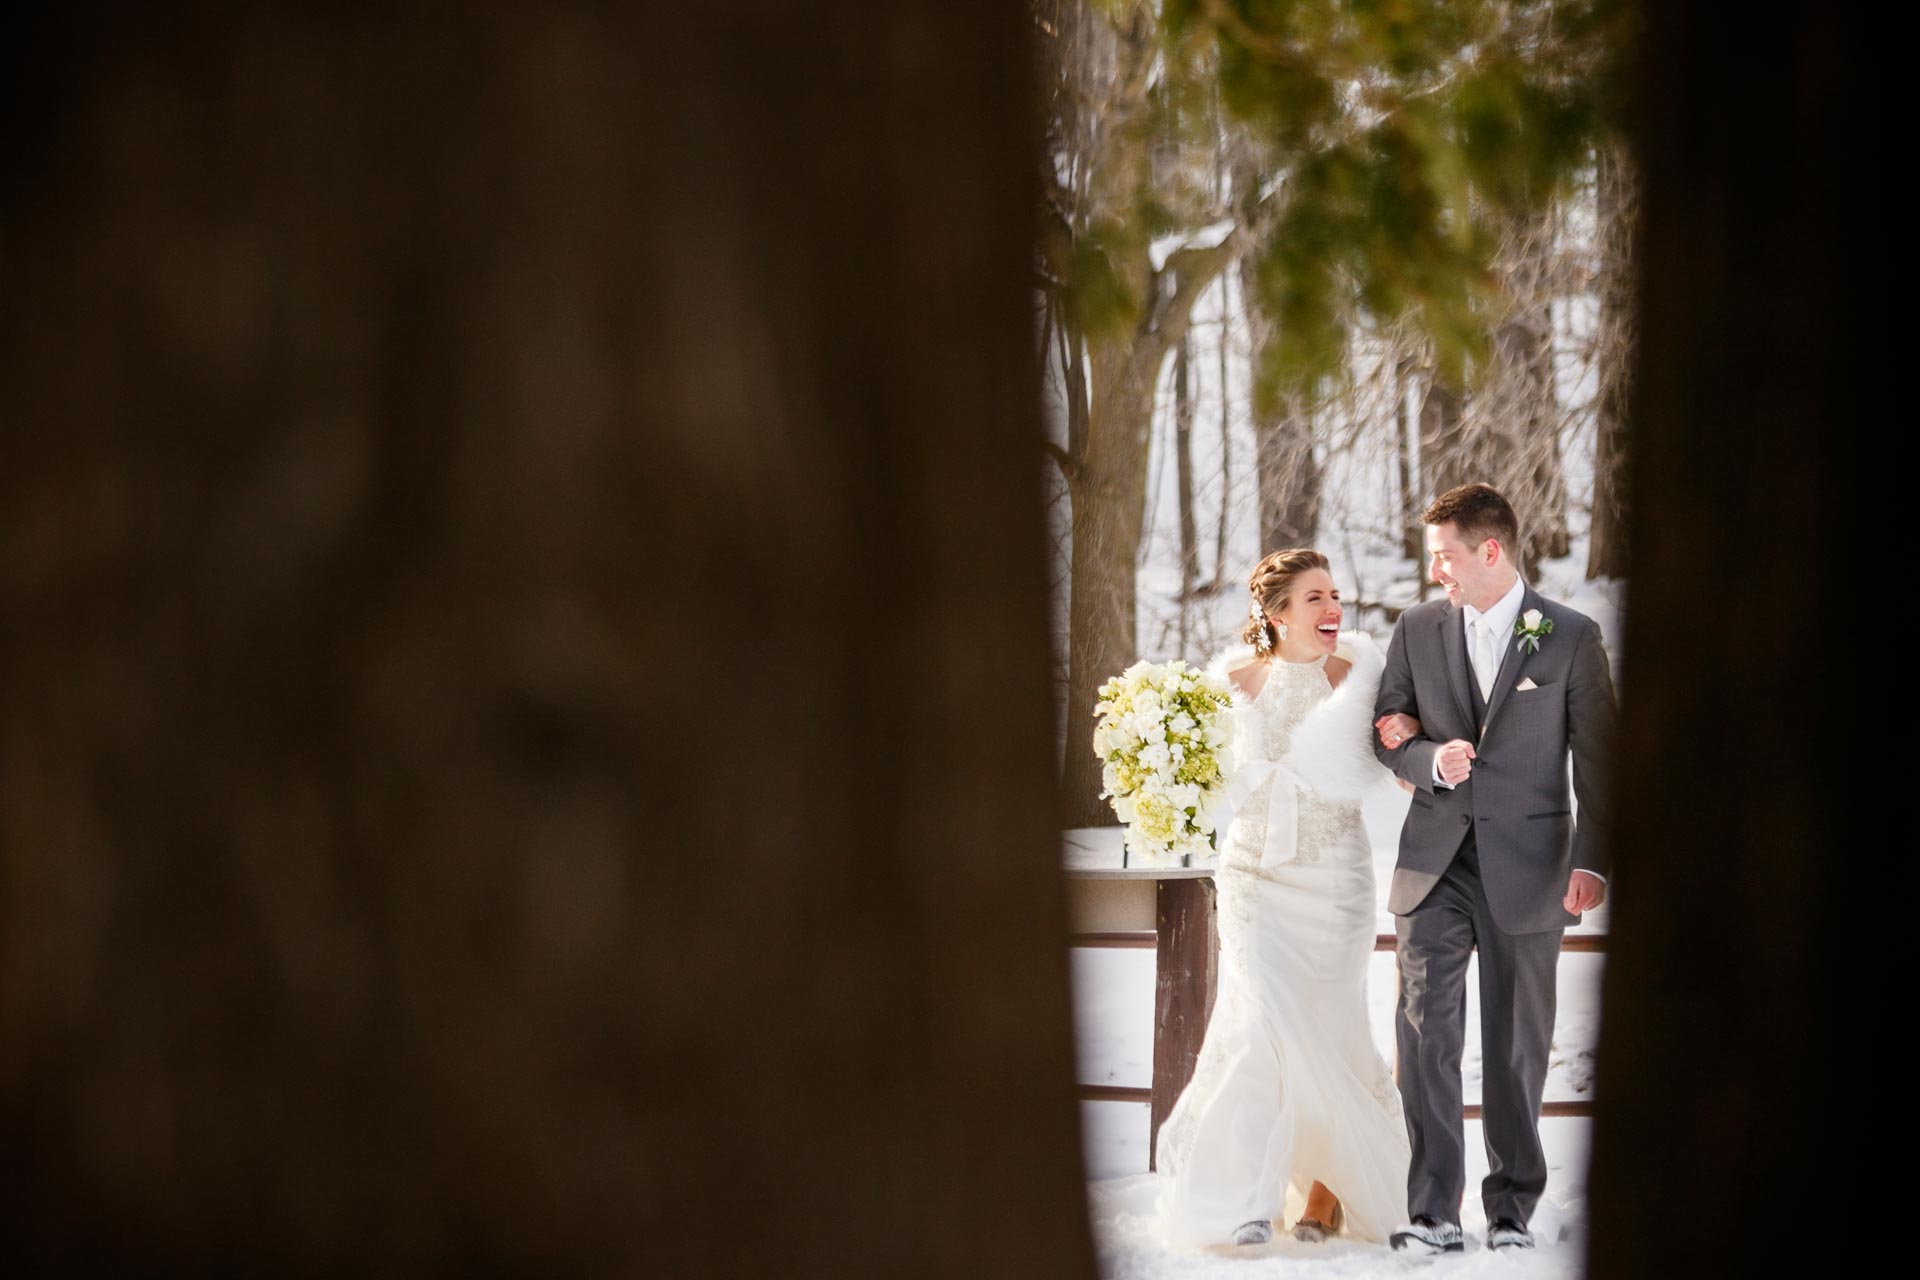
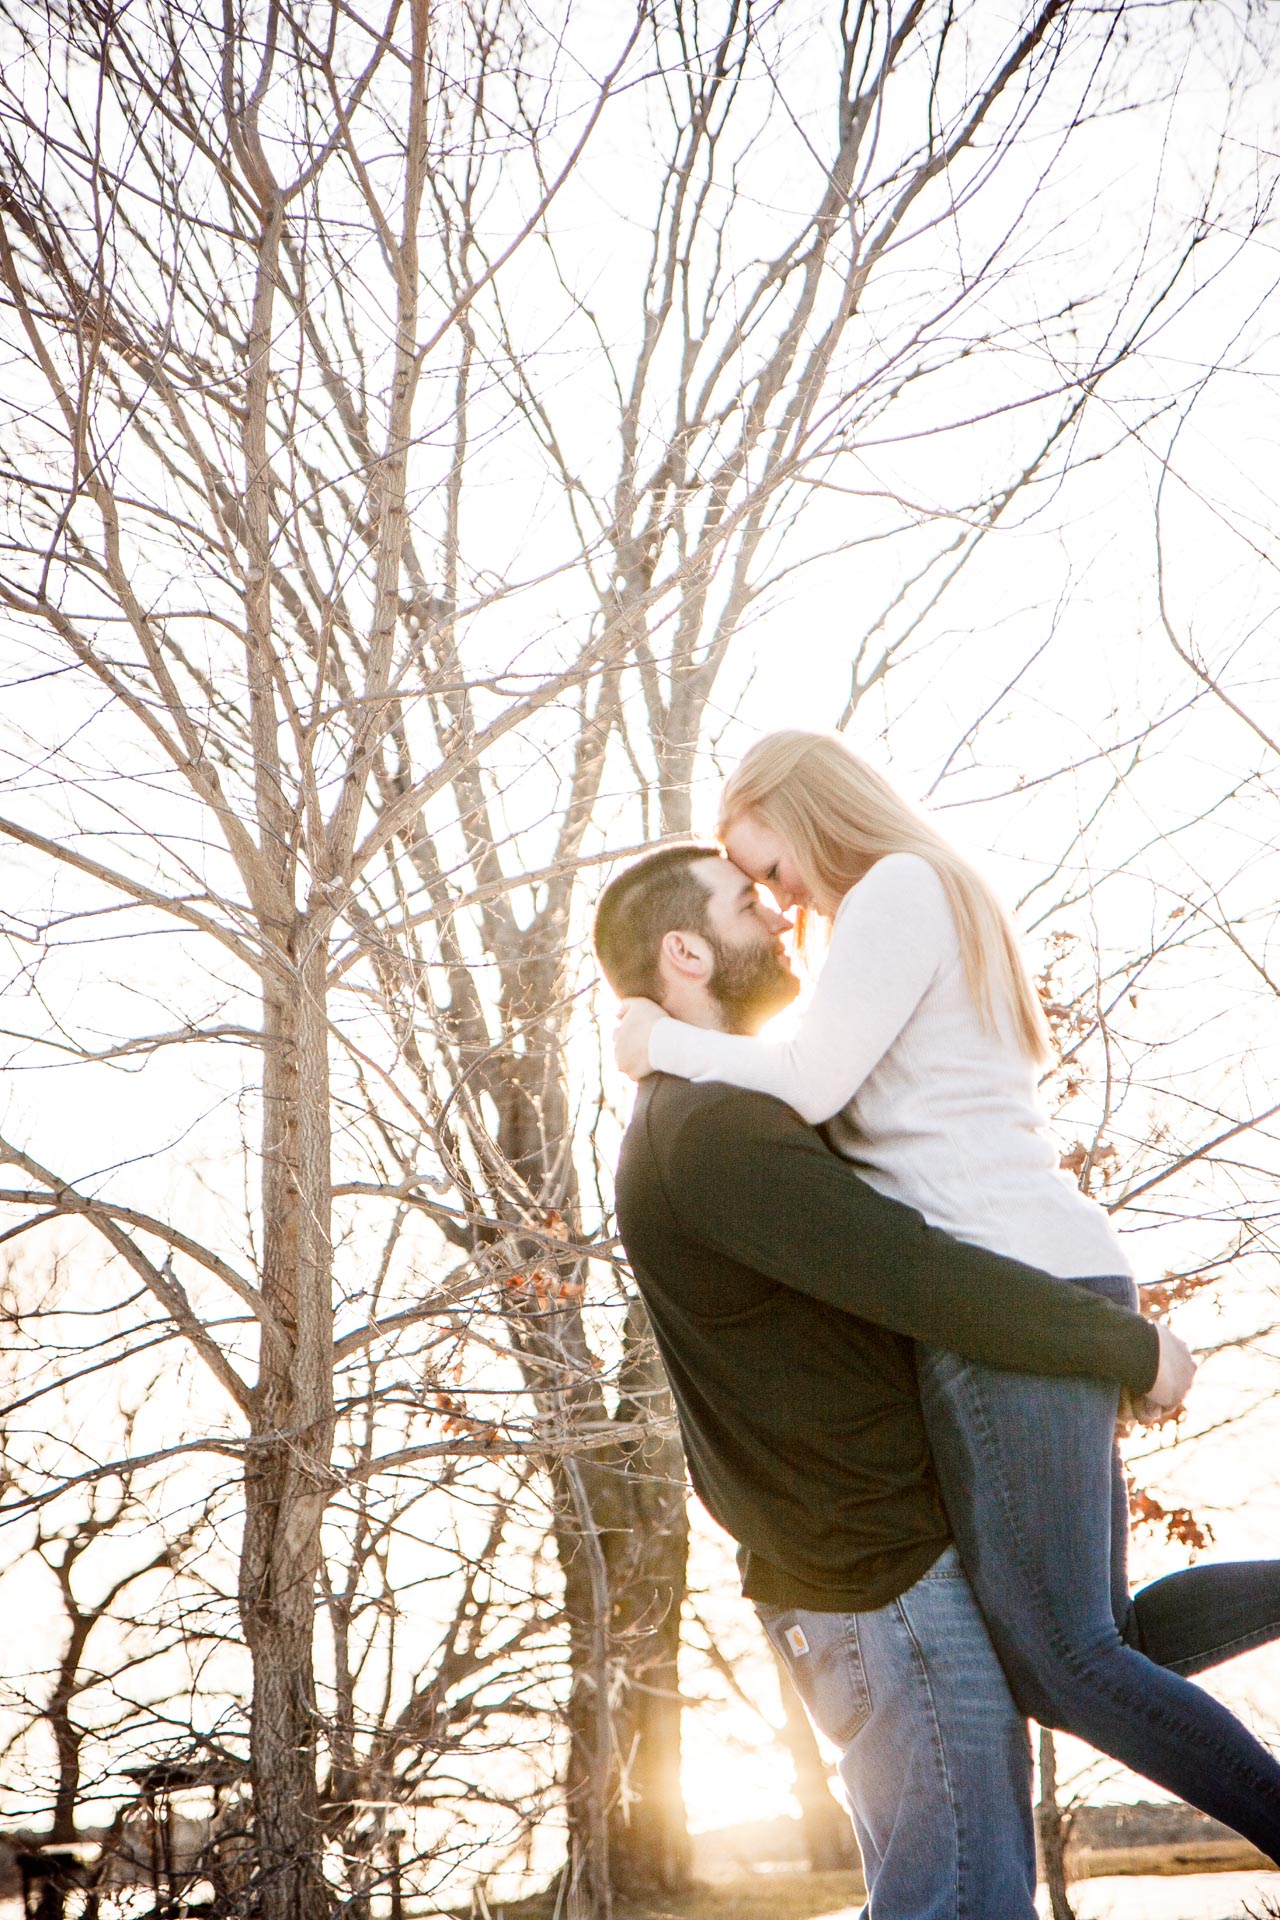
Winter is a season in which many of us think of white, brown, gray and blue. But these don’t have to be the only colors that dominate your photographs.
If you place yourself in a setting with areas of vibrant color, you can create gorgeous winter images that will surprise your clients and their families.
Evergreen
Evergreen is the most common color I incorporate into my clients’ winter photoshoots. We have a lot of Christmas tree farms in Wisconsin. These provide a perfect setting for our sessions.
Not only do they offer gorgeous color, but they add an element of symmetry and depth. This is because the trees are typically planted in perfect lines. By using a wide angle lens or lowering your aperture, you can create some stunning images.
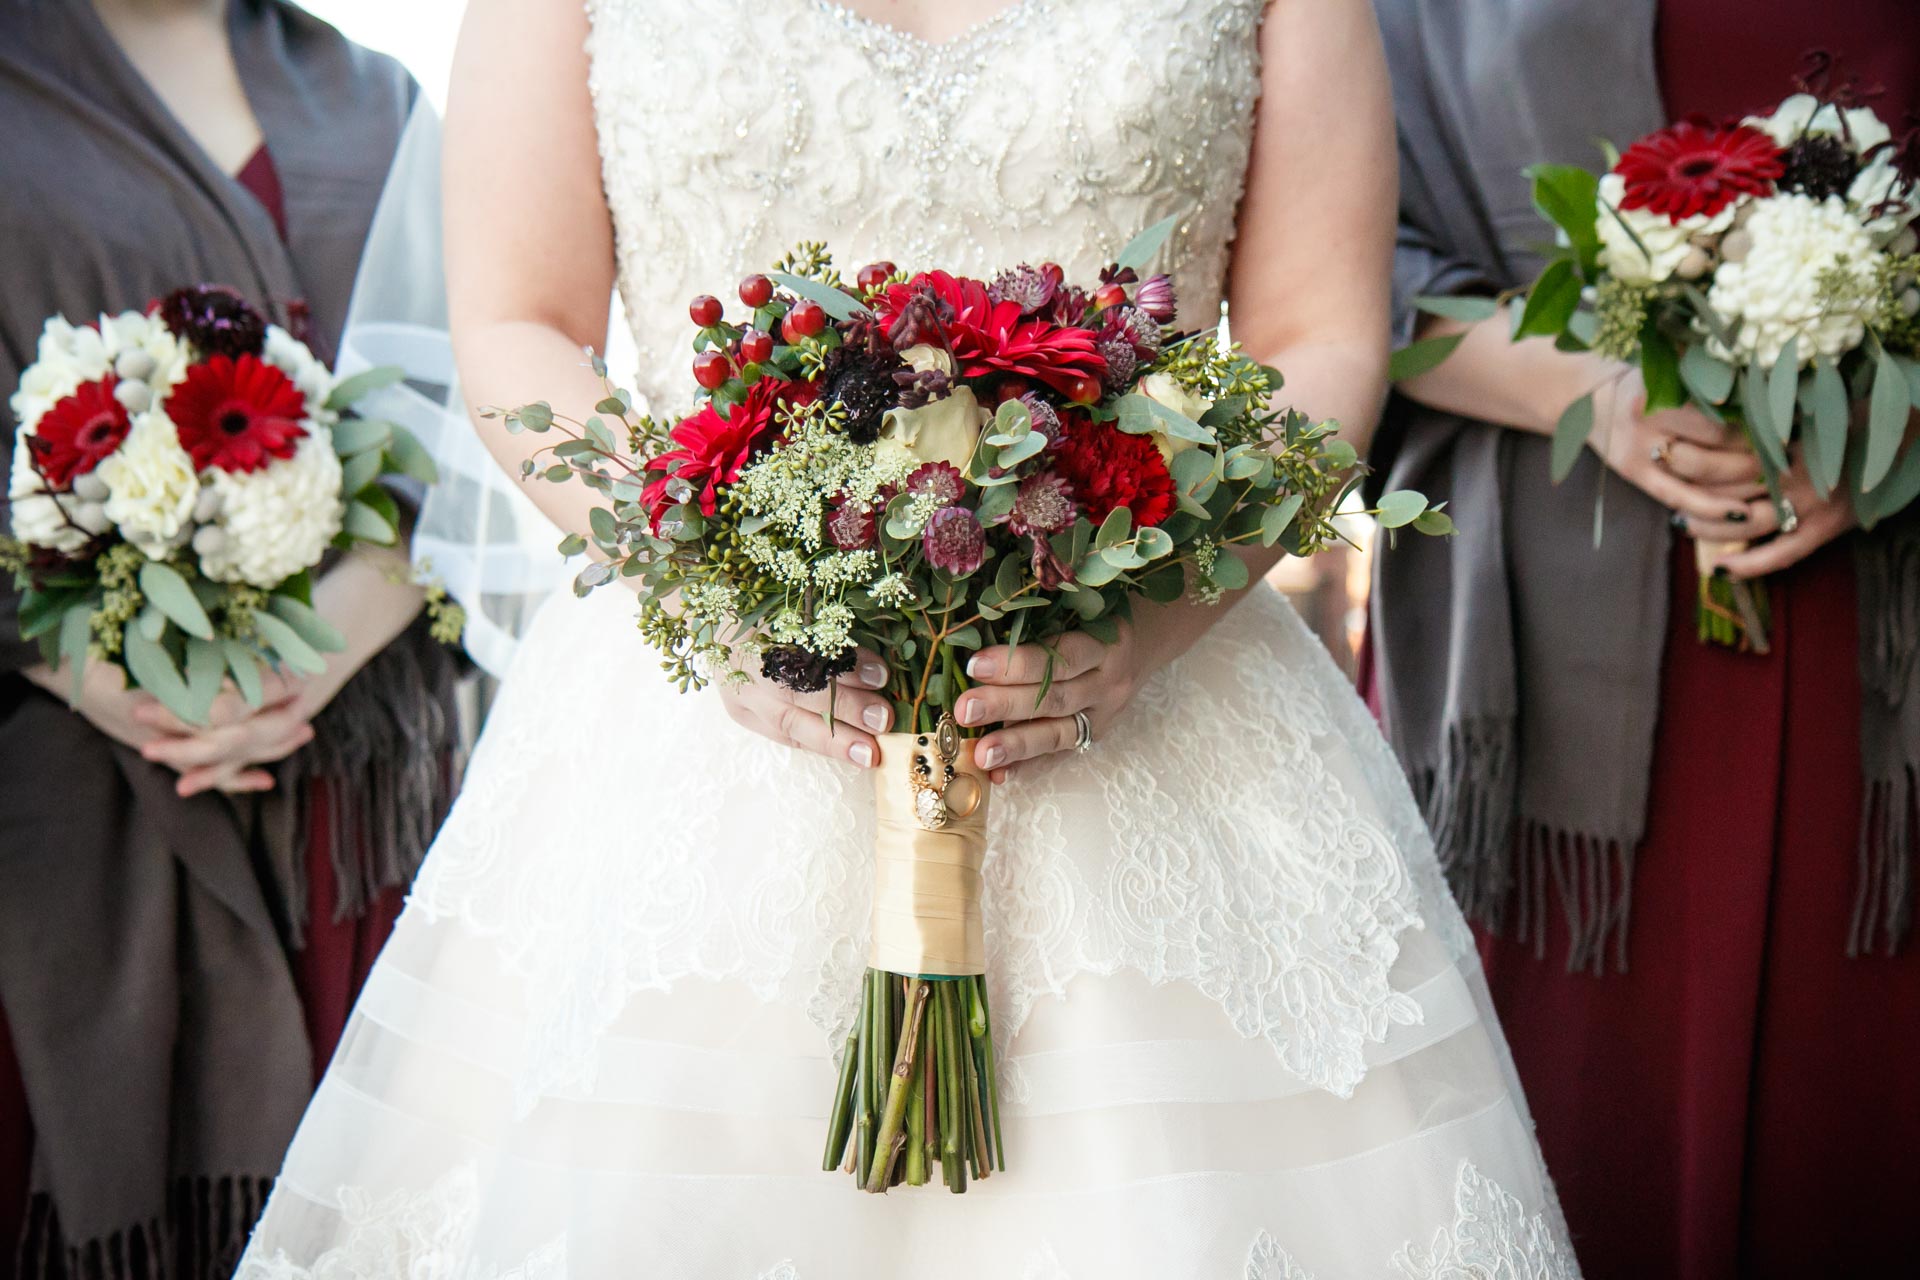
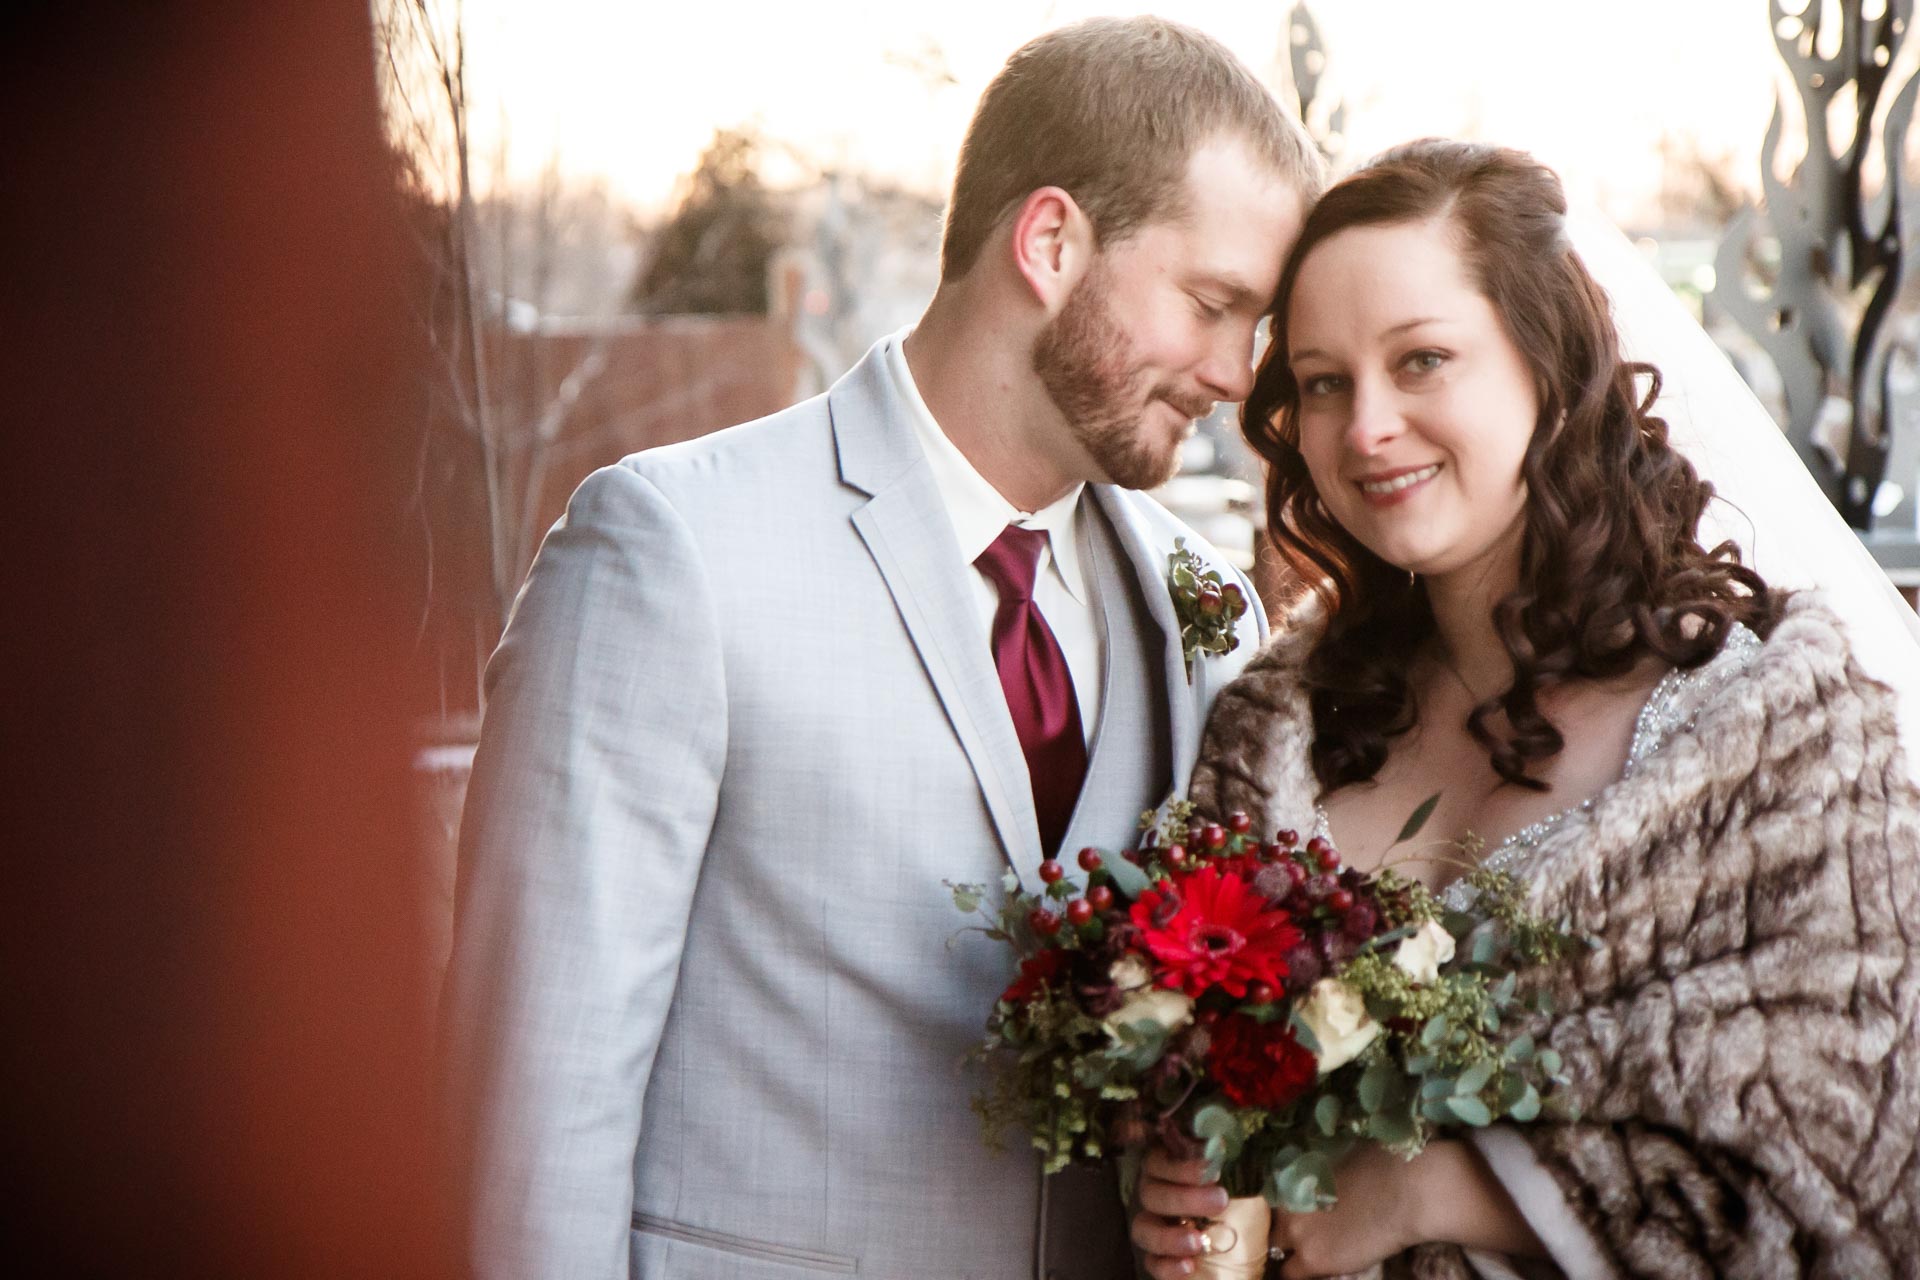
Red Berries
If you’re lucky, you may encounter some trees or bushes that contain red berries. Use them! Place your subjects about 5 - 10 yards in front of the berries, set your camera to a low aperture and snap the shutter. You’ll be surprised at how the red will “pop” in the background of your image.
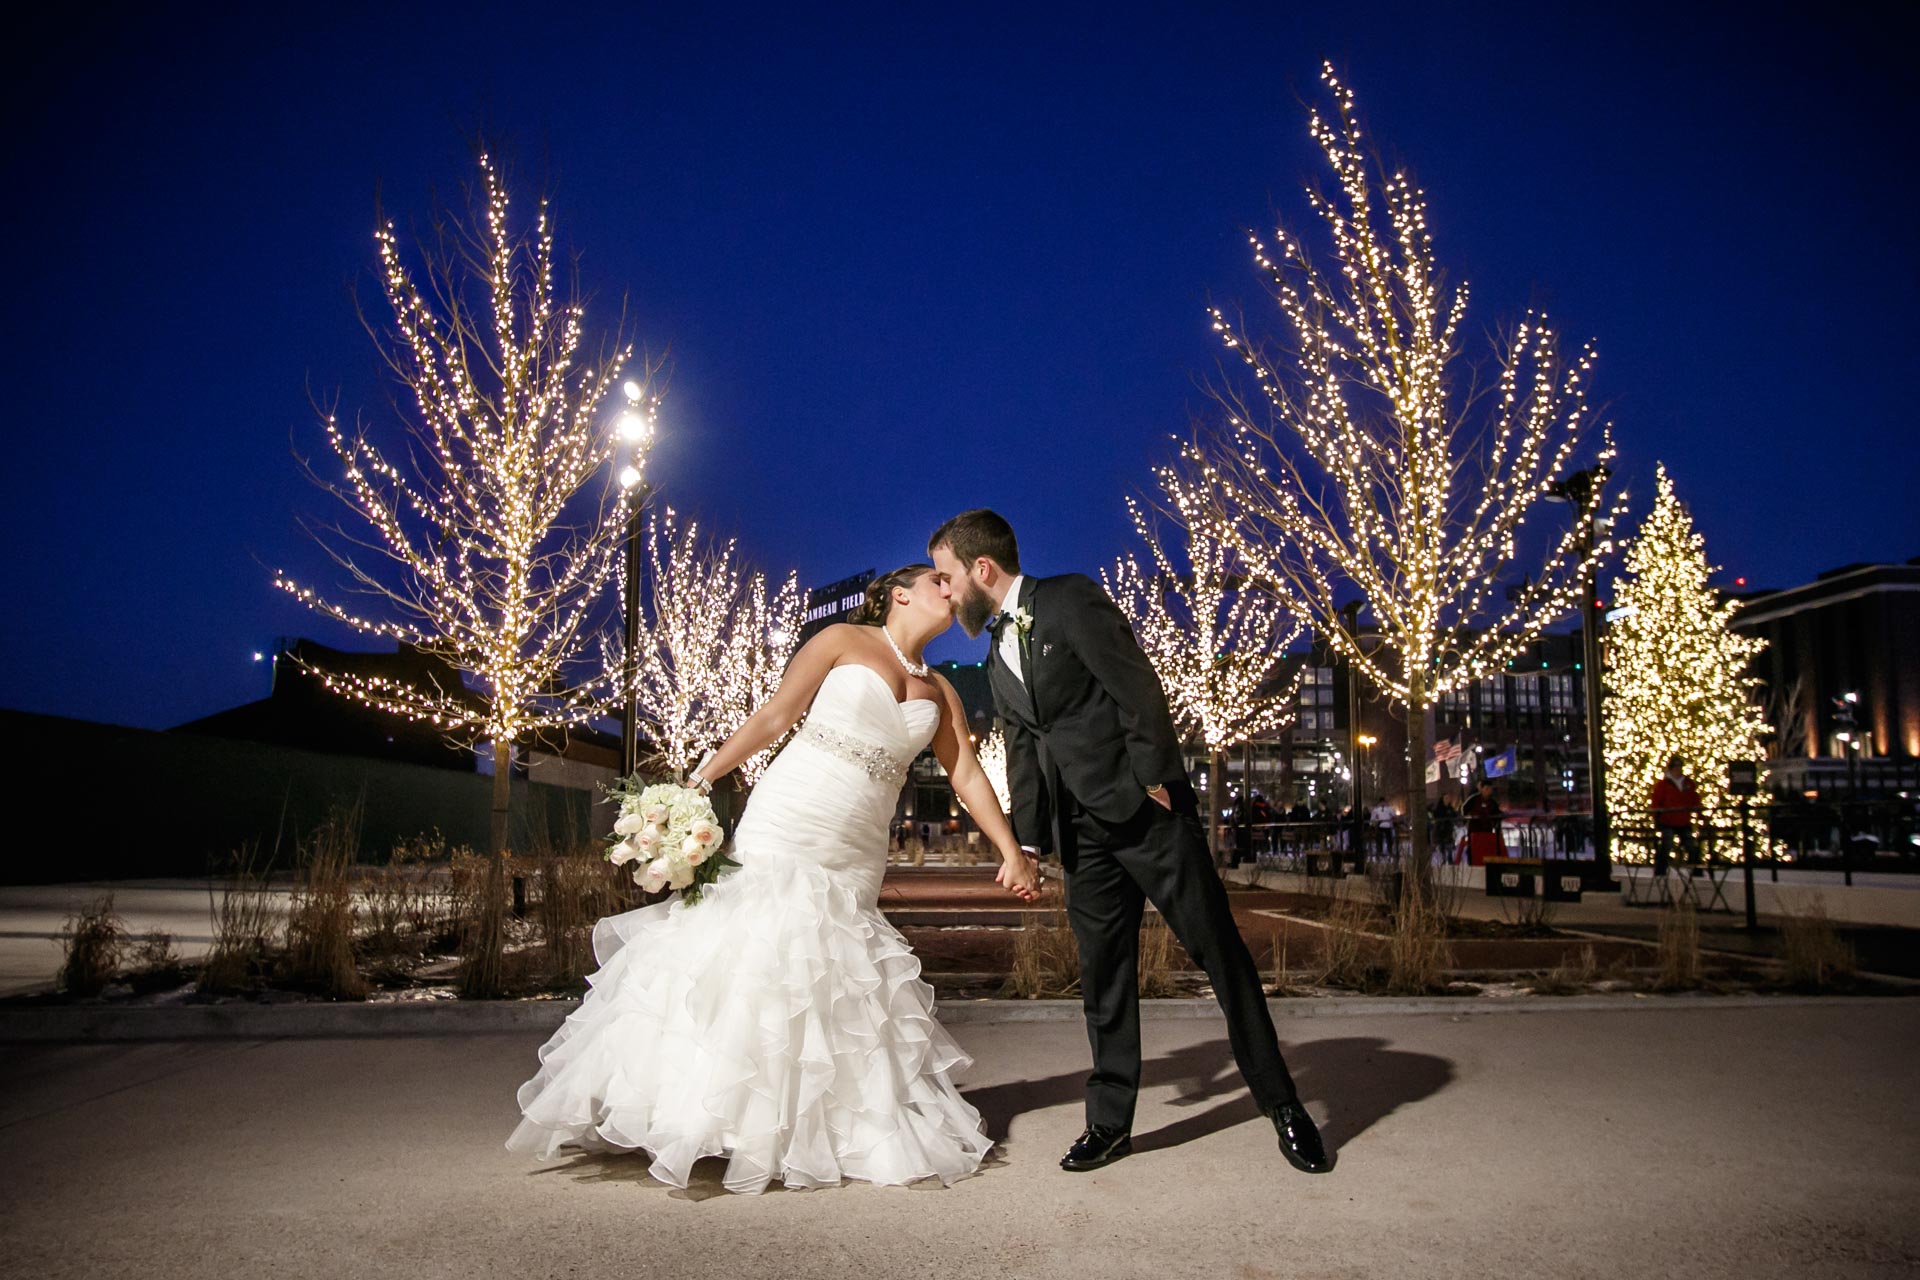
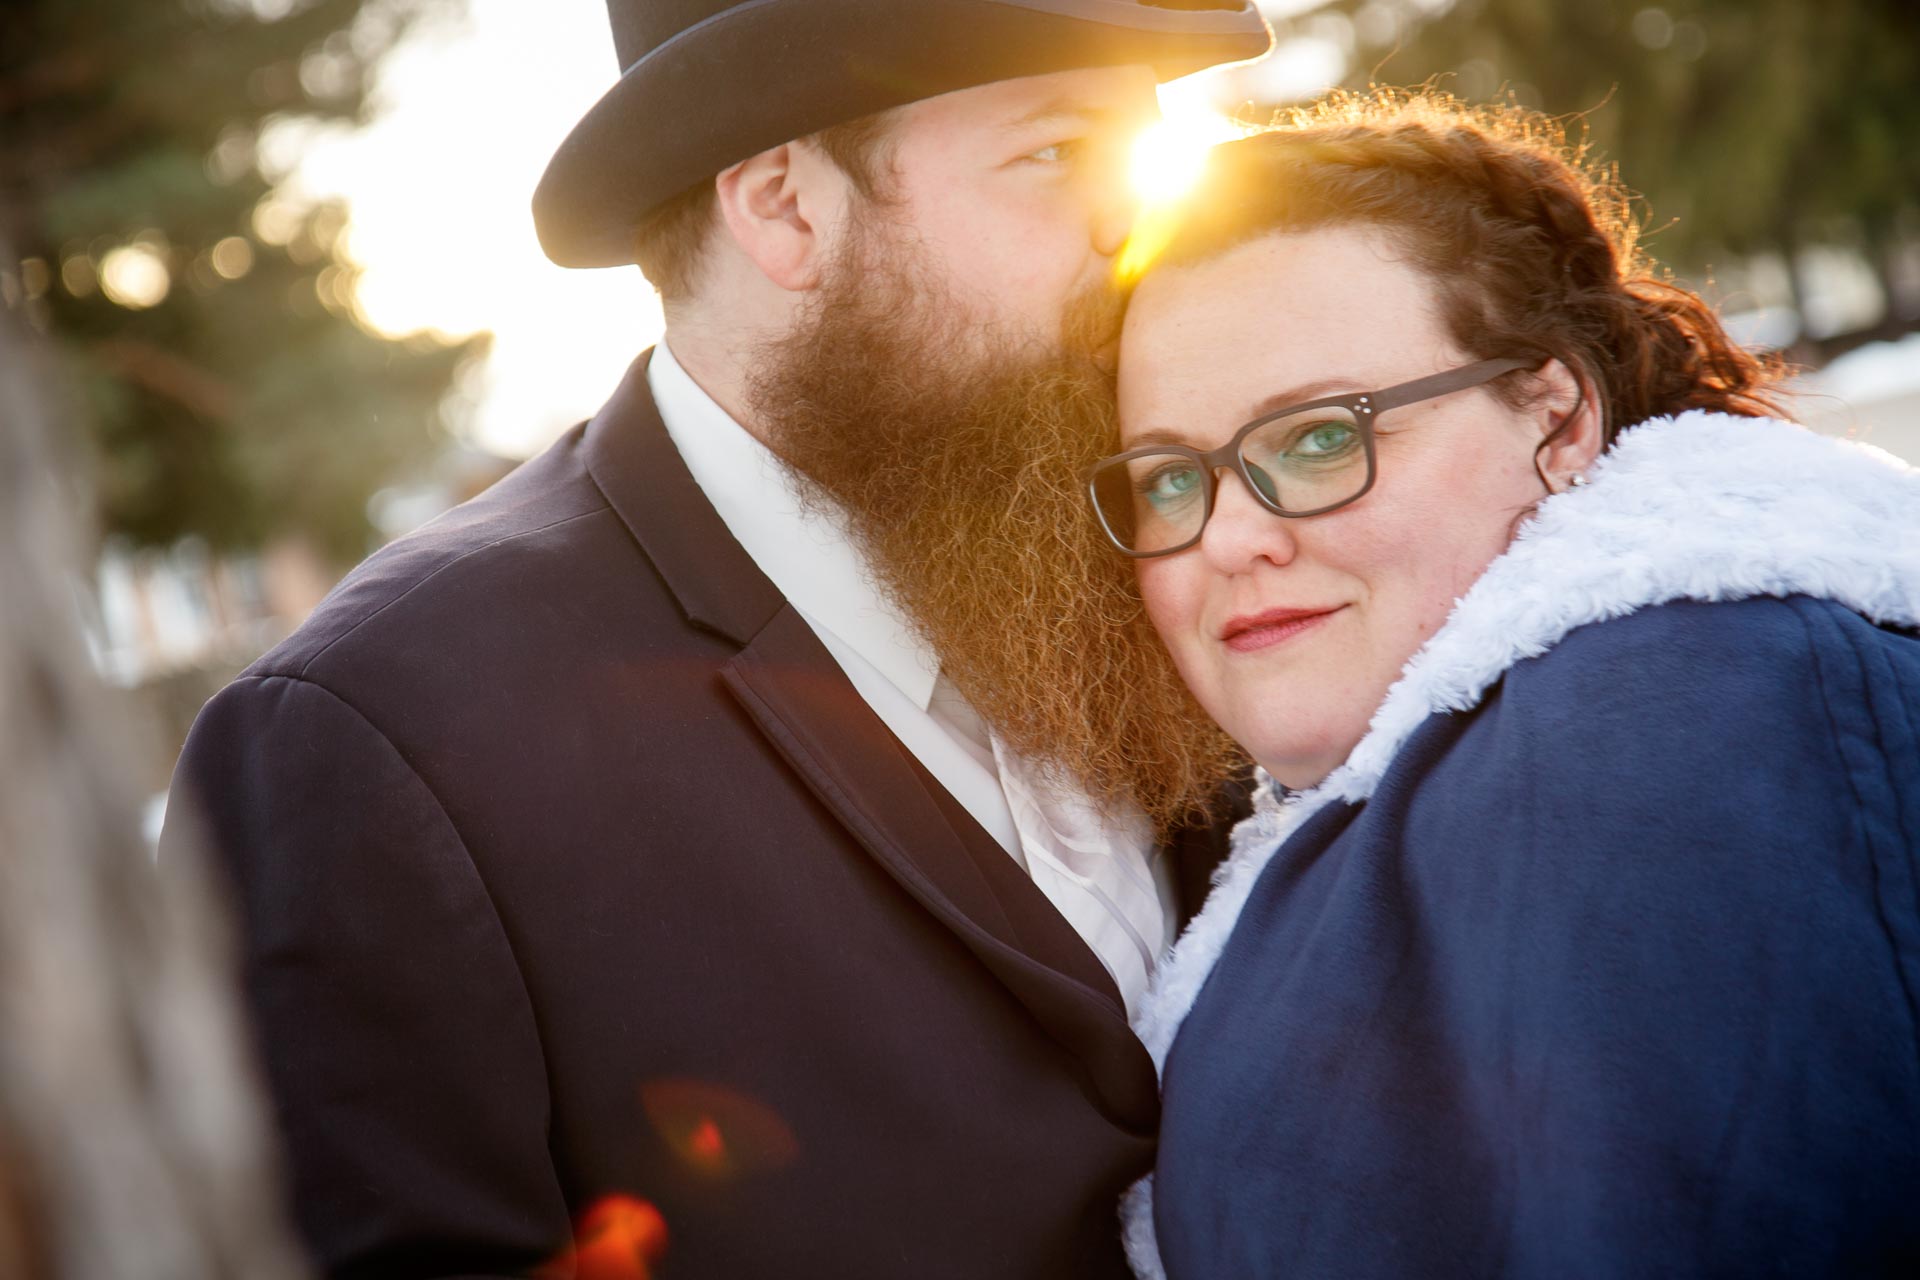
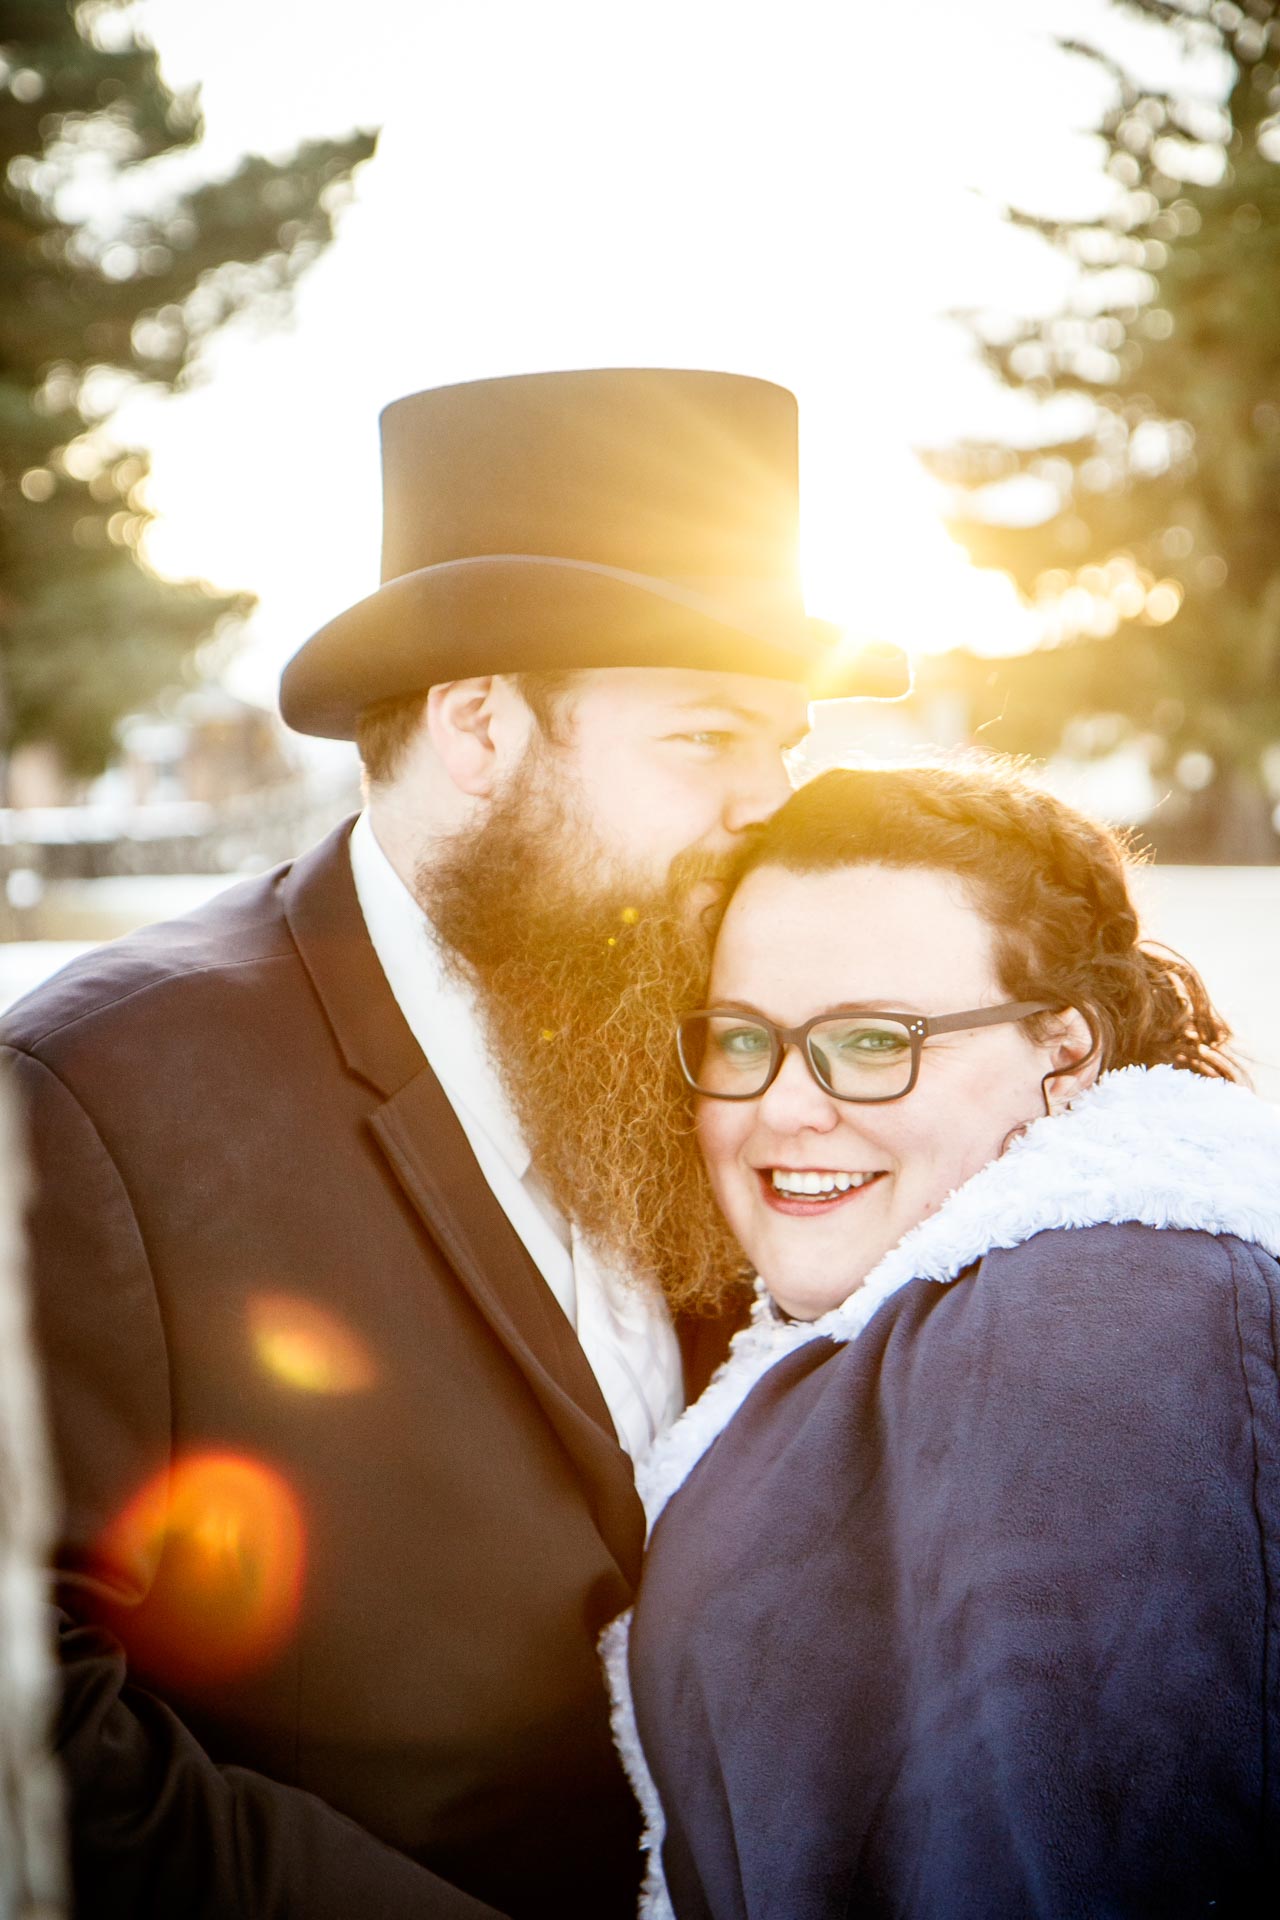
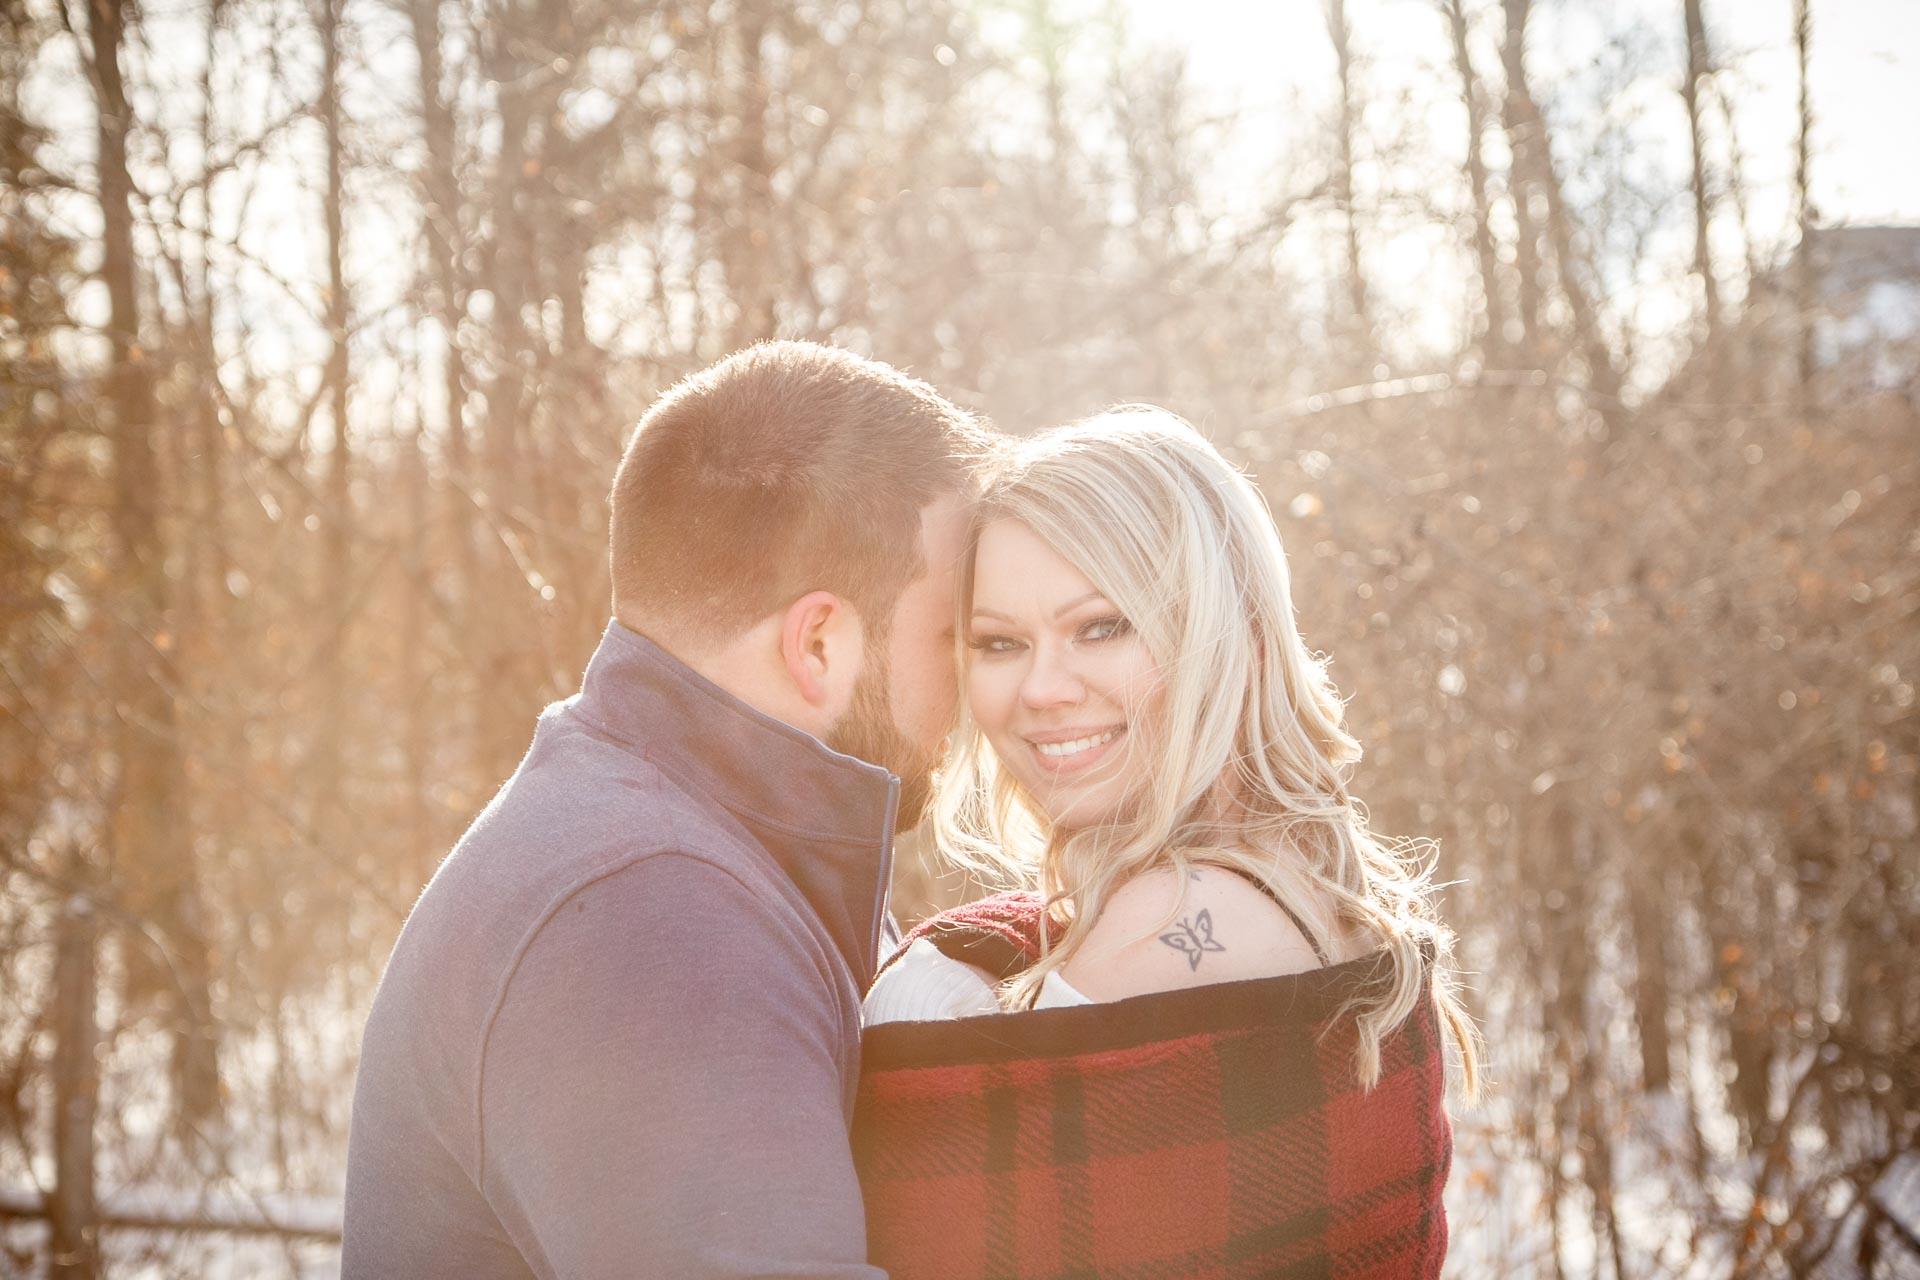
Blue Skies
Since the angle of the sun is lower in the winter, you can use this to your advantage. Place your subjects on an angle in which you take a photo and can see the blue sky behind them.
When you hit it right, you can capture a bright, vibrant blue sky against a solid white foreground. You’ll need to experiment a bit with the angle to achieve the right effect. But once, you have it, the results can be super-picturesque.
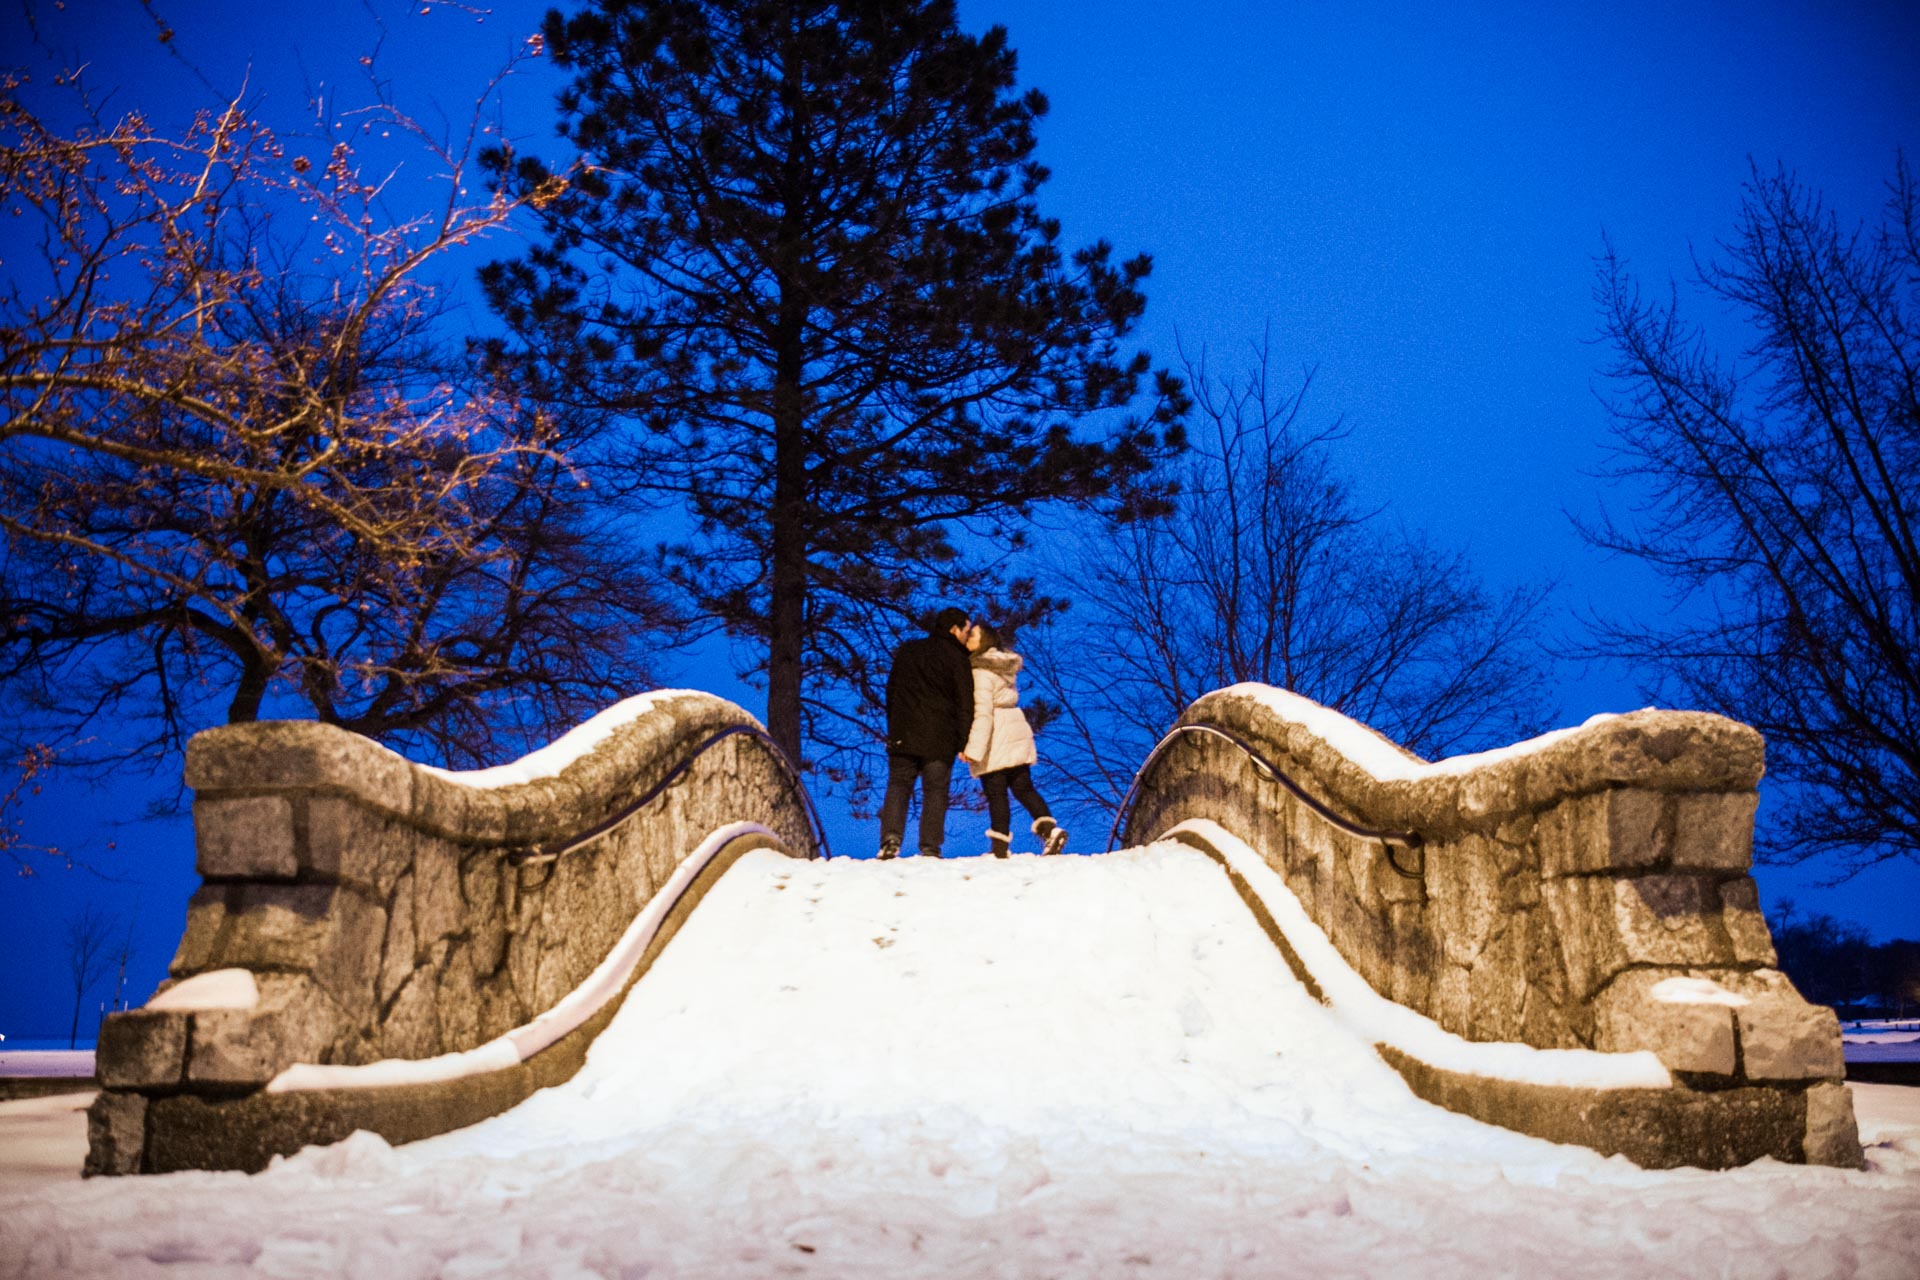
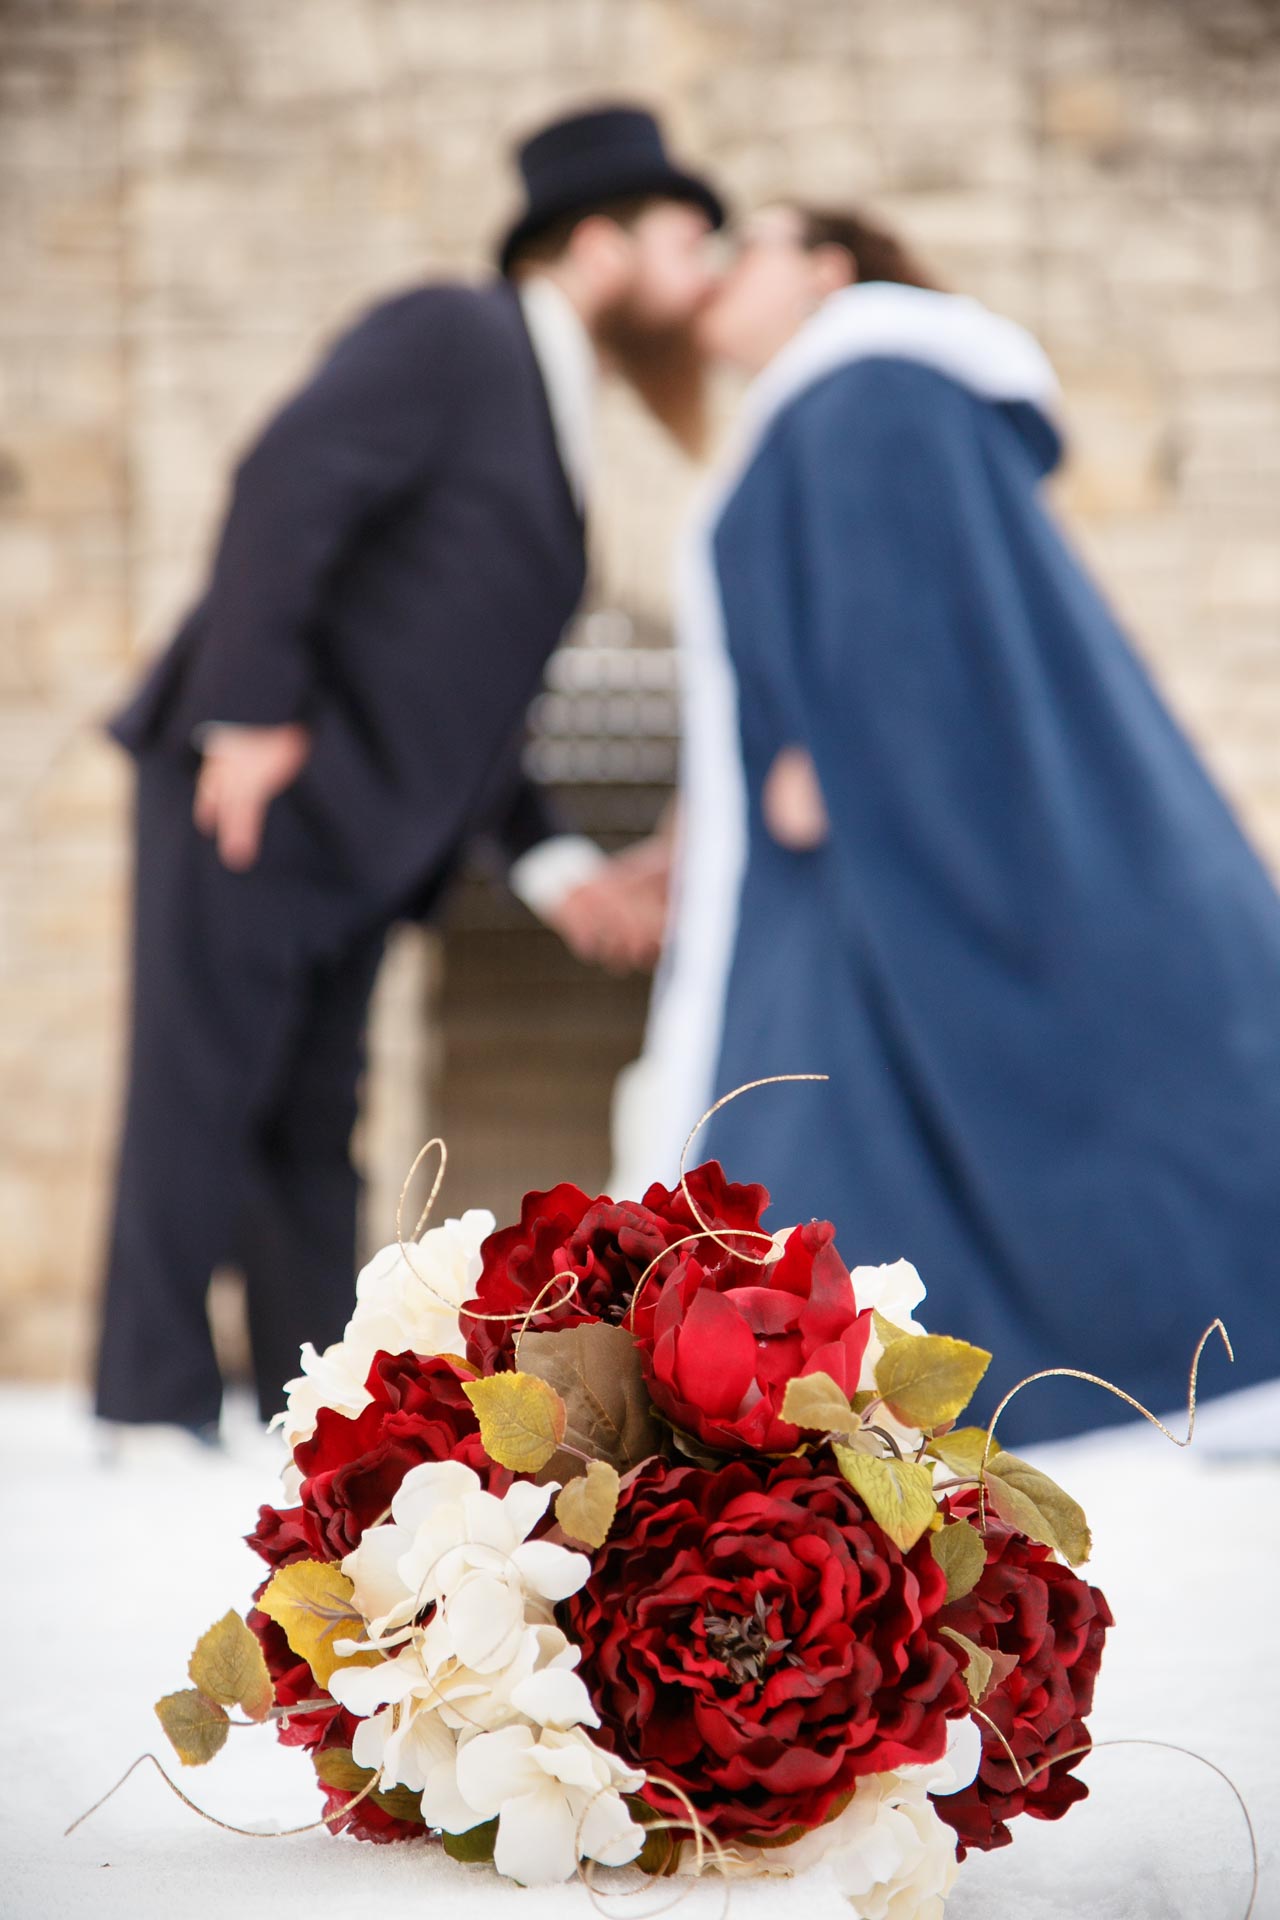
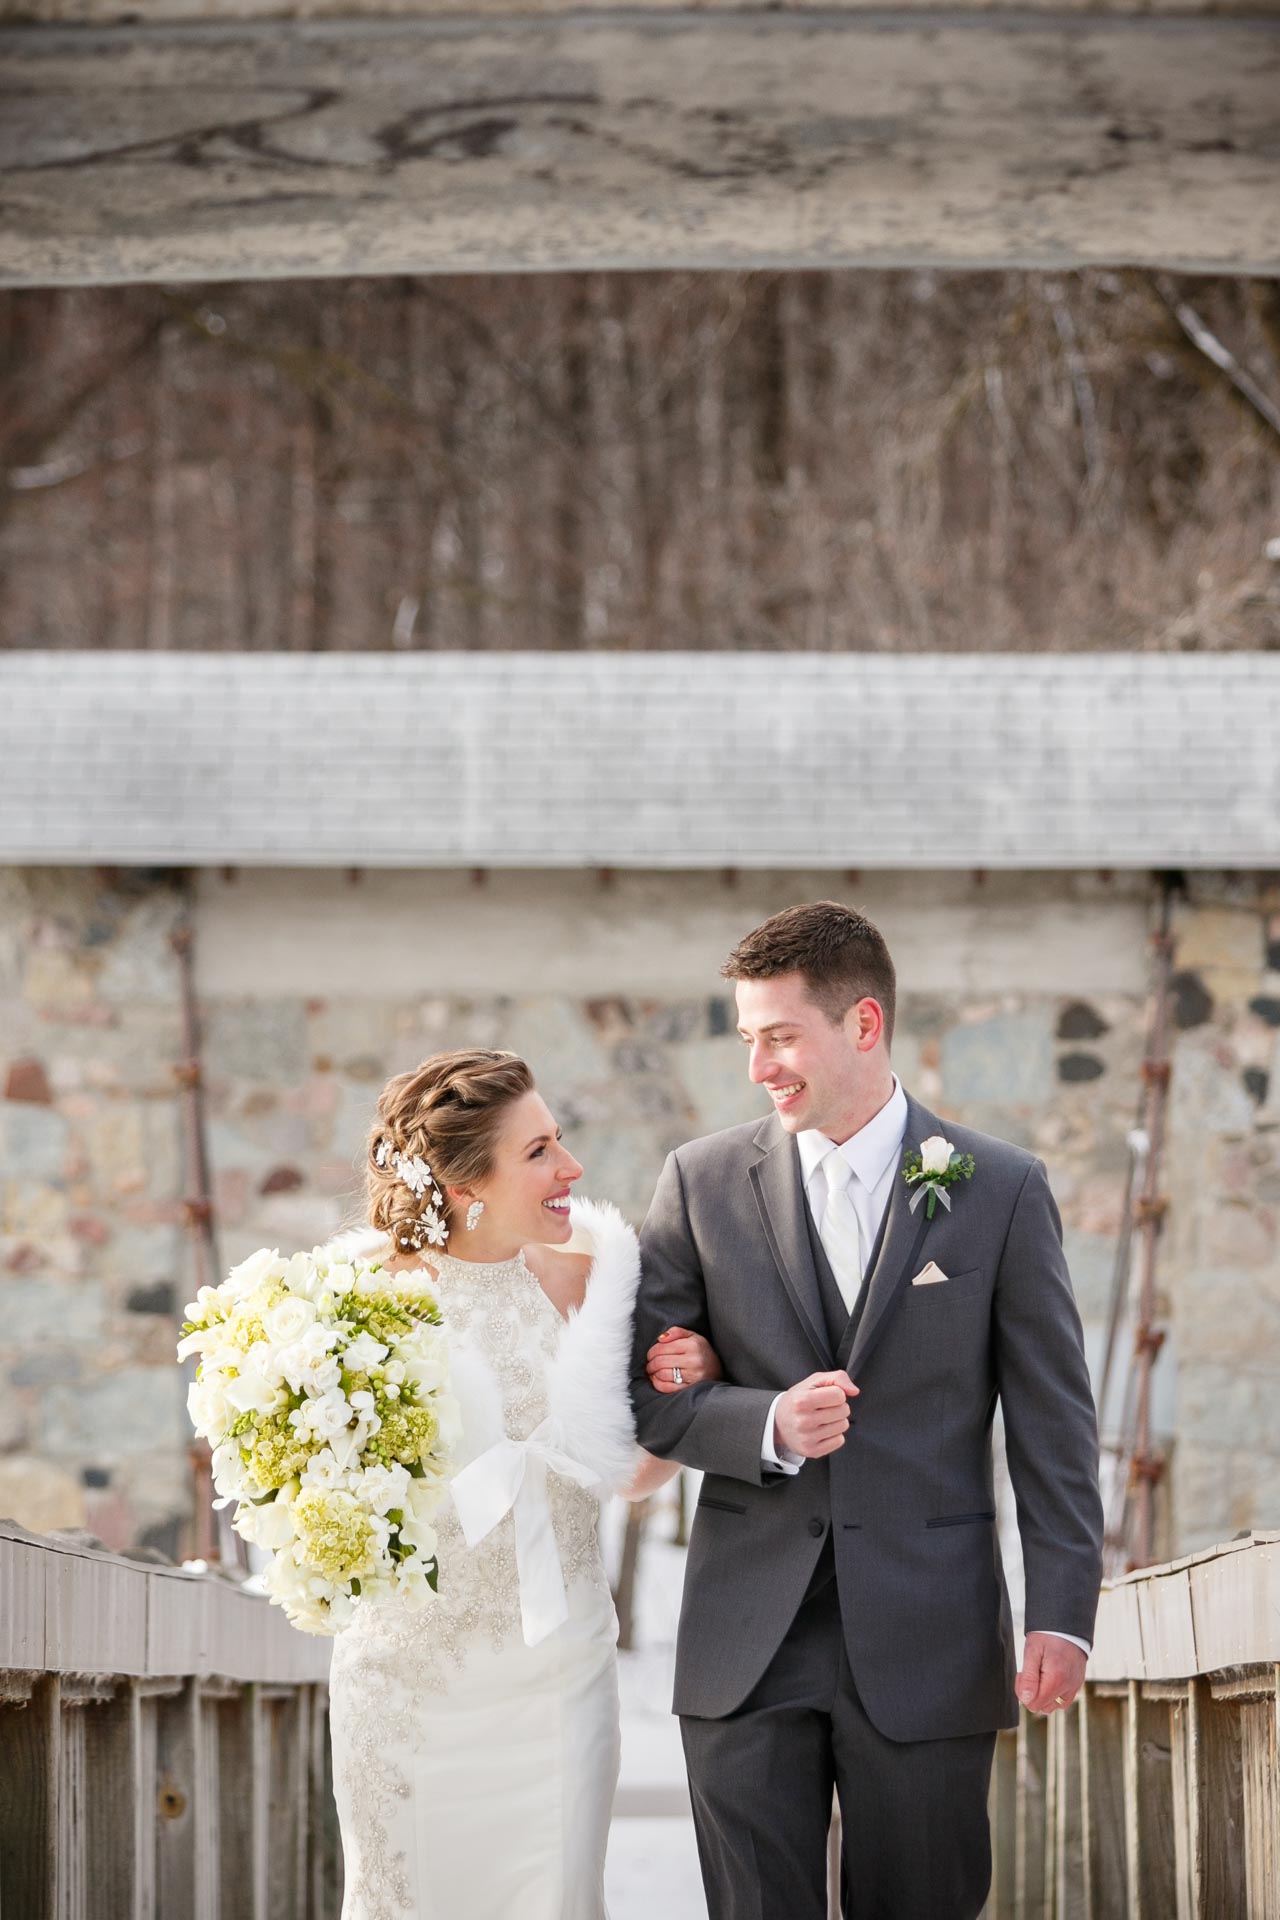
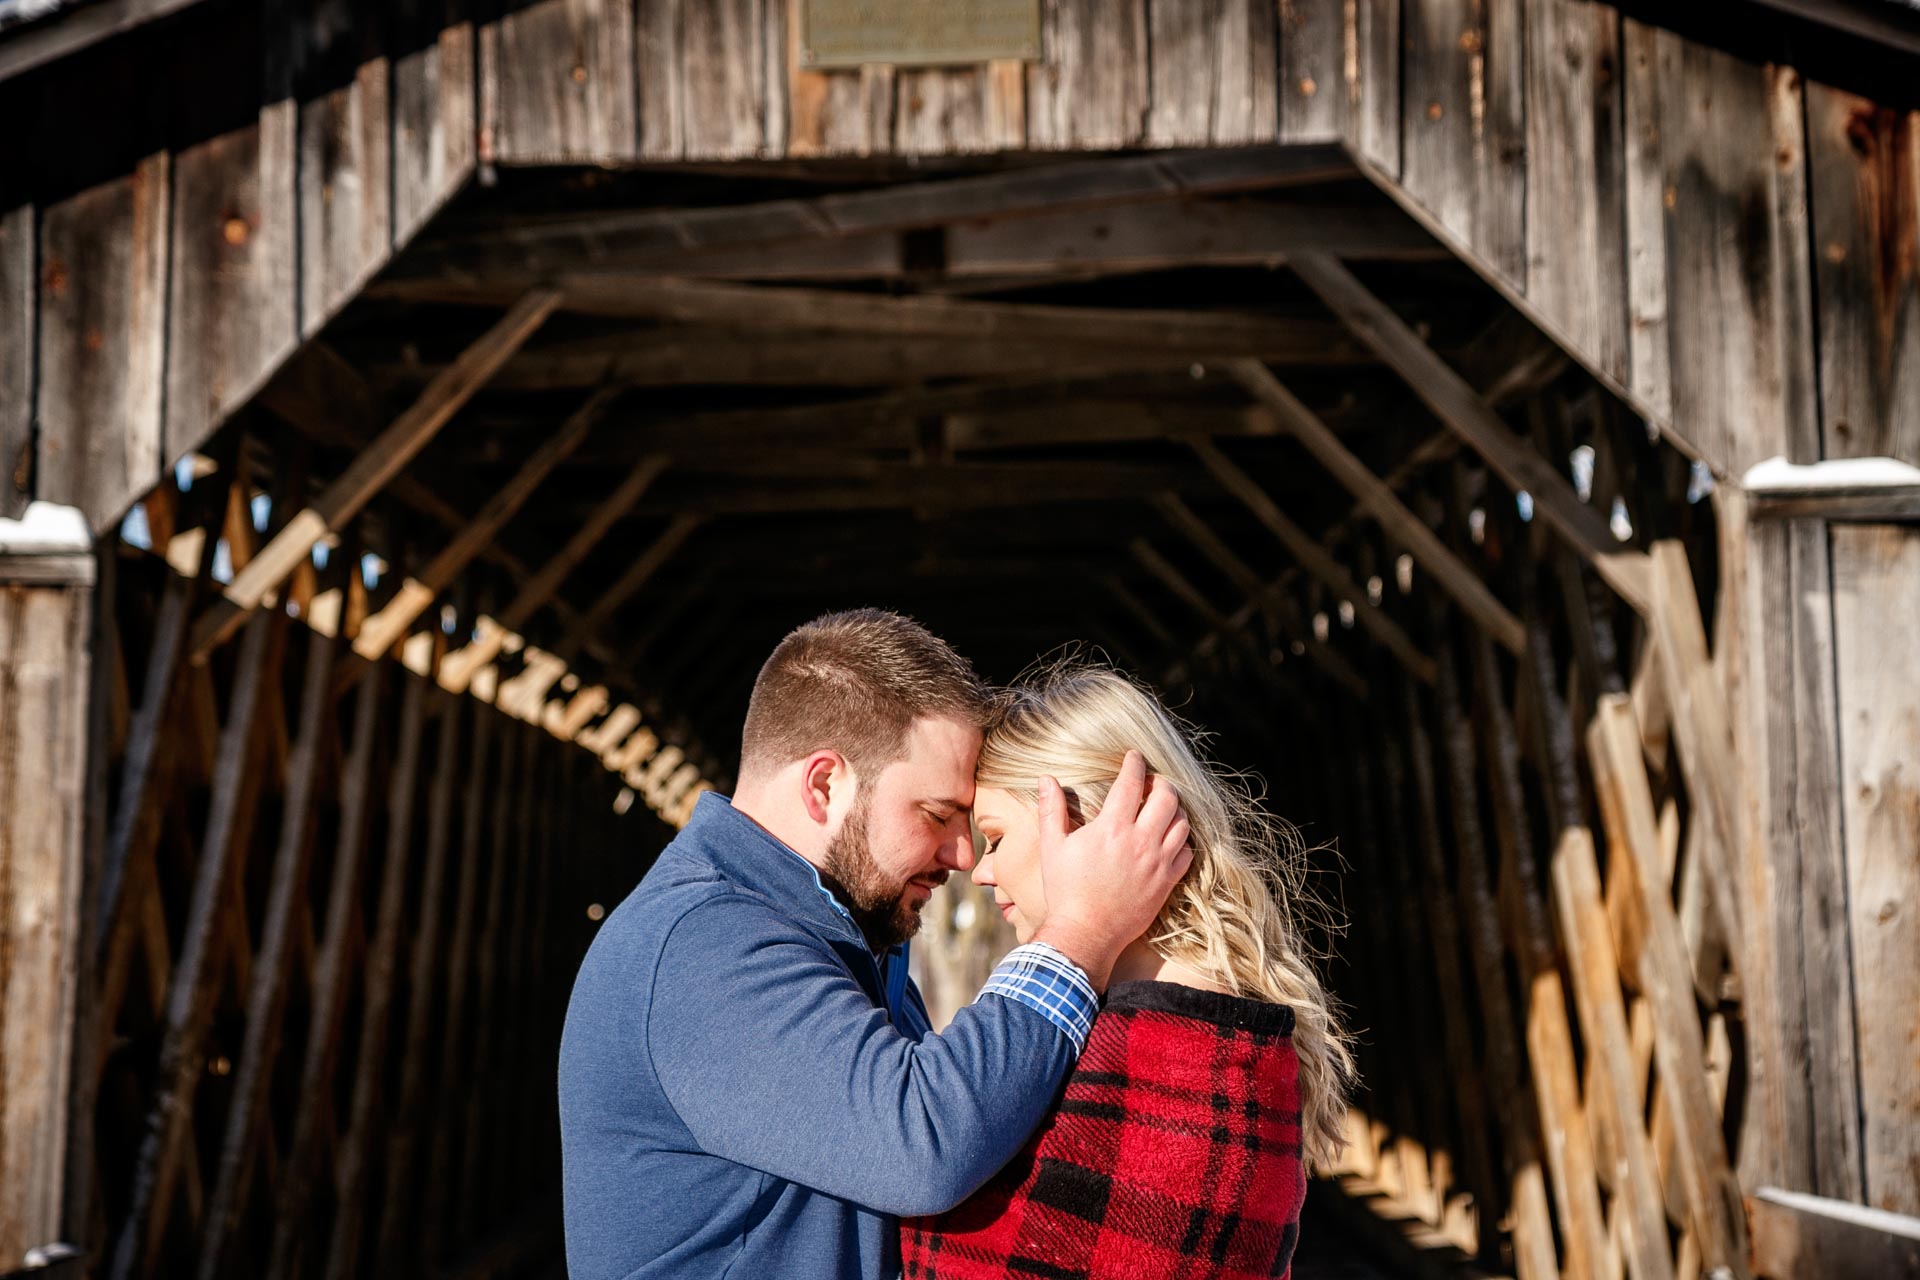
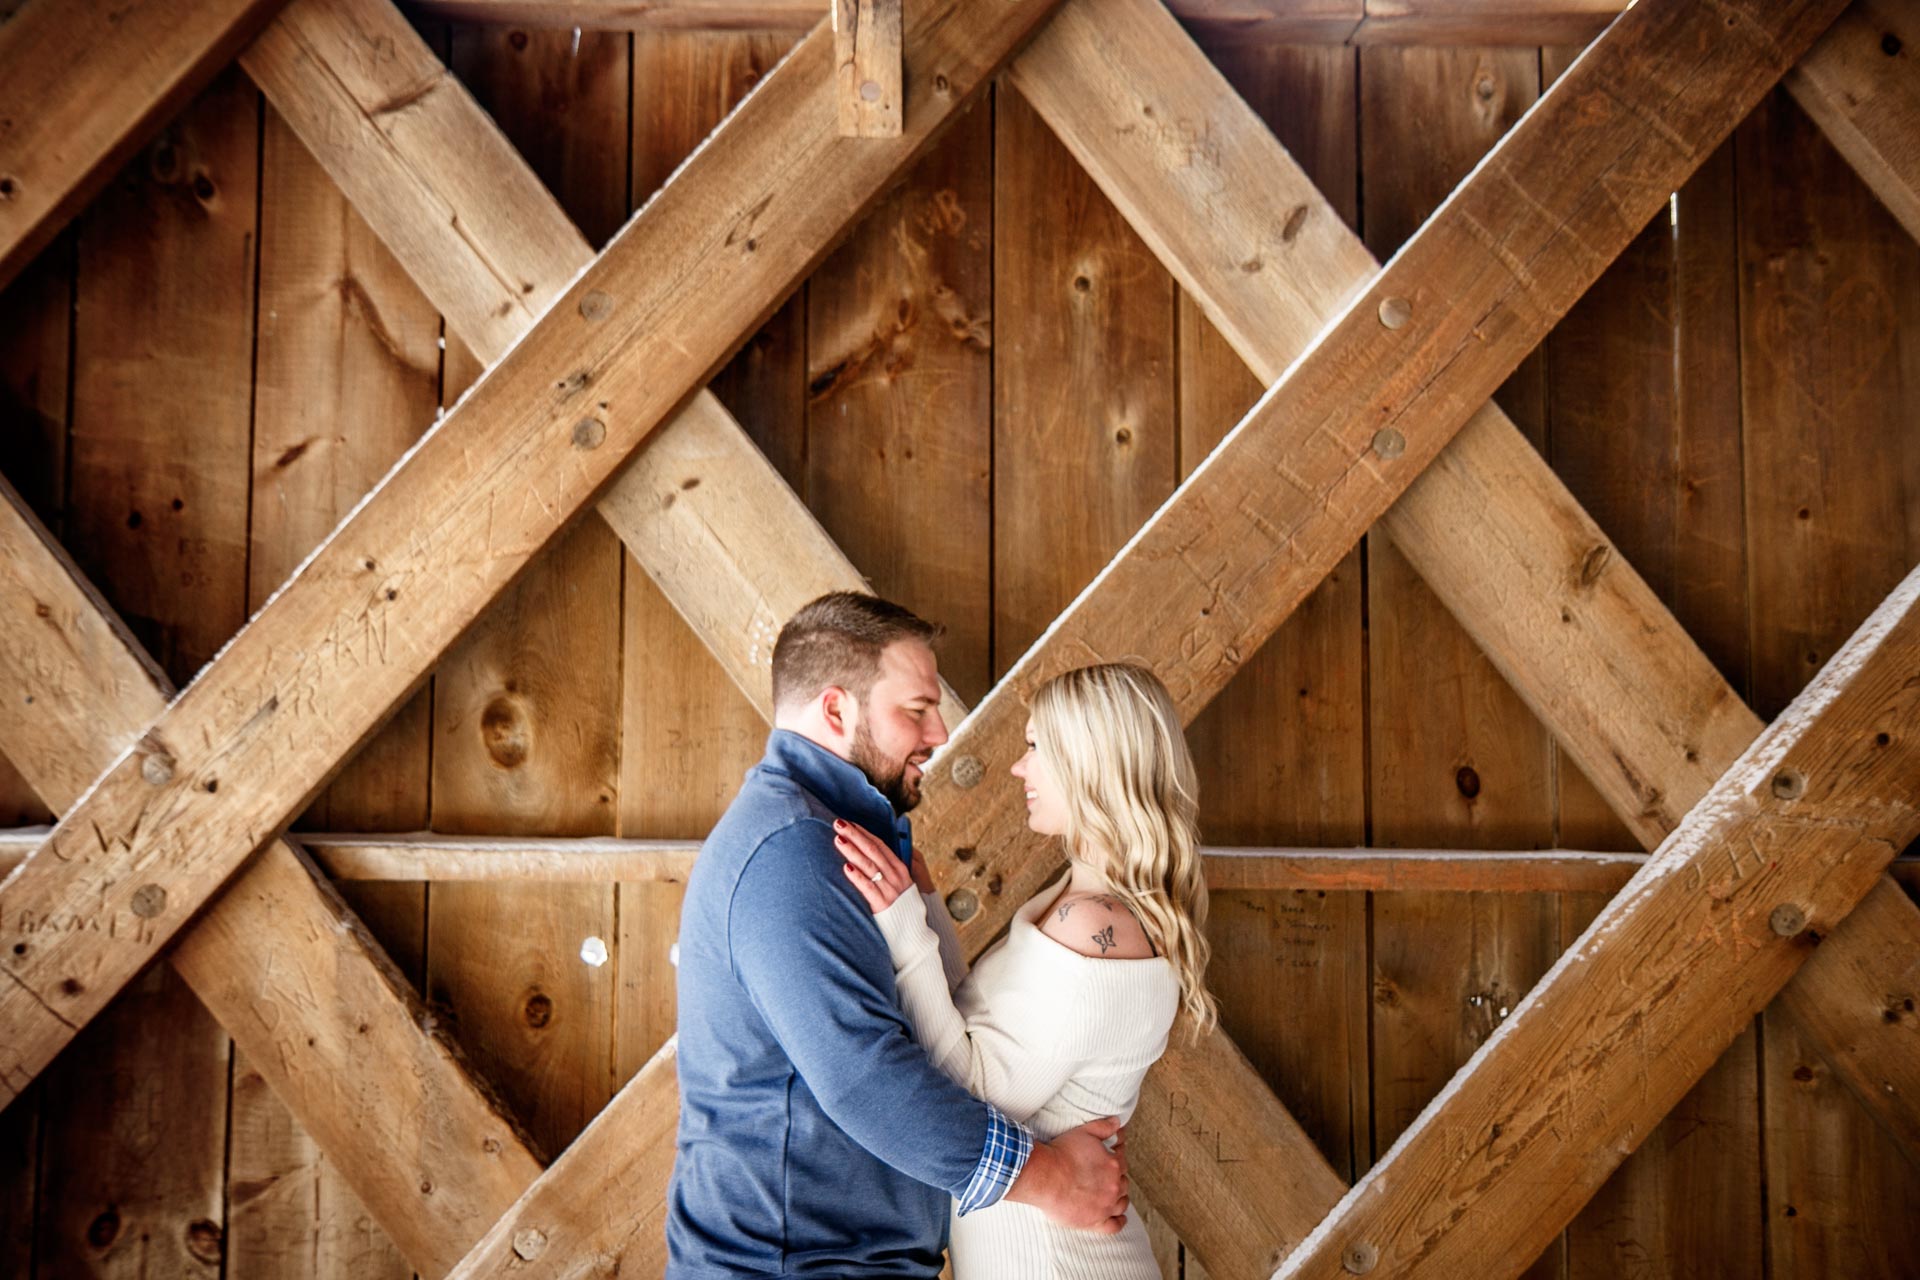
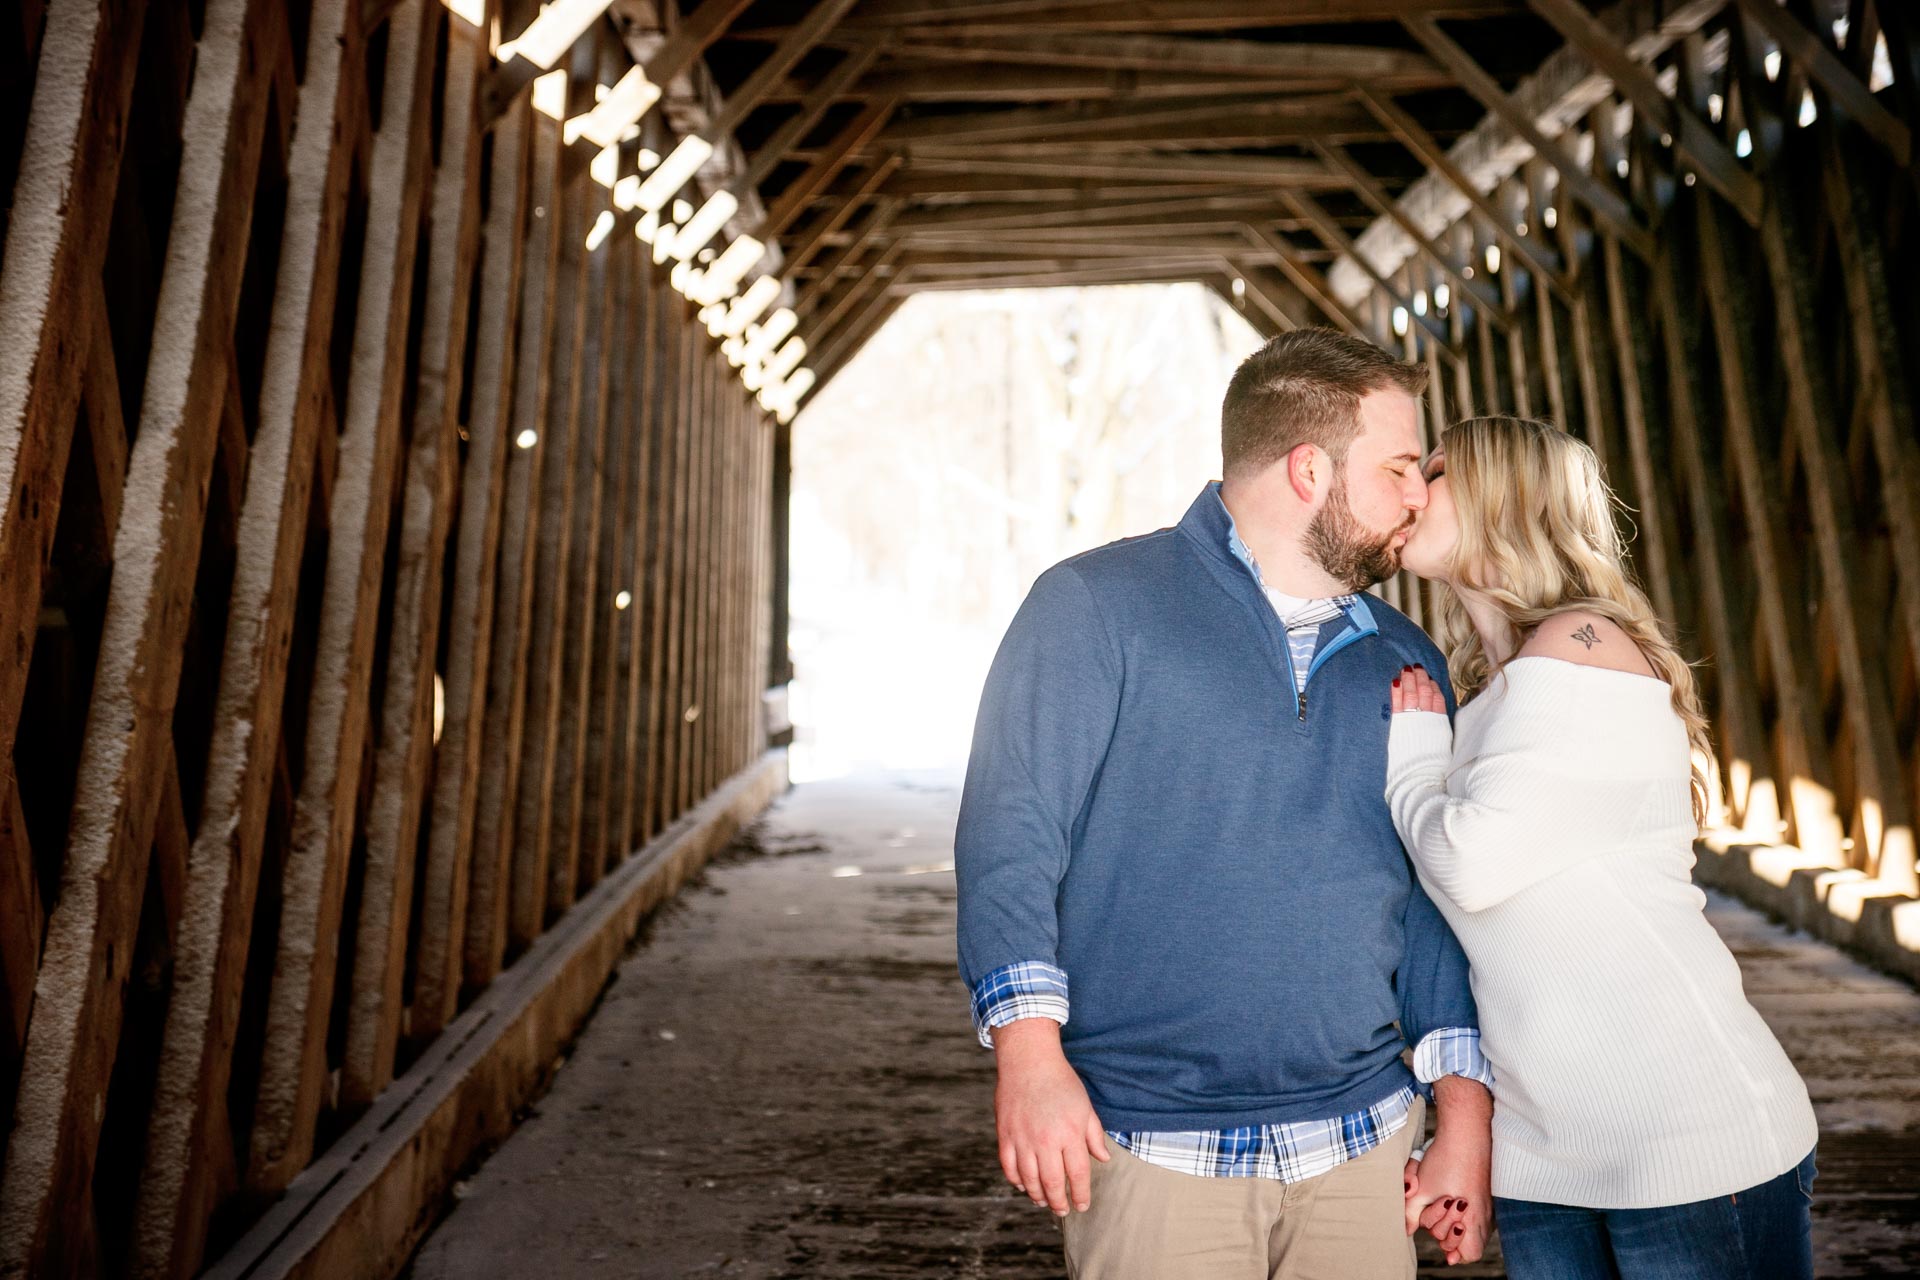
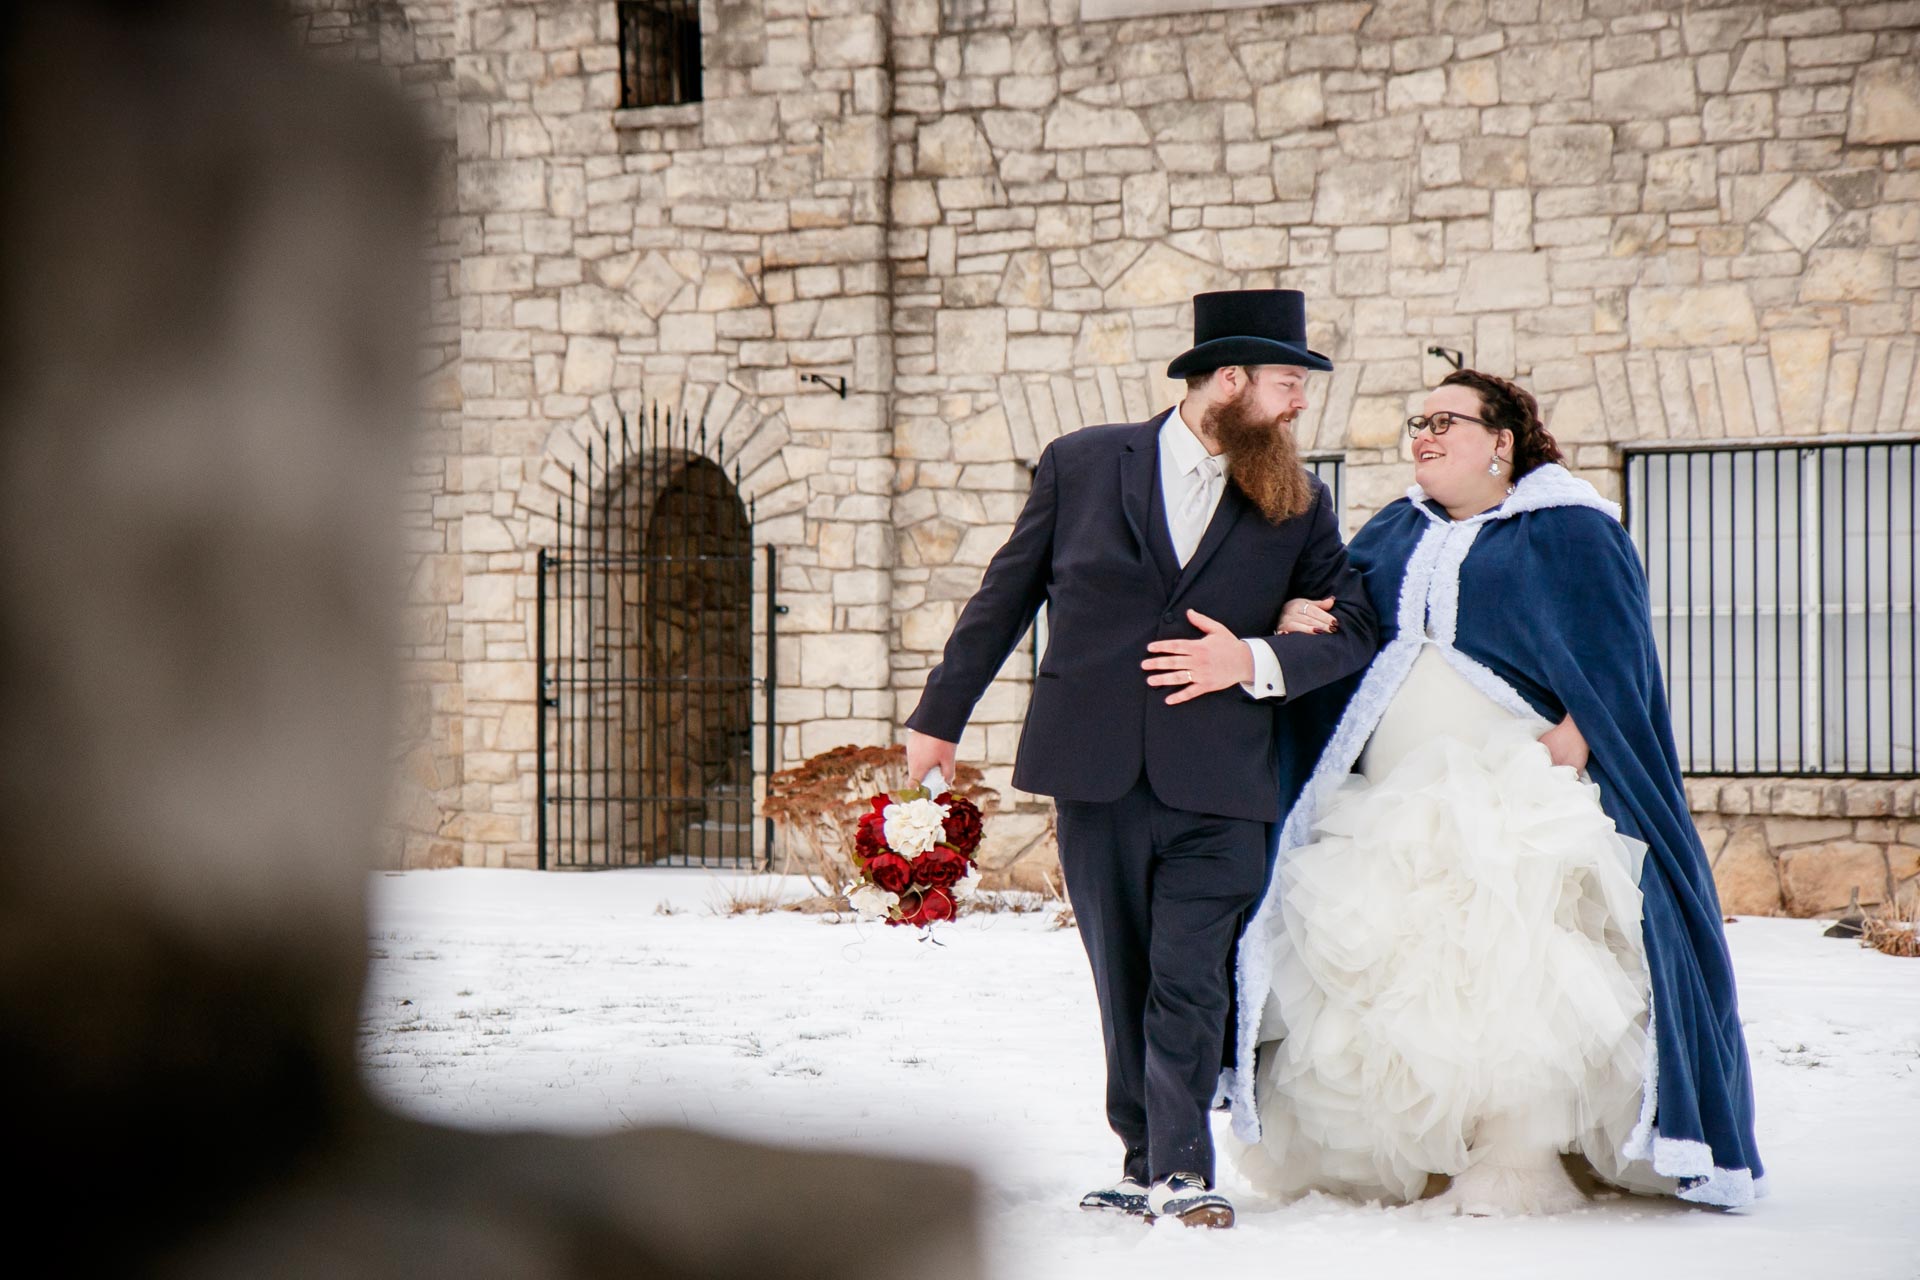
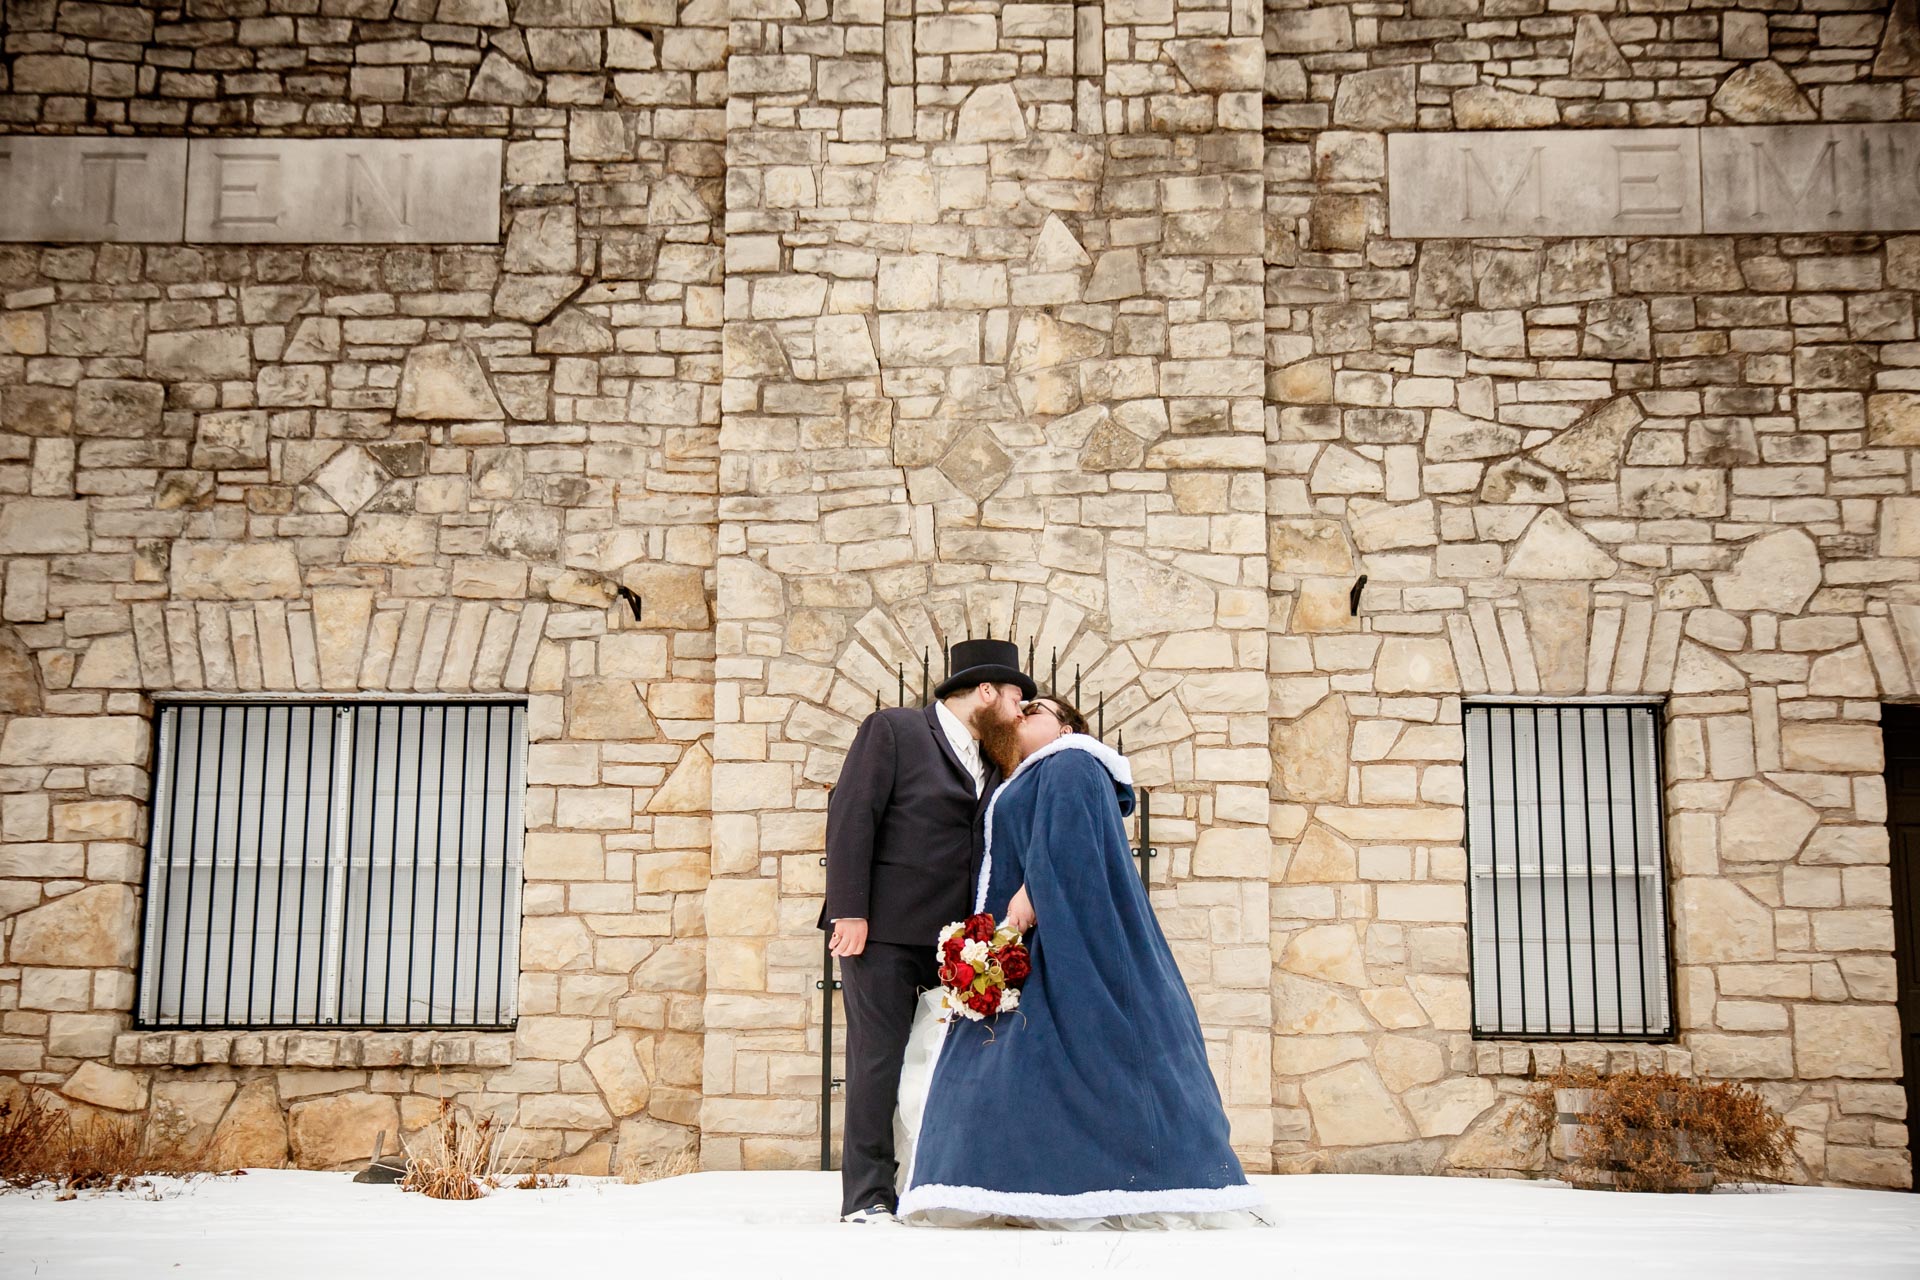
Stone and Snow
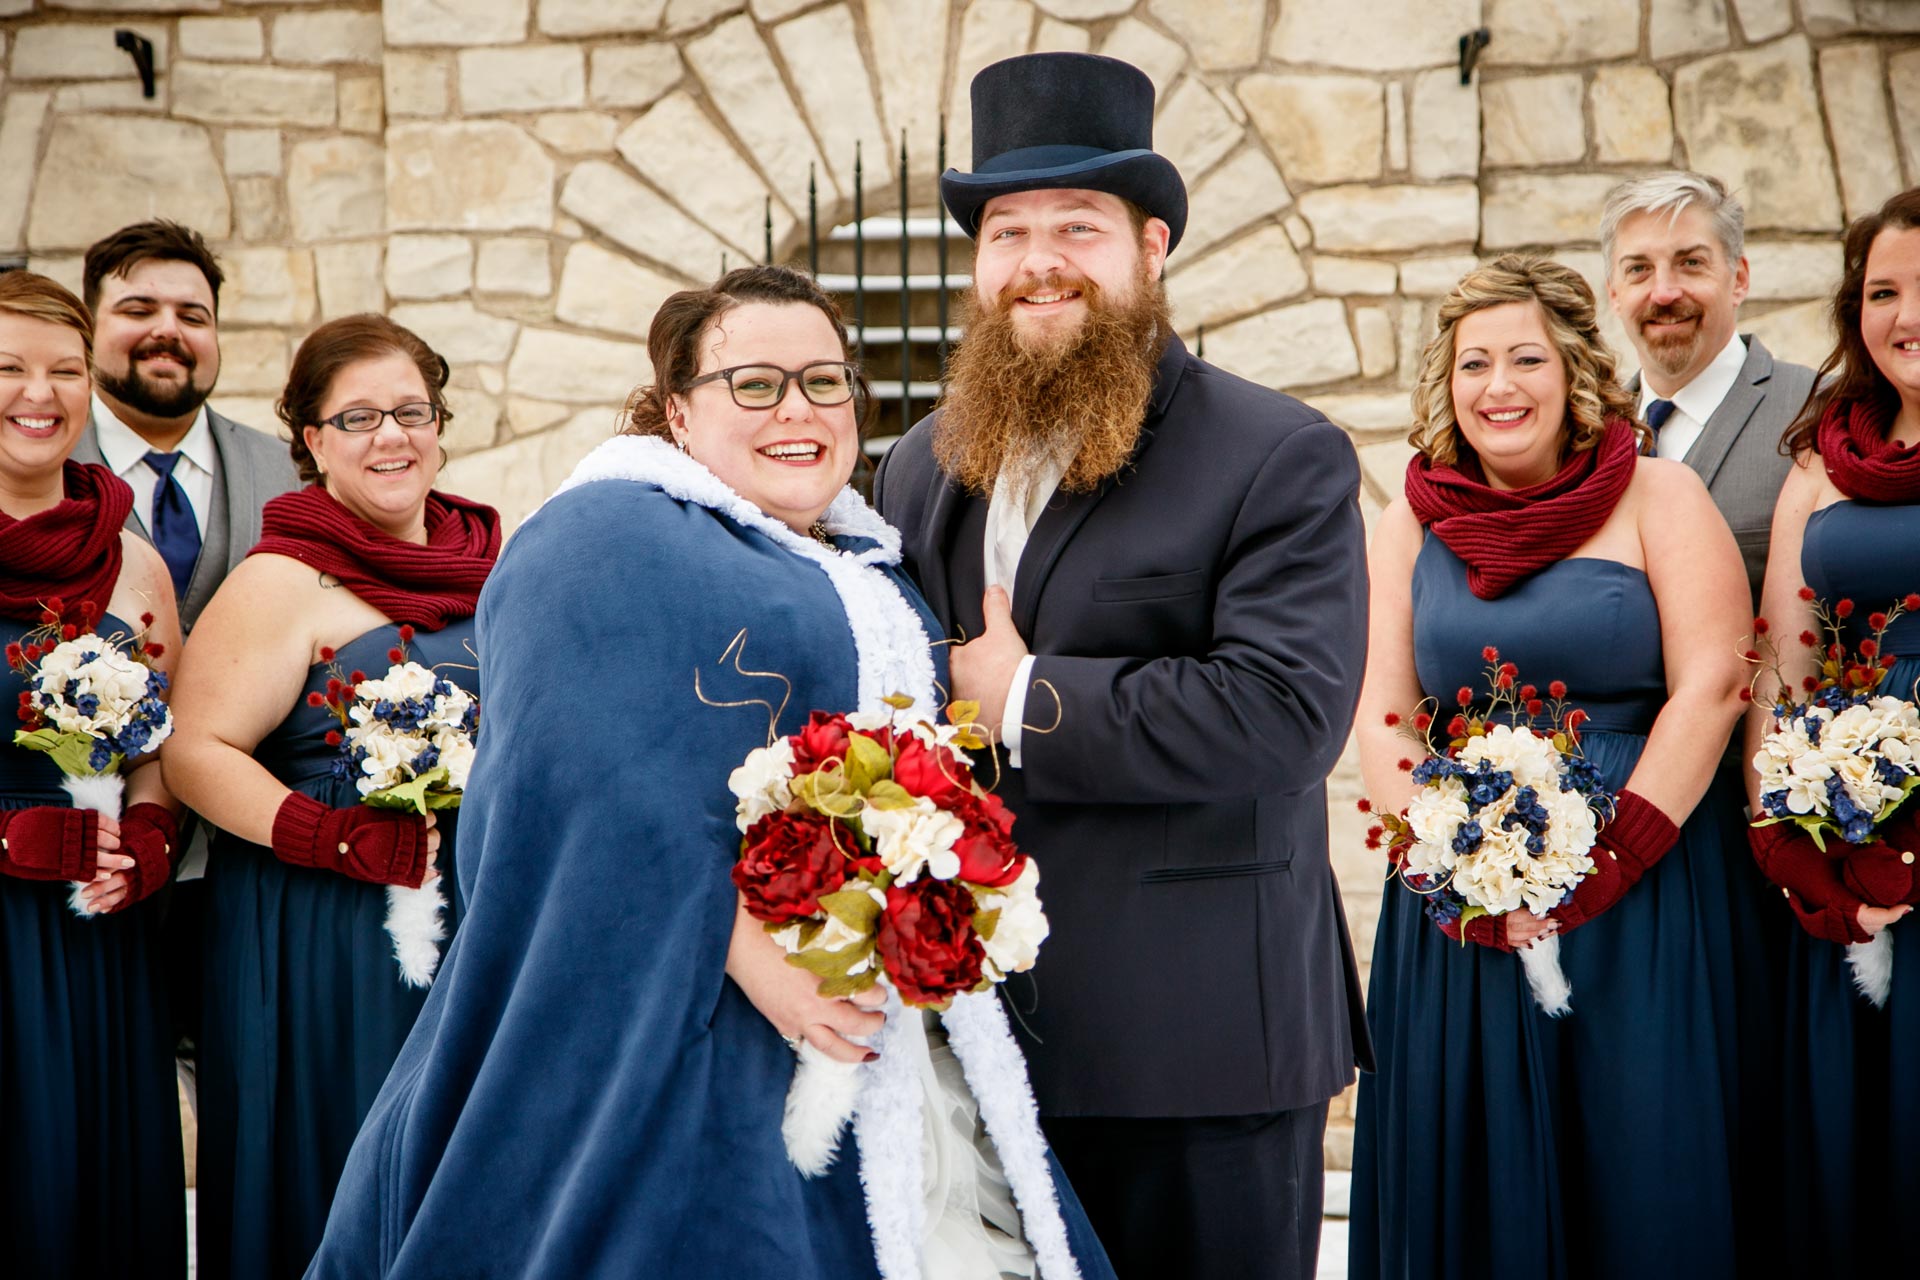
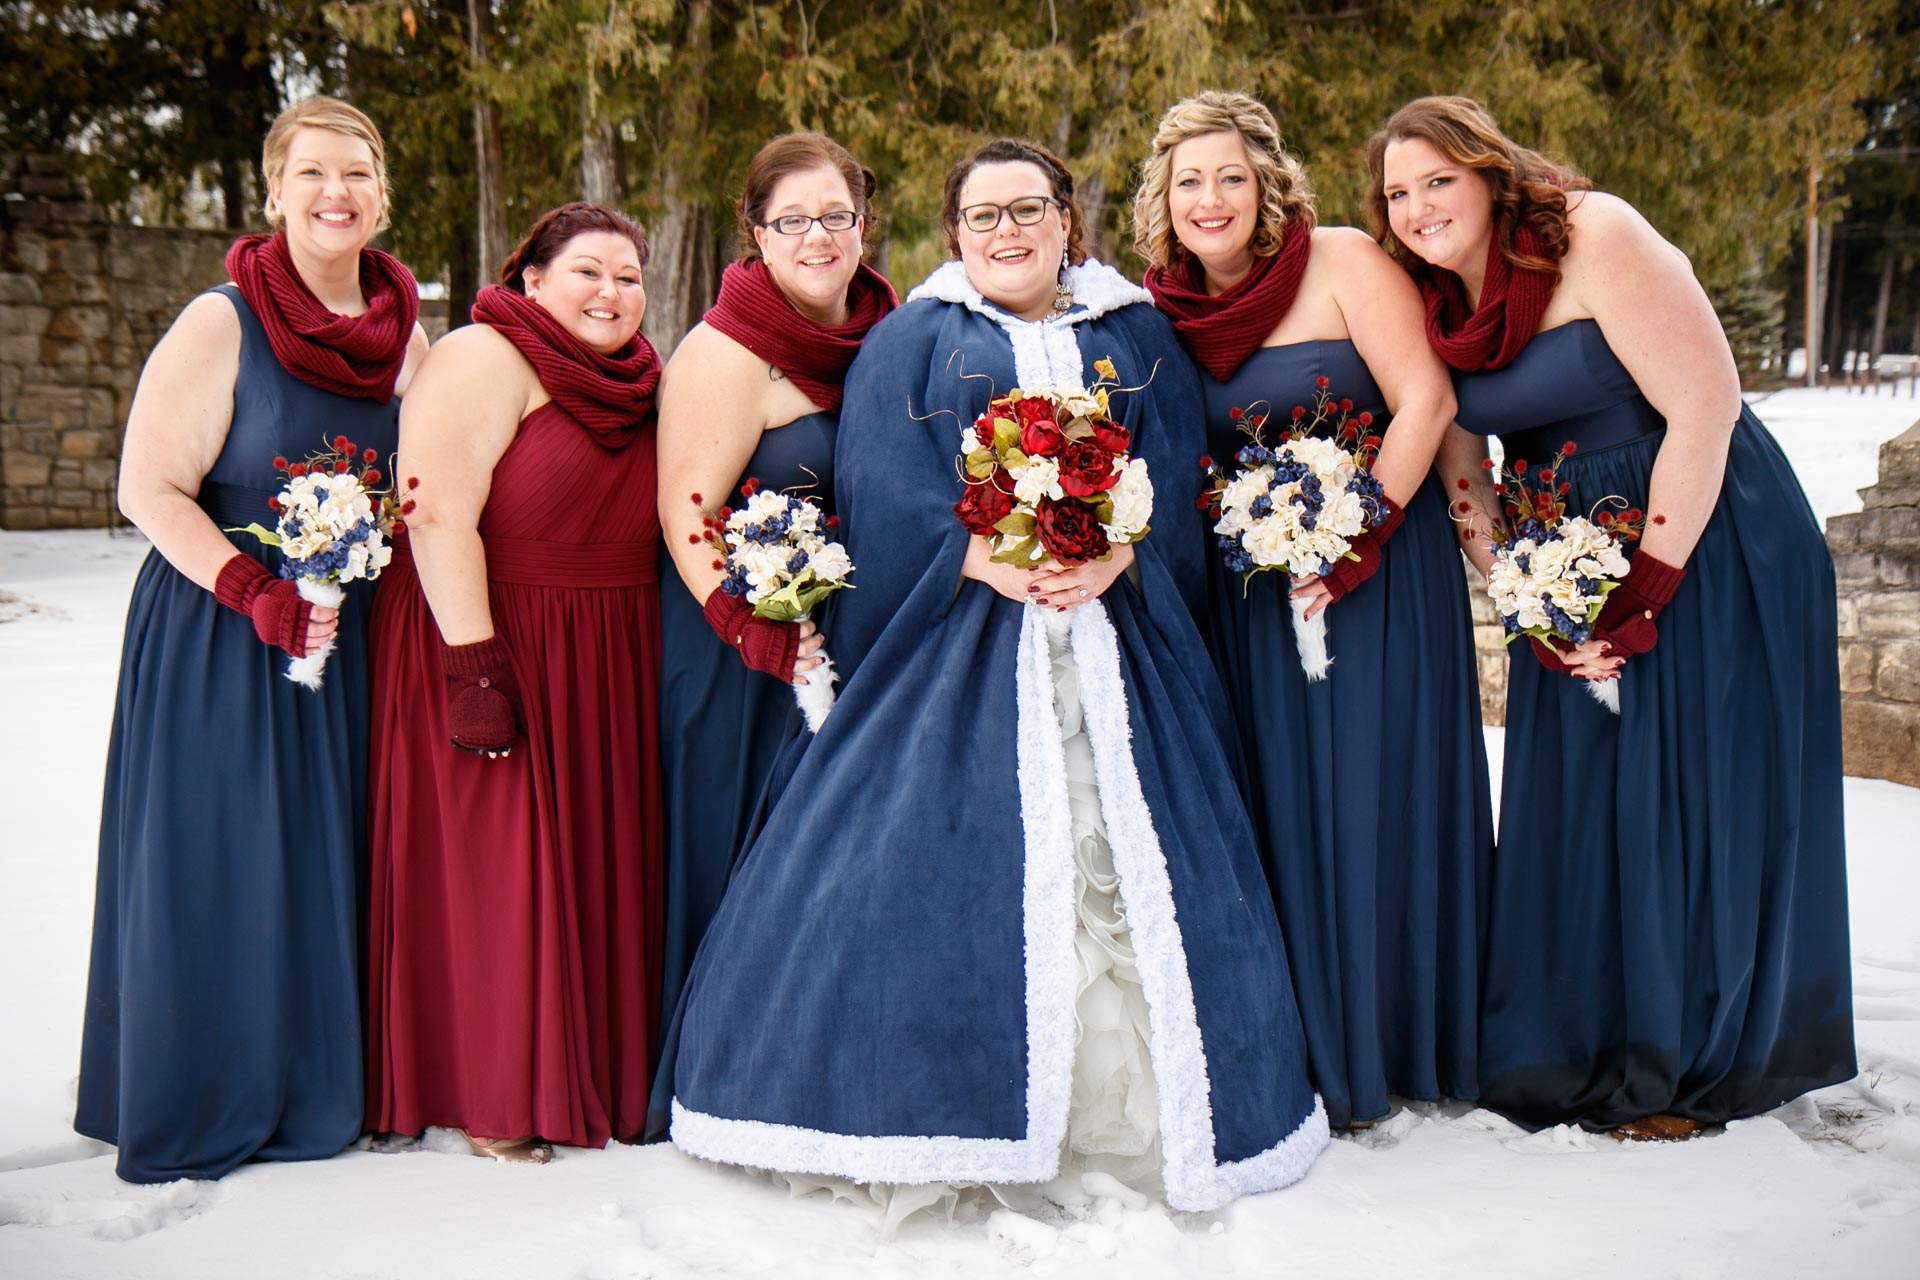
Contrast is key element of creating an interesting photograph. In winter, I’ve found that stone architecture creates a stunning result. Soft-fallen snow on top of large rocks provides a textural contrast that invokes more emotion. If you live in an area that contains stone architecture or bridges…use them!


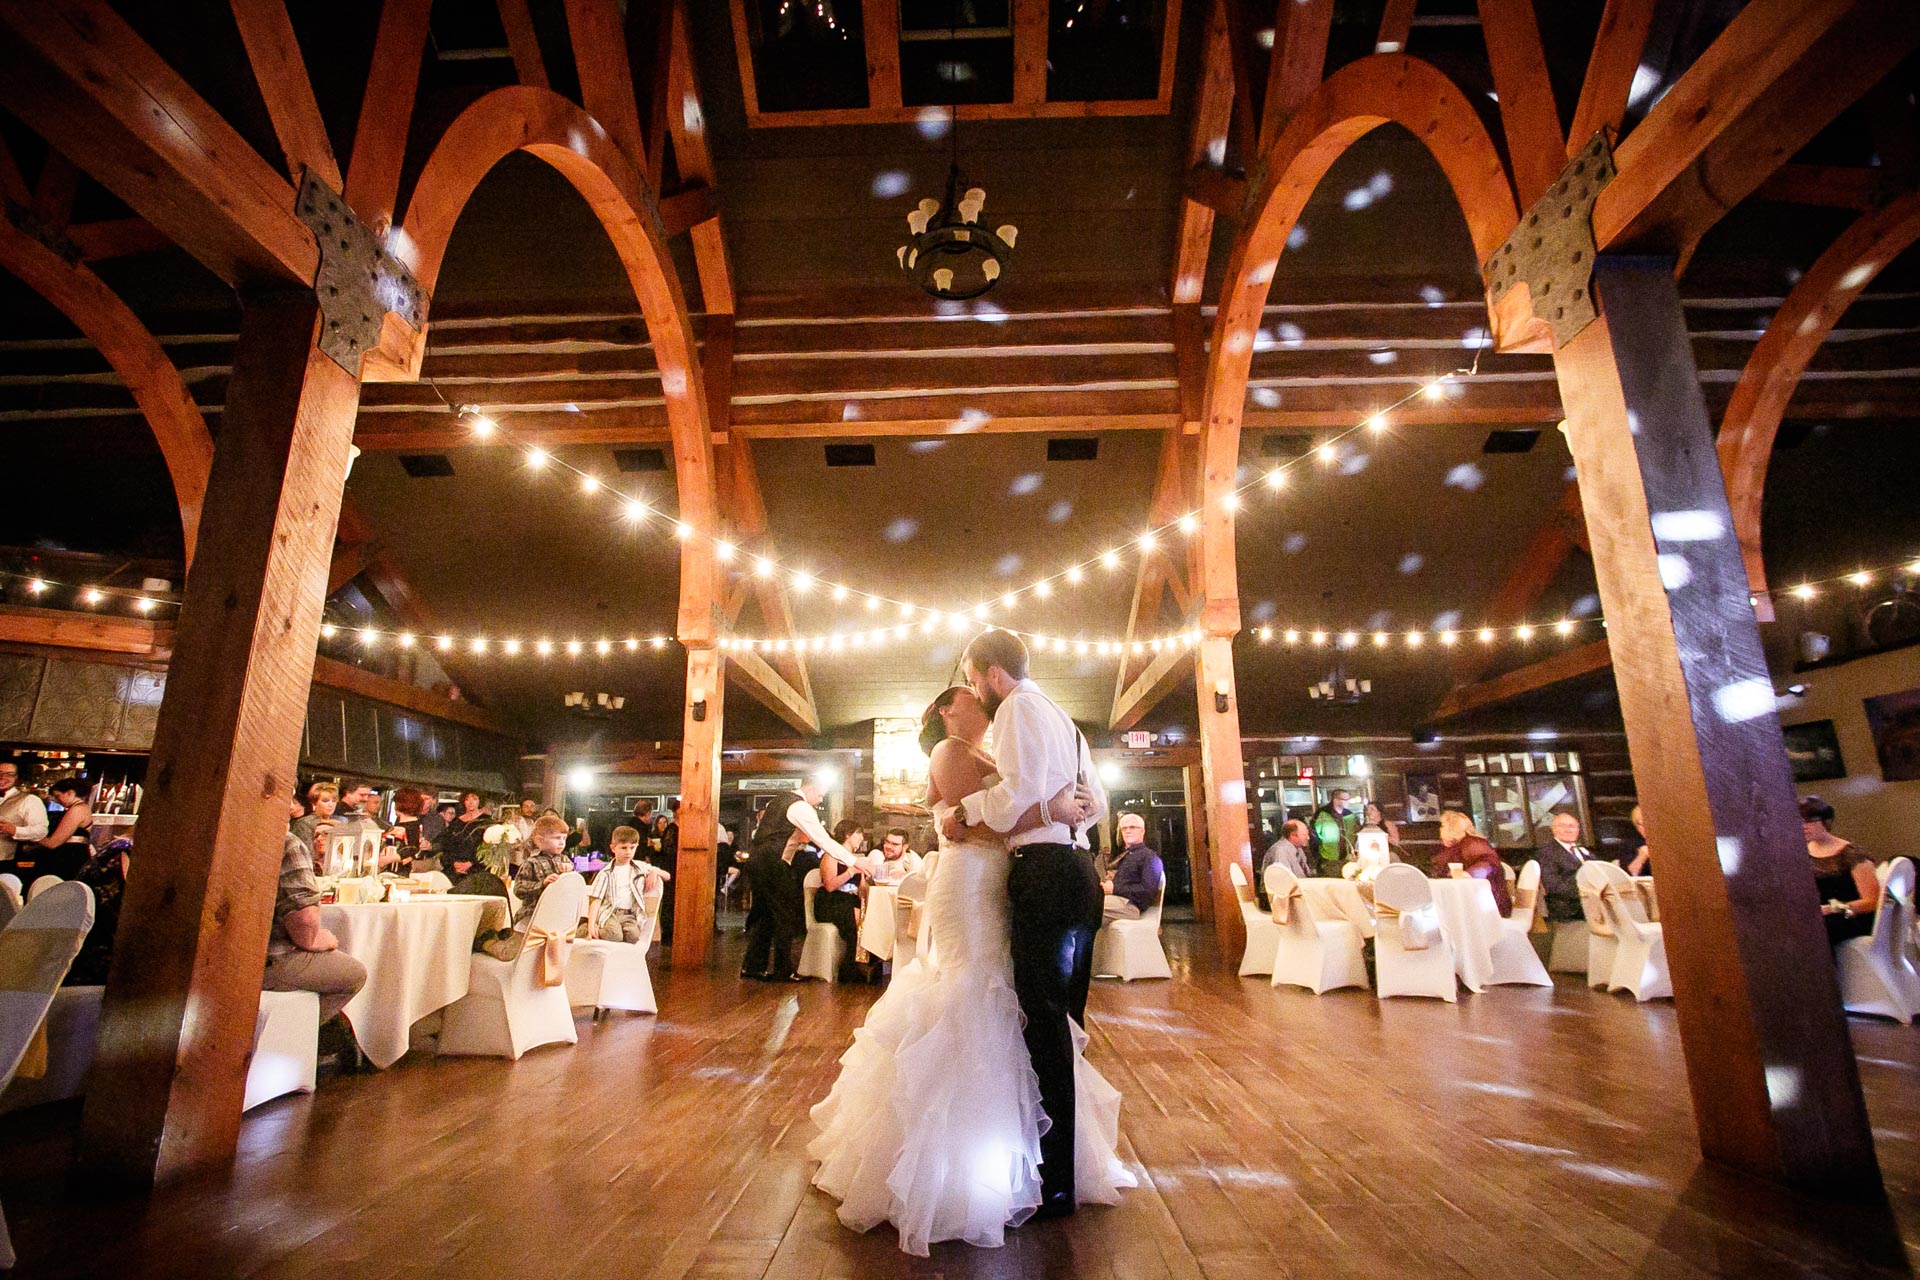


Adjusting for Light and Shade During Winter Engagements and Outdoor Wedding Photos
Light plays a major role in photography. We paint with light. We manipulate light. We use light to create our images.
Light during the winter months dramatically effects the types of photos we take. Below are a few things to keep in mind.
Agh! There’s too much light!
You may notice that your subjects may be too dark if you leave your camera in evaluative metering mode. This is the mode most DSLR cameras are set to by default. If you allow your camera sensor to meter the entire image, you may have increase the exposure a few stops.
Why does this happen? Your camera sensor will automatically detect the brighter light from the snow. It will want to lower the exposure in order to achieve what it believes to be the correct exposure. This can result in underexposed subjects. You may have to increase the exposure by one or two stops in order to compensate for this.
To prevent this, I always use spot metering on my Canon 7D Mark II. This allows me to control metering and focus on exactly the point I want. I typically expose/focus for the single point, or “spot”, then move my camera where I want it to compose the image.
It’s all a matter of preference. Spot metering is not for all situations. I’m a fan of controlling as much as I can using my own experience rather than trying to let the camera give me its “best guess.”
Help! There’s not enough shade!
In winter, the trees are usually bare with little to no shade. This creates harsh shadows of branches running across their bodies and faces. These are difficulet, if not impossible to edit.
If you’re apprehensive about photographing in direct sunlight, try to find a place that offers solid shade. Or, have an assistant bring a light shield or bounce screen.
Try going next to a large building or a Christmas tree farm is usually a good bet. The upside about winter light is that shadows are longer, which gives you a little more room to move around.
Geez. These days are pretty short.
In Wisconsin, our winter daylight hours are cut dramatically short. The skies can darken almost completely by 4:30 pm.
Keep this in mind when scheduling winter shoots with your client. I’ve used the site TimeAndDate.com to check the sunset in my area many times. This calendar helps you schedule your clients’ photo shoots well in advance.


Buying the Right Clothing and Accessories for Photographing in the Cold
Wintery, cold weather has a deleterious effect on our bodies and minds. We fatigue easier and our brains and bodies seem to operate slower.
To help extend the photoshoot and make everyone more comfortable, here are a few cold-weather tips to remember.
Don’t forget hand warmers.
These are my most recommended tool you can use to keep yourself clicking the camera shutter. Slip a few in your pocket, put them in your gloves and stuff them in your waterproof shoes.
Heck - give a few to your clients a few as well. They most likely didn’t think to bring them. And they’ll be incredibly grateful that you did. You can purchase a 30-pack of HotHands on Amazon here.
If you feel extra ambitious, you can rubber-band one of them to your camera and have this help keep your battery warm. It looks a little silly, but works!
Purchase some winter photography gloves.
Wear a good pair of gloves. Our tiny digits make adjustments, dial in our settings and use them to fine-tune our images. Don’t skimp to protect your fingers and hands.
You might want to check out the gloves offered by Vallerret. These gloves are designed in Norway by two photographers who needed hand protection to combat brutally cold winters. Visit their website for their newest versions of their winter photographer gloves.
Spend the money. Invest in high quality winter apparel.
When photographing in the snow, you’ll face a variety of extreme conditions. You’ll be wet from the snow. You’ll be exposed to higher-than-average winds. You’ll brave brutally cold temperatures.
As a Wisconsinite, I’ve learned to invest in high-quality winter weather garments. This includes a winter hat and form-fitting undergarments. My favorite brand is Patagonia.
Patagonia creates some of the highest-quality, longest lasting winter weather garments on the market. I have garments from over 20 years ago that are still in excellent condition.
After multiple washings and countless snow-shoveling escapades, they’ve stood up well. They are tailored well, fit well, and made of good quality materials.
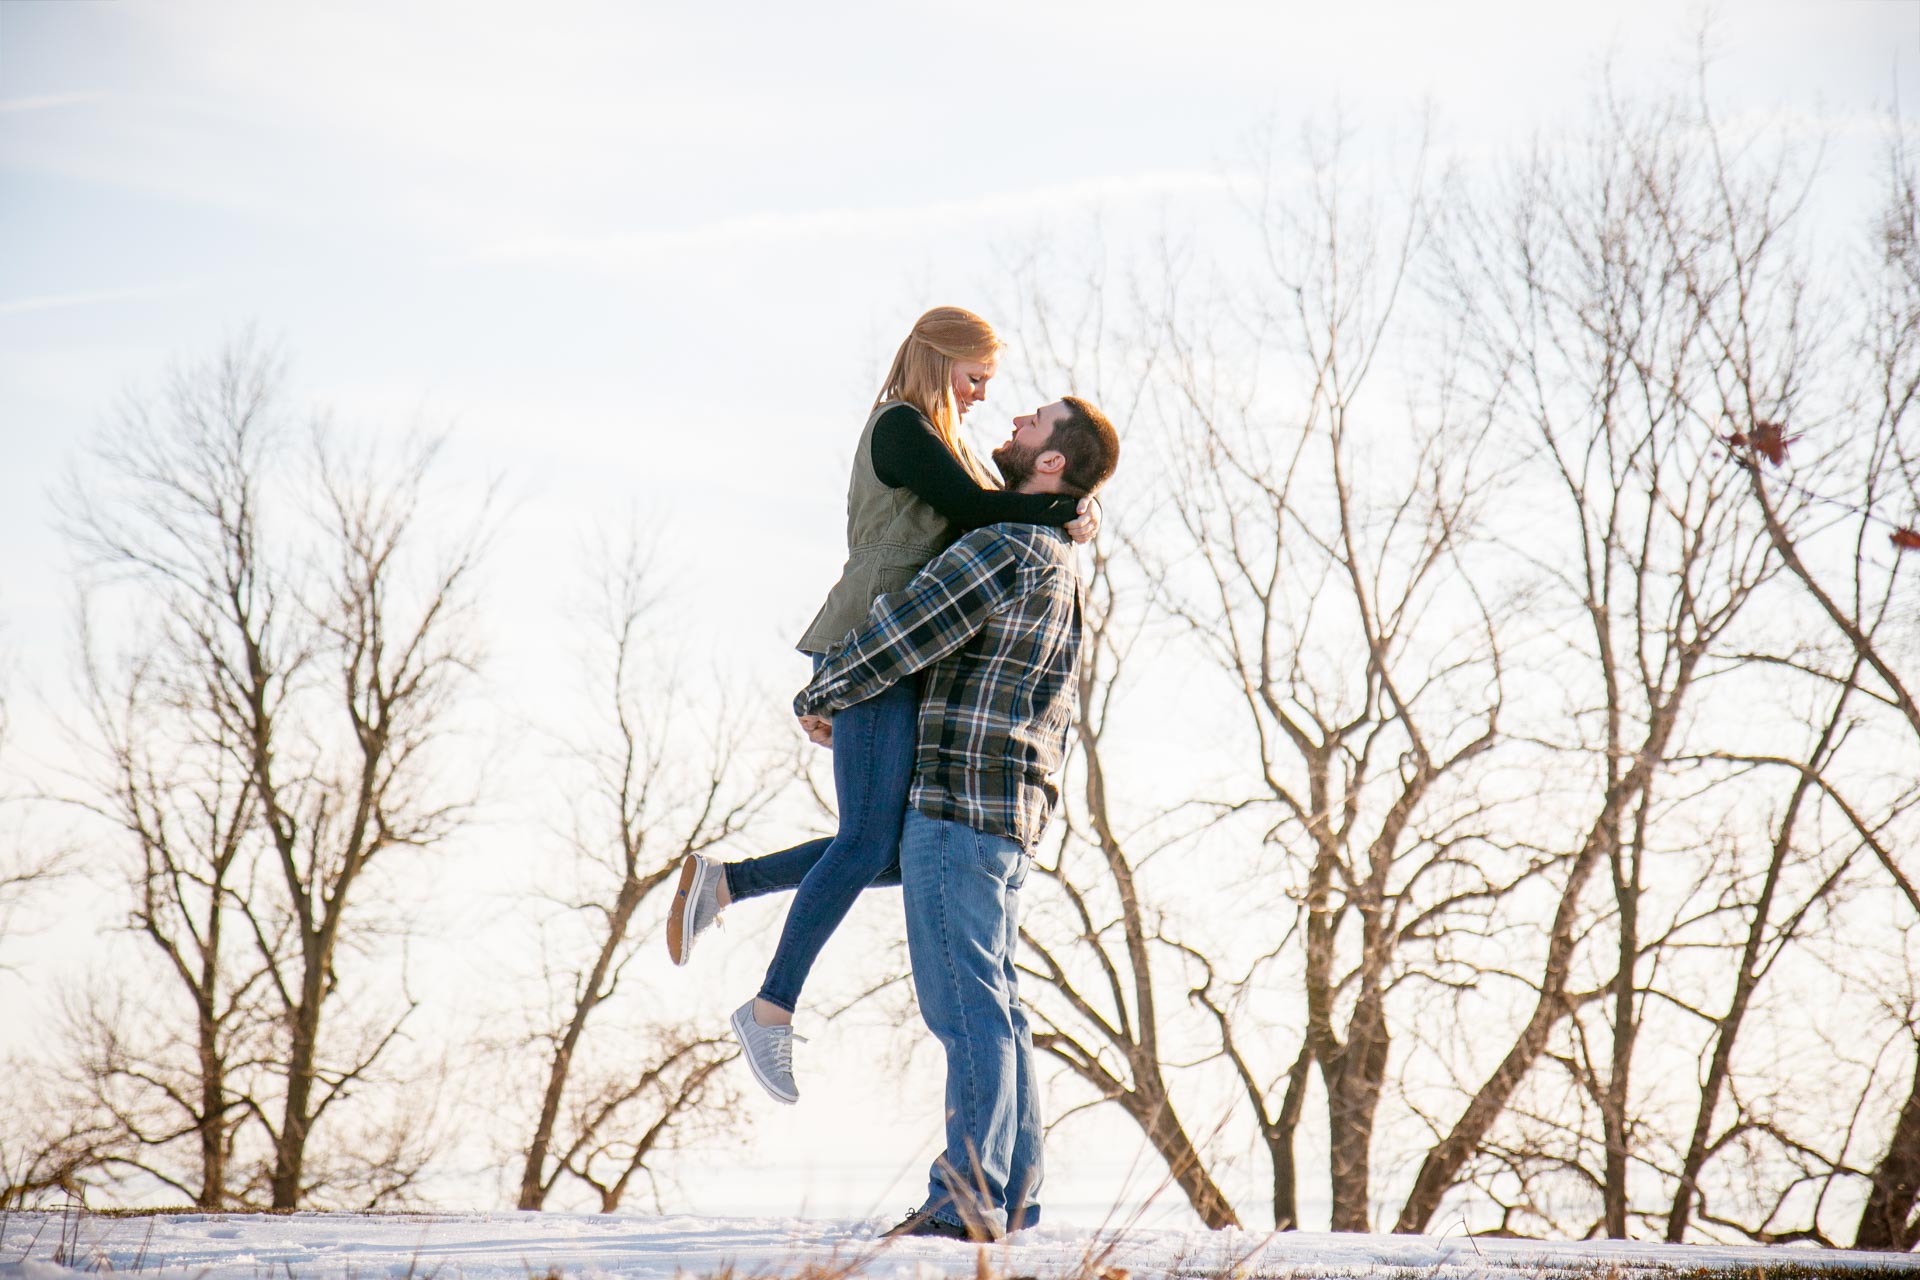

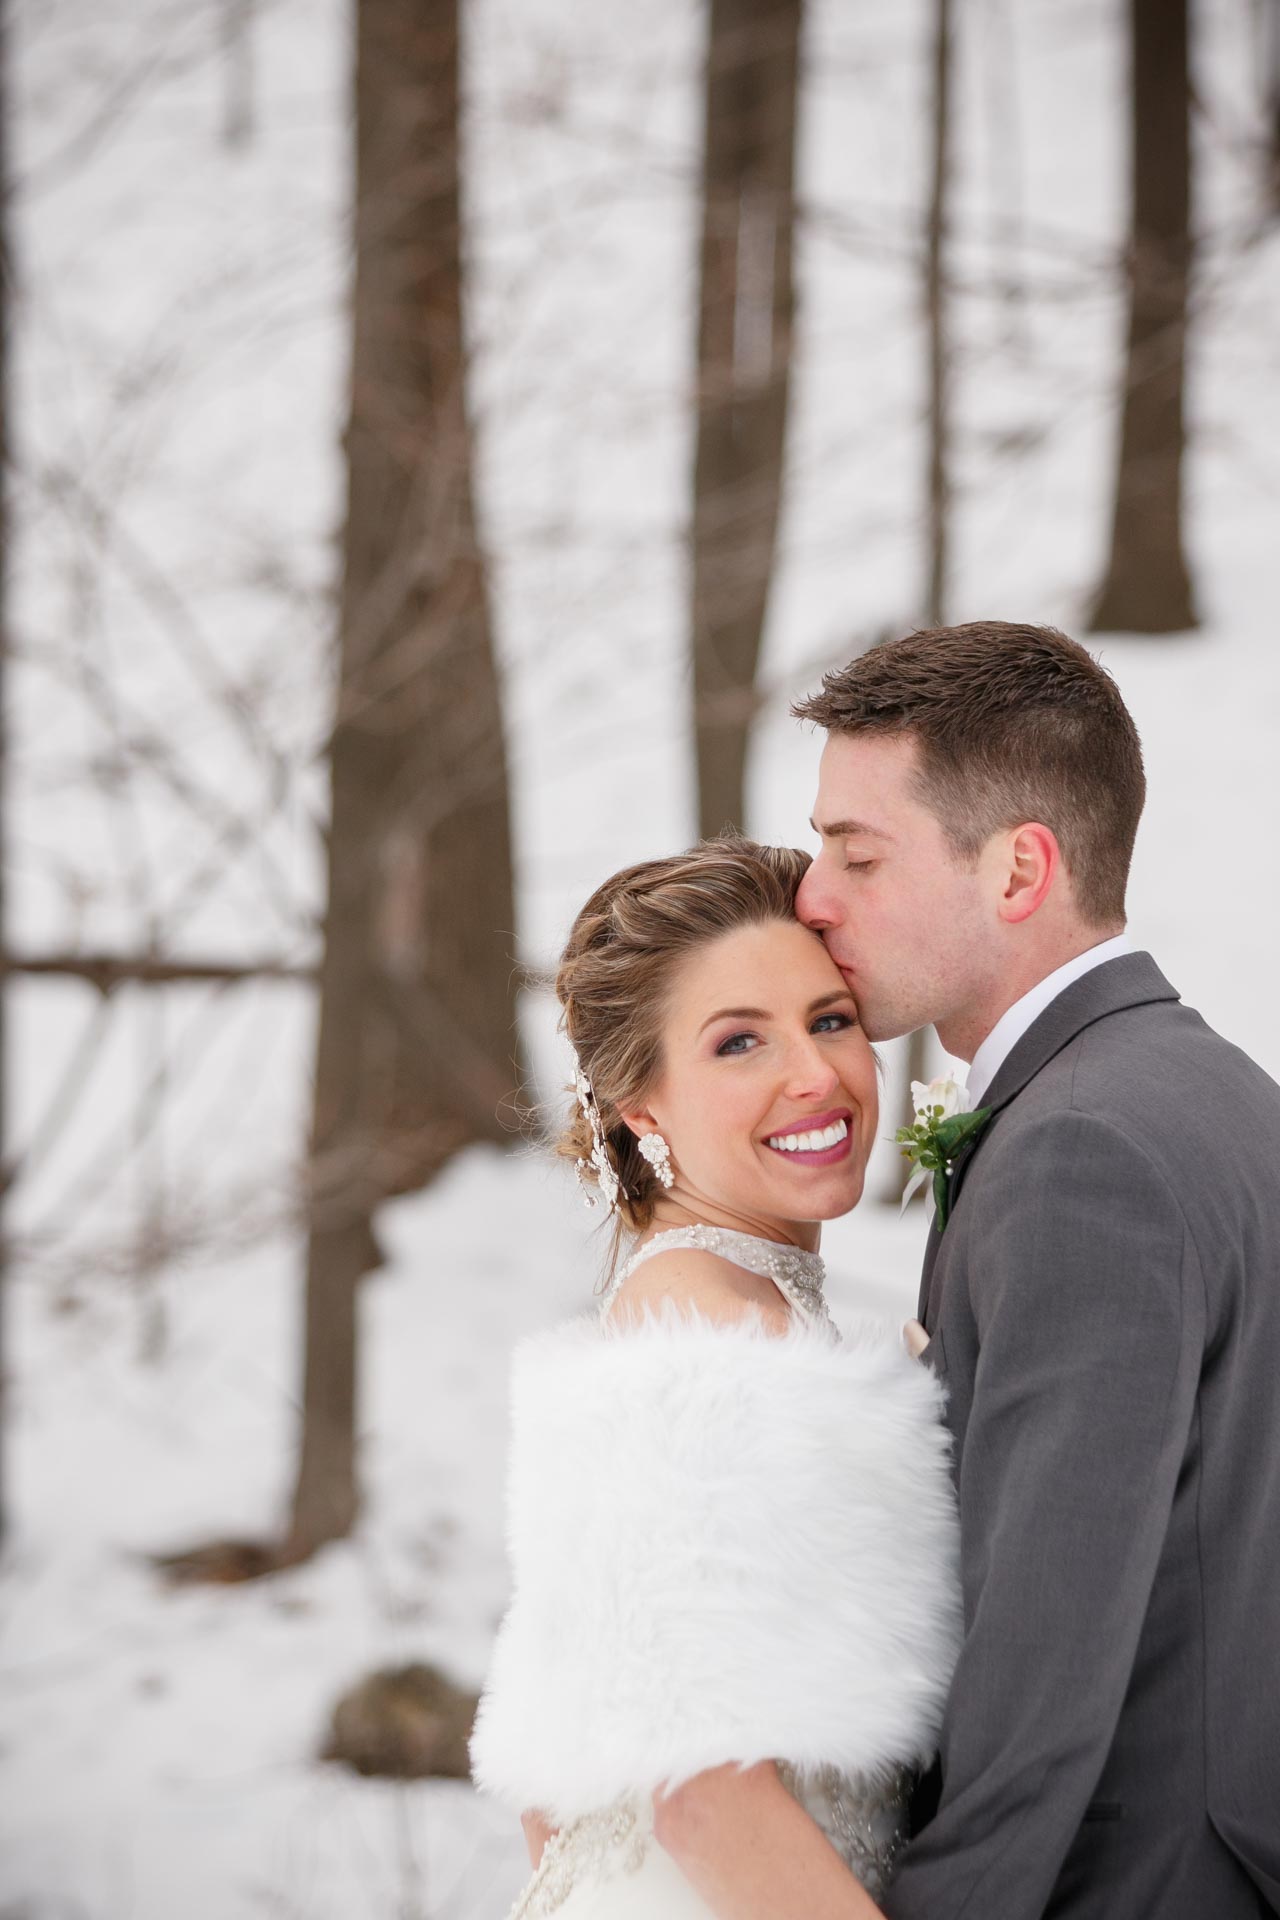
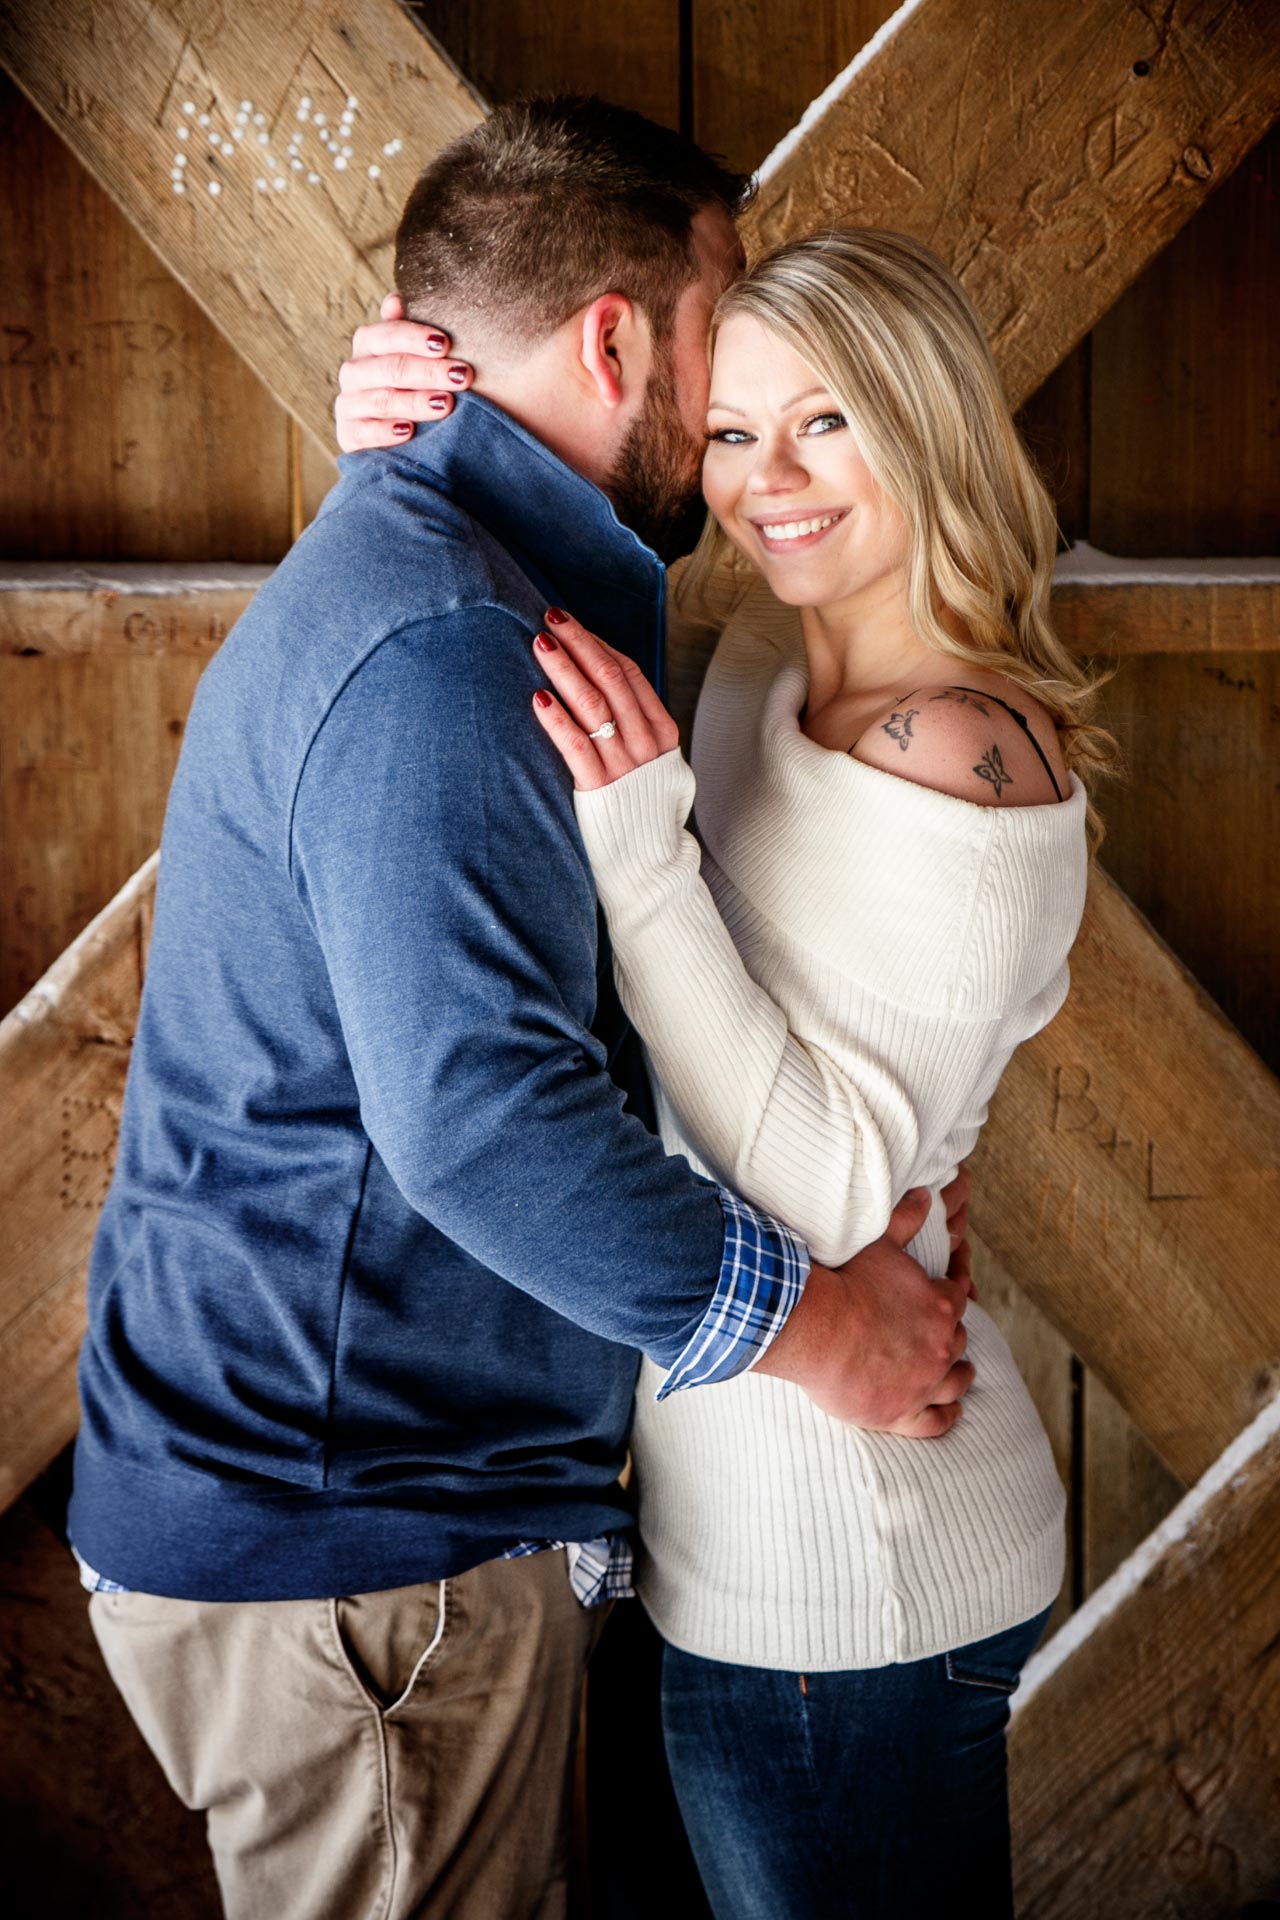
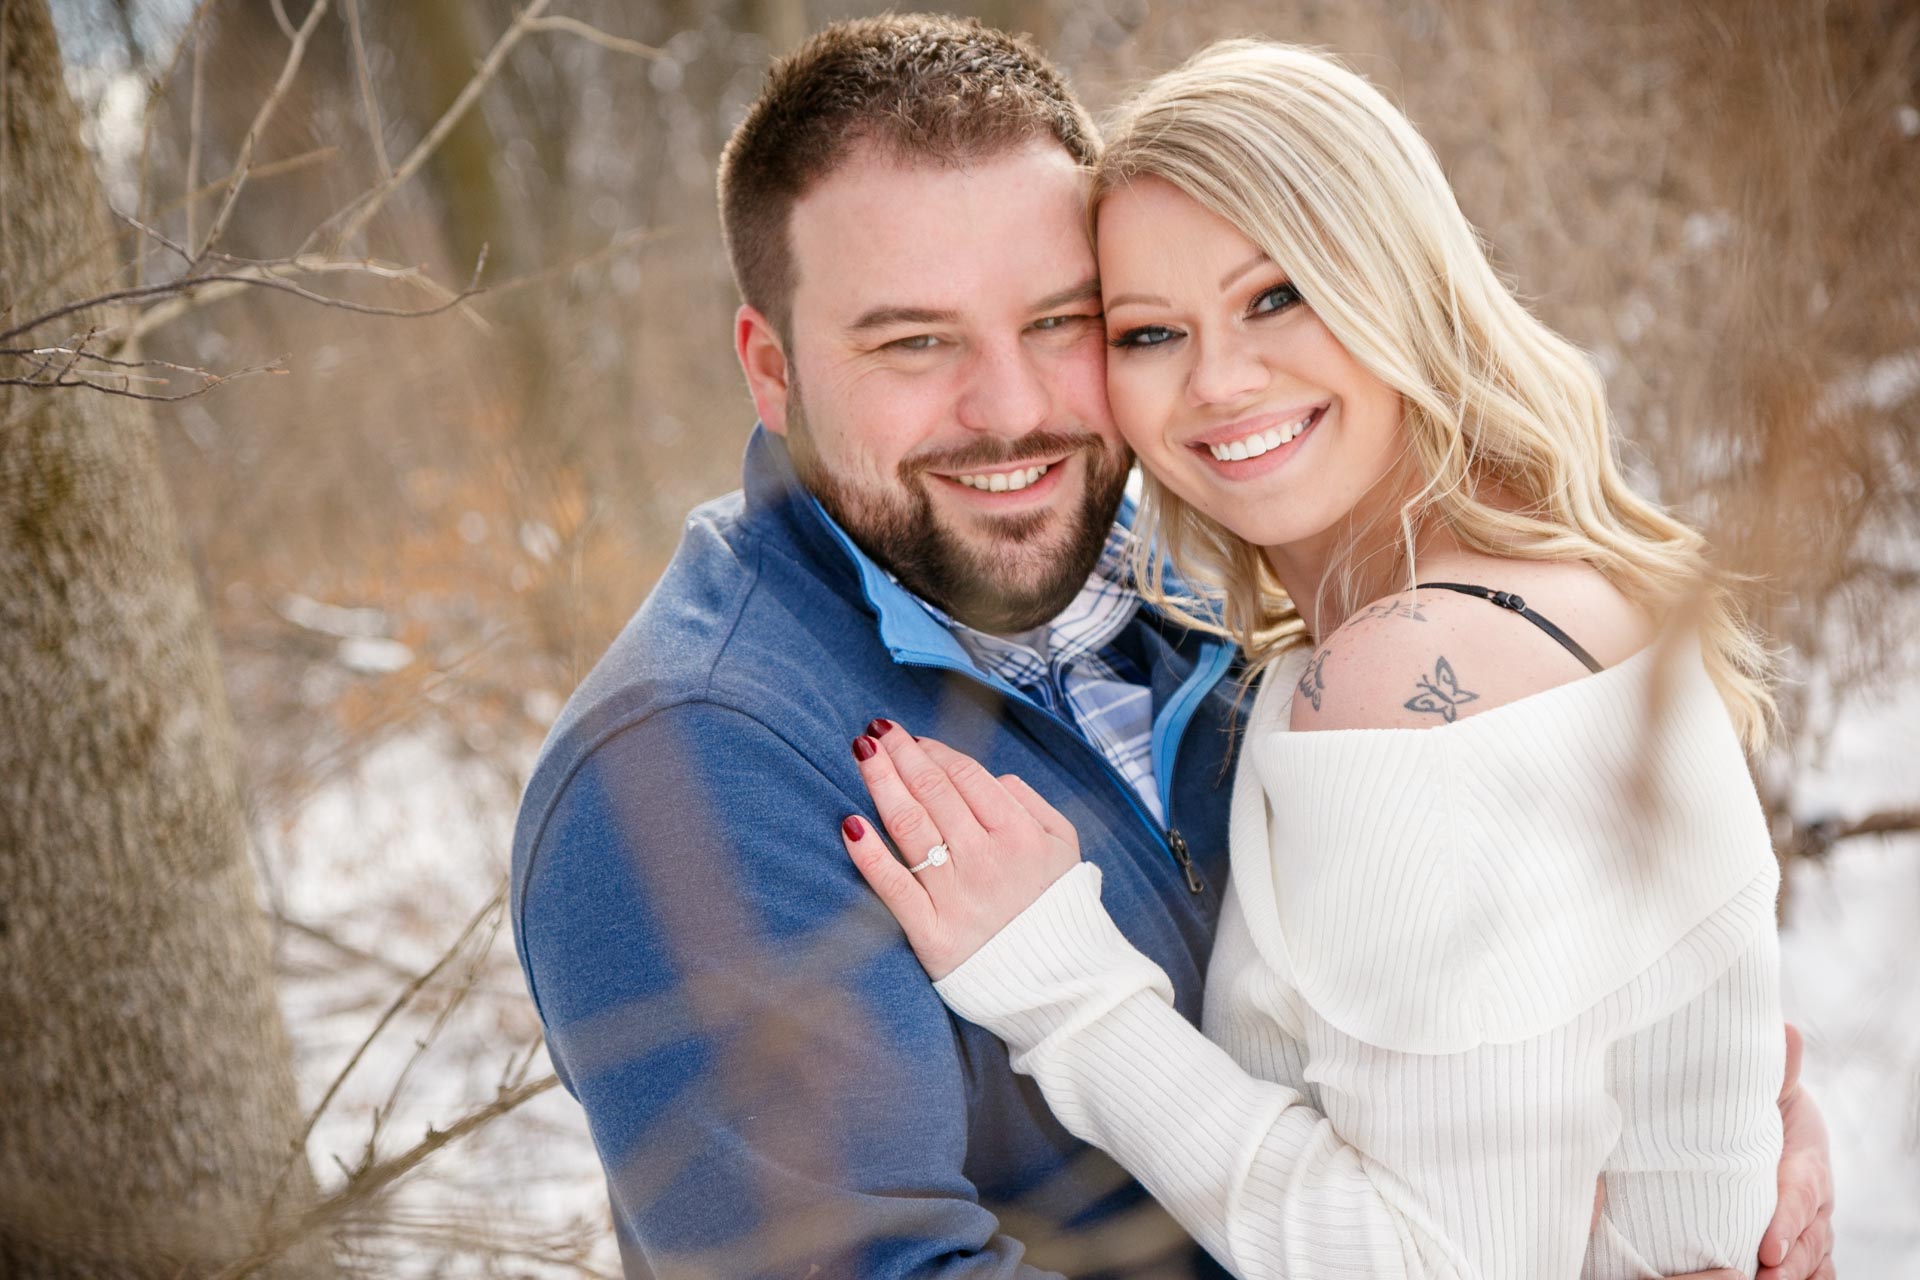
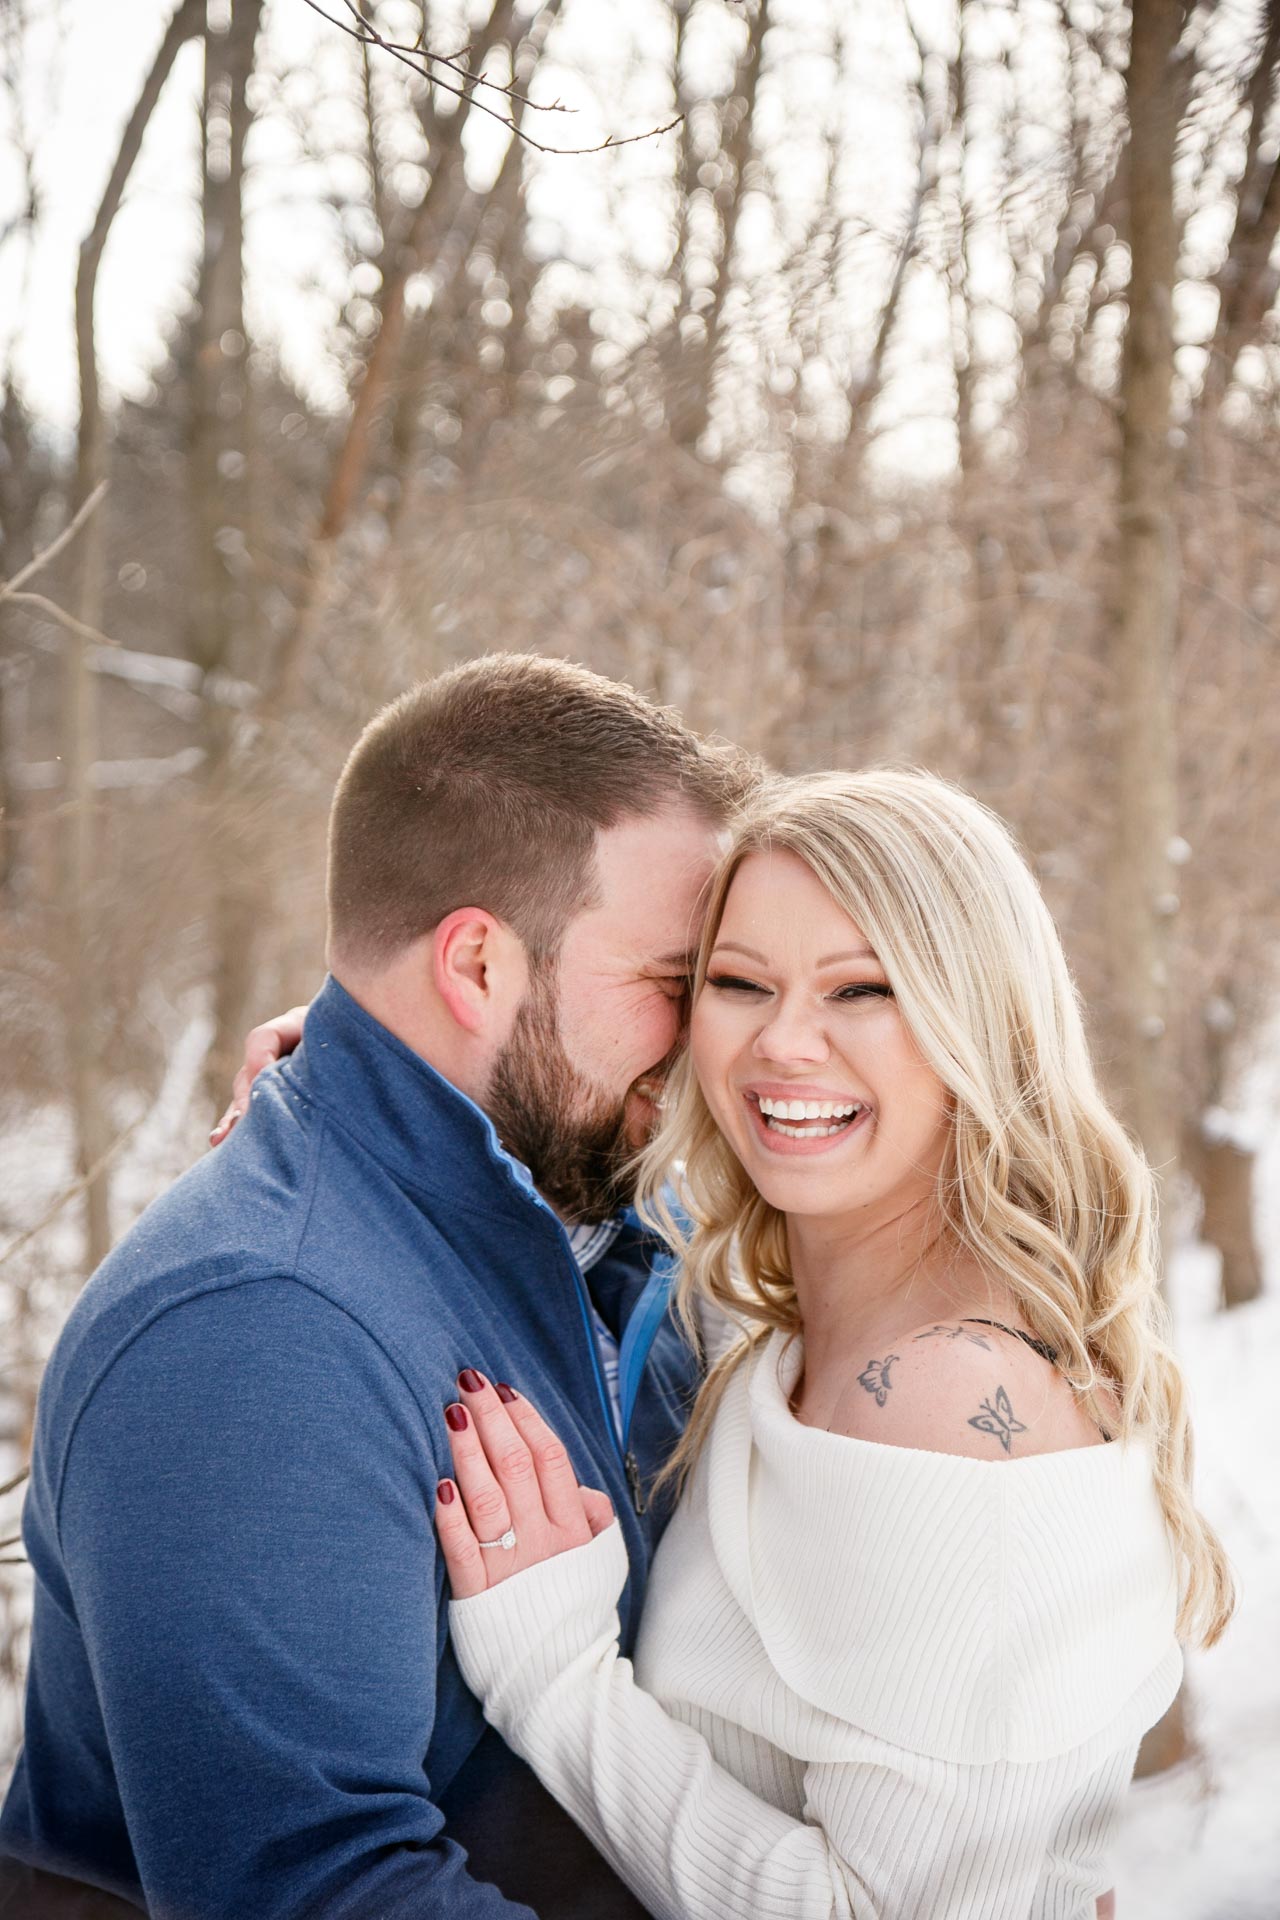
Make Your Winter Engagement and Wedding Photos About Your Client
Like any photo session, the images should reflect the personality of your client. Chances are your client chose a winter setting for a reason.
Does he or she play winter sports? Did they get engaged in the winter? Why is the winter a special time of year for them?
Here’s a few suggestions for places to photography in the winter. And how to use them to showcase their personalities.
Visit a local ski resort to make it only about the engagement couple.
I had a client as me if we could go do a local ski hill and take photographs. I immediately jumped on the opportunity. We met in southern Wisconsin at a local ski resort and the results were amazing!
The spot was special to them because that’s where they had their first date. On top of that, we got photographs most of their friends don’t have. It was like a white desert; with the focus solely on them.
Go sledding with the bride and groom-to-be.
Who doesn’t like to go sledding? We all know that unposed photographs make for the best memories. Make use of the action photos and emotions created while holding on tight to your partner or sled. Take your clients to a local sled hill and have fun!
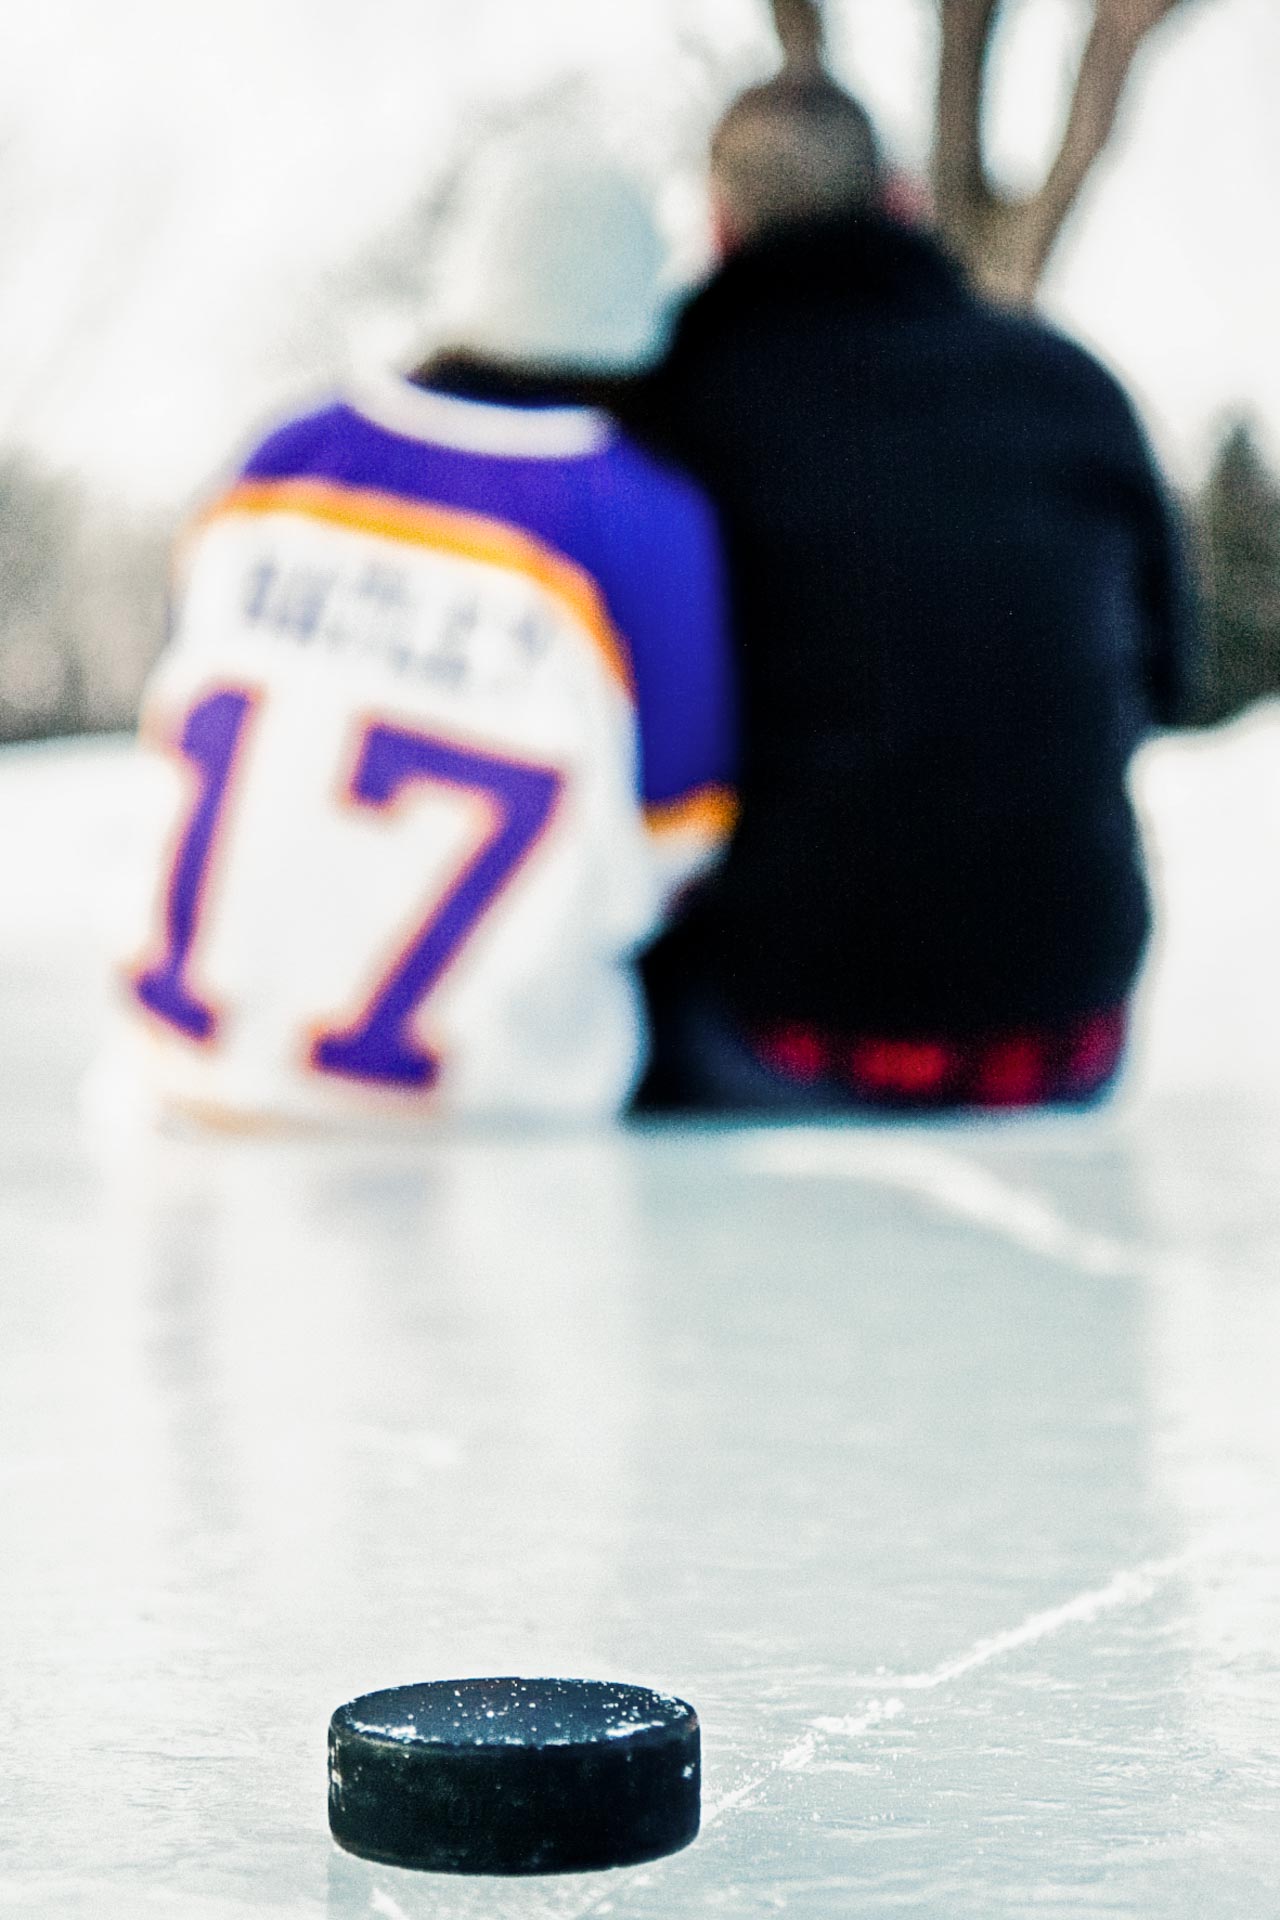
Play hockey to get some dynamic engagement photos.
Do your clients like hockey? Using an empty ice rink can provide some incredibly unique photos. Early in my photo career, I visited a local outdoor ice rink to photograph an engaged couple. We got some incredible images that showcased these two in a setting all to themselves.
Invoke emotional photos by taking the engagement couple ice skating.
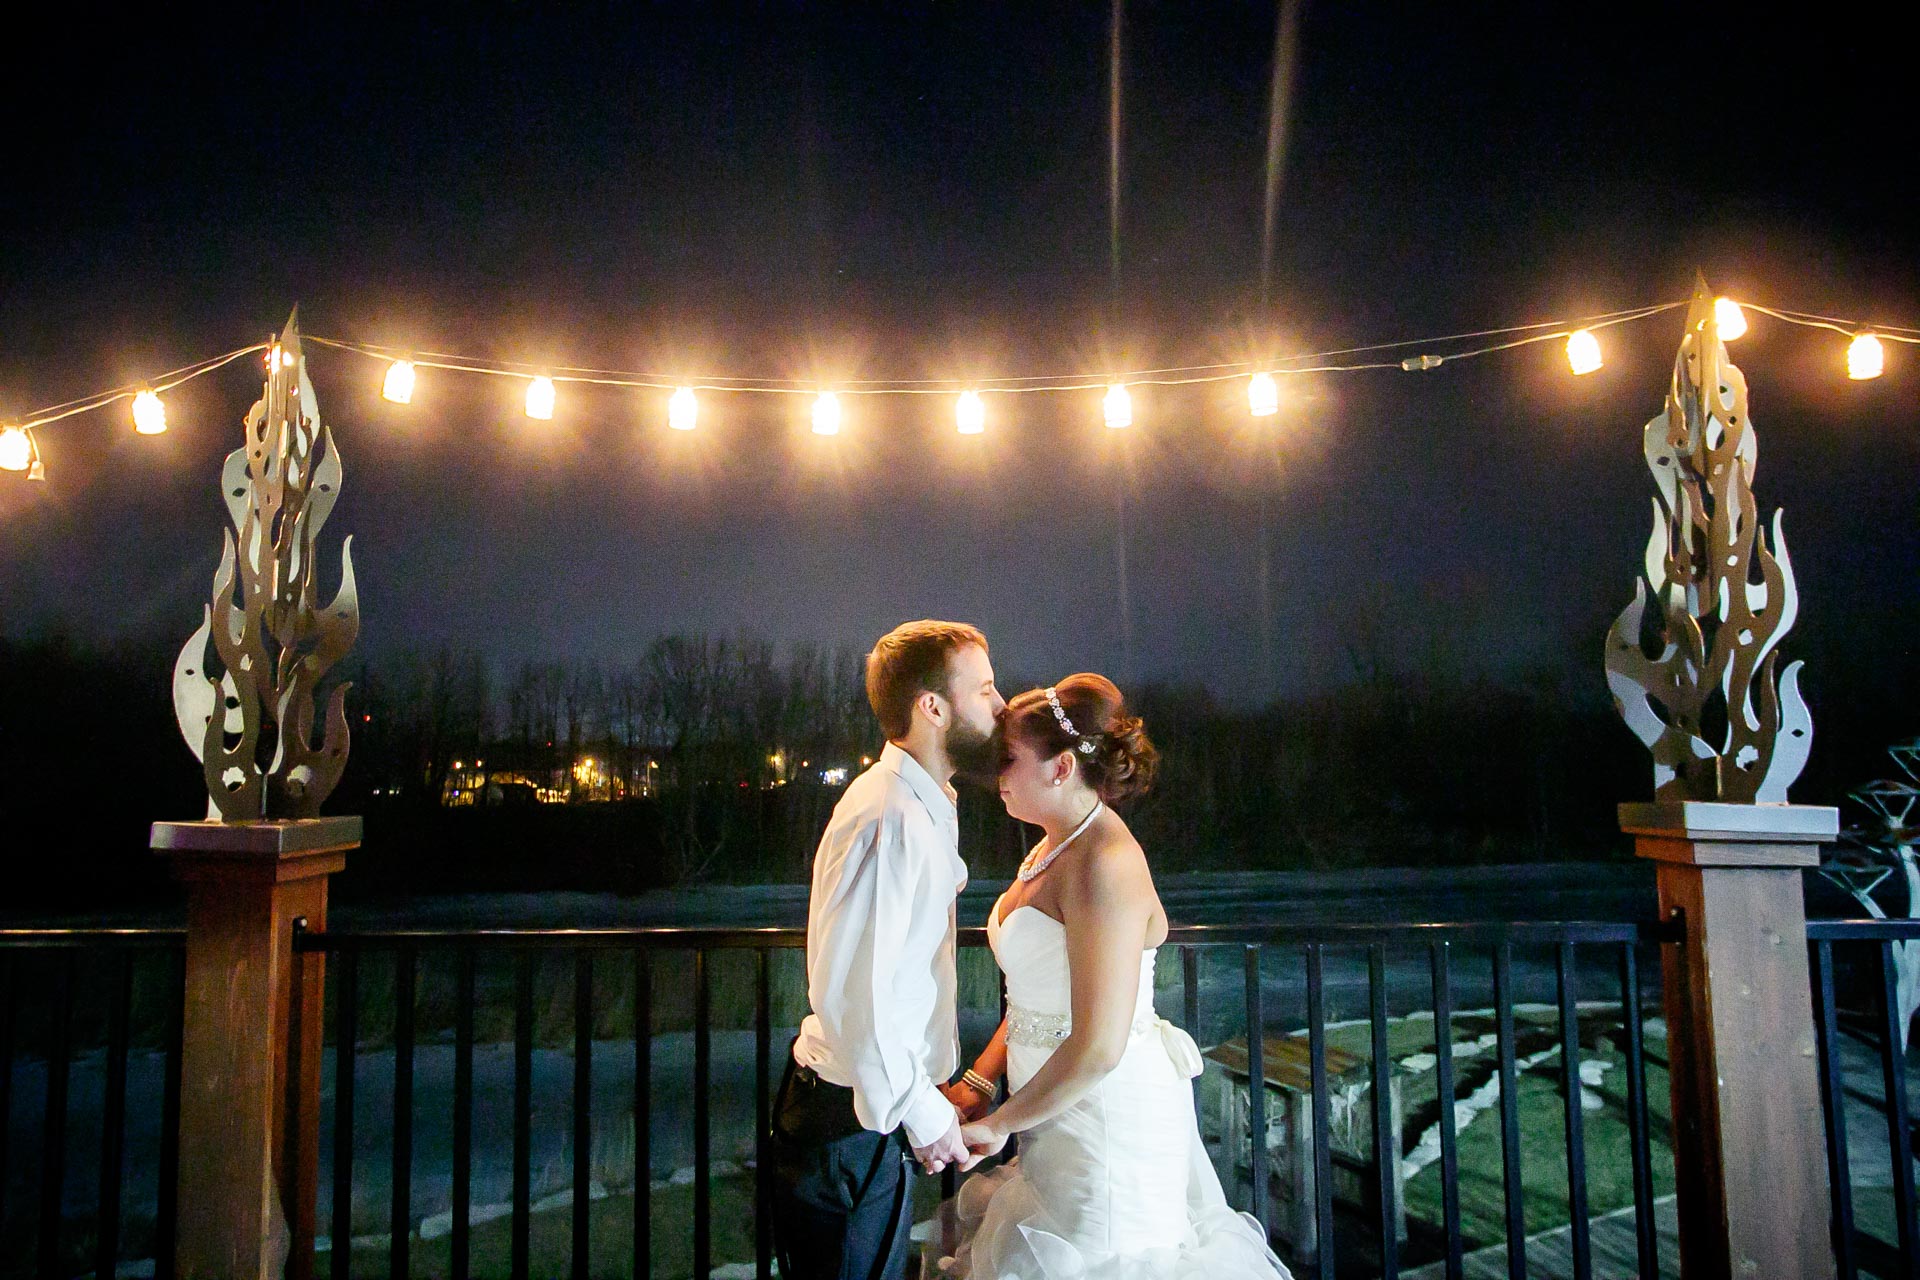
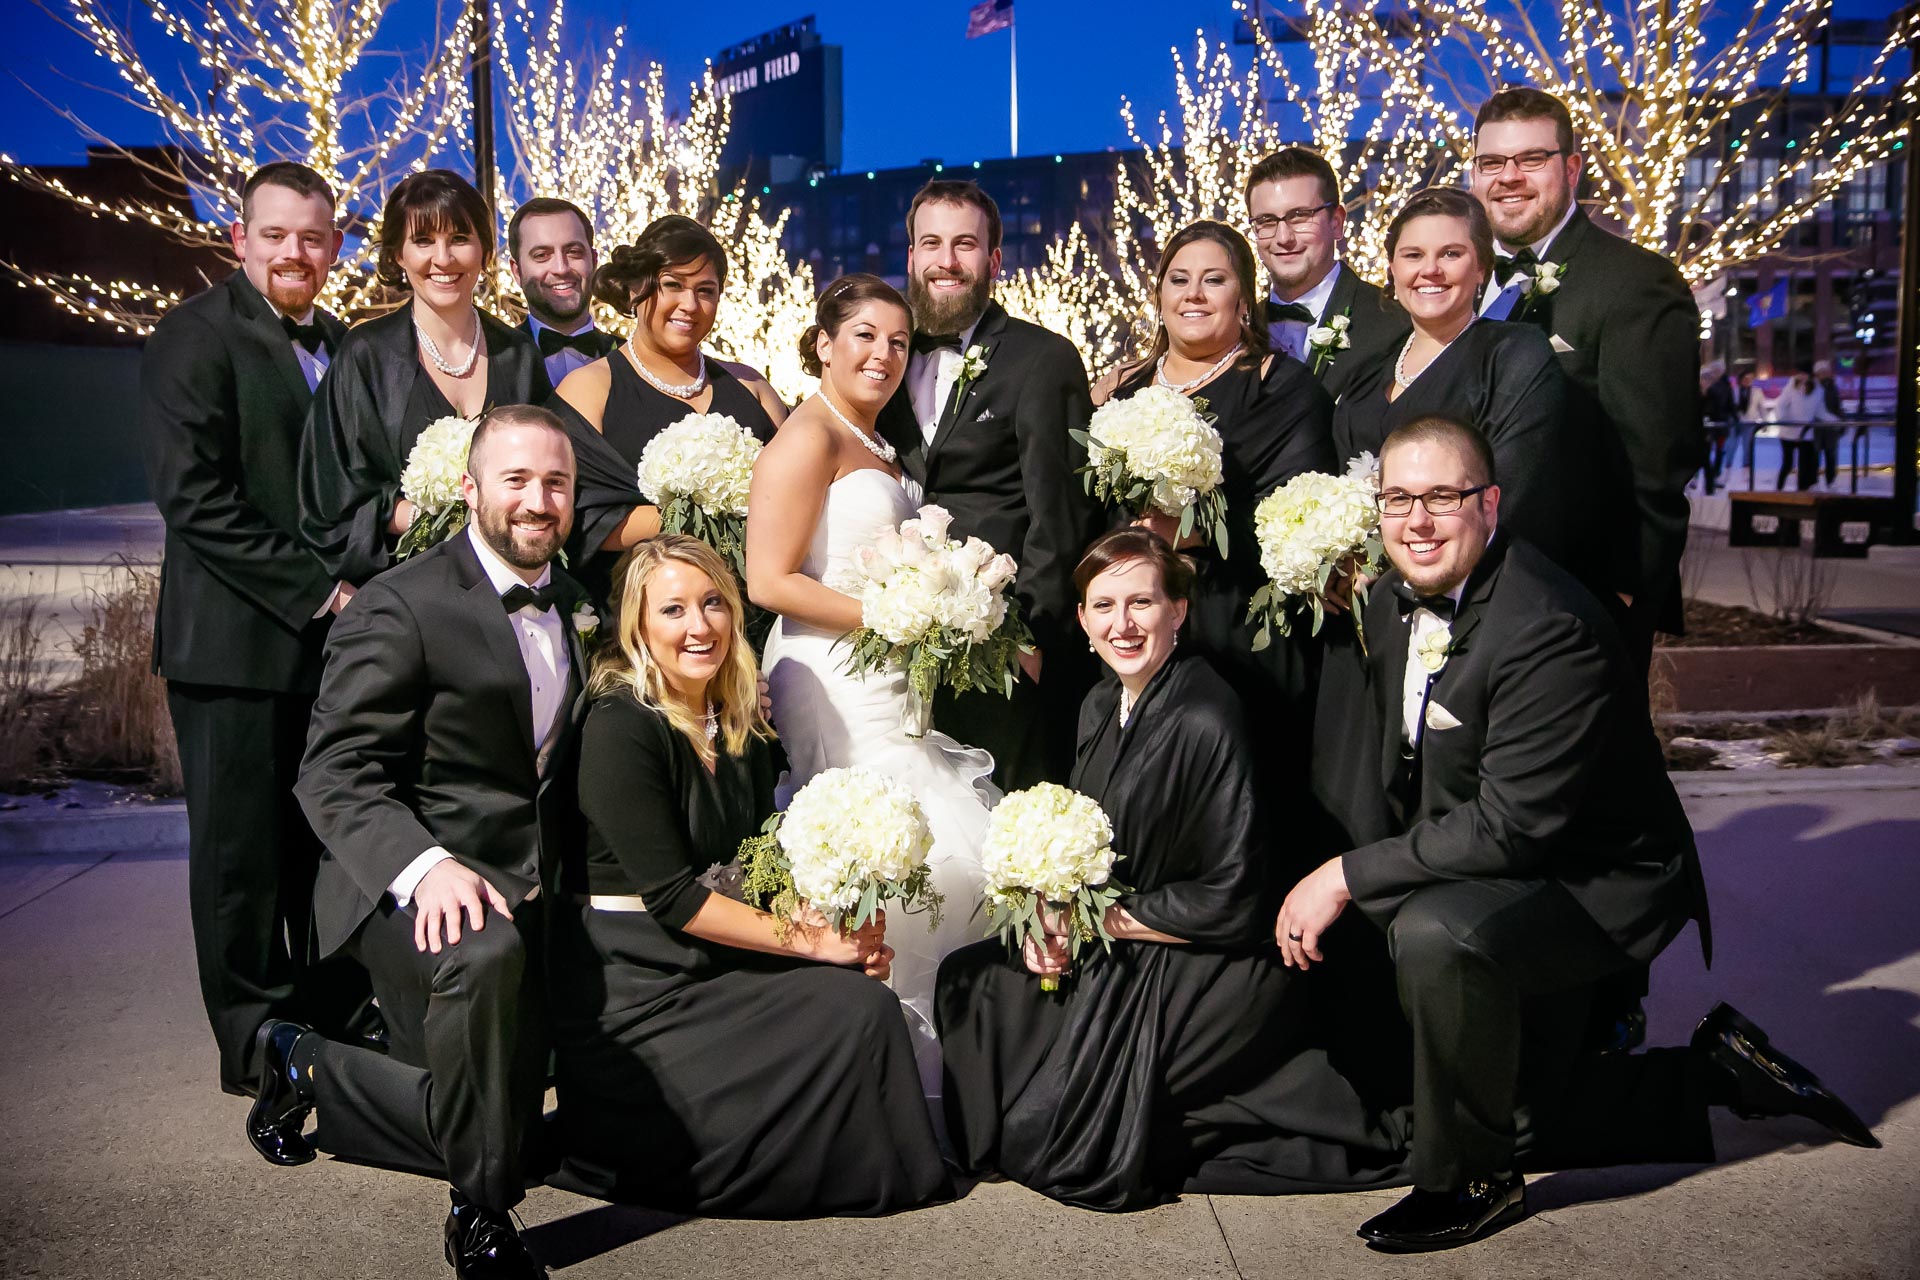
Ice skating can create a unique and intimate photo experience. You can create a Rockeffeler Plaza-esque style photoshoot by taking your client to a large ice rink. If there are Christmas lights in the background, use them! These create a stunning visual “pop” that will make your photographs stand out from most photographers in a winter setting.
Don’t get wet! Save the engagement and wedding ground shots for last.
Who wants to be wet while being photographed? Save the shots in which your clients come in contact with the ground last. They’ll thank you for being dry and you’ll be thankful you don’t have to edit wet patches the size of Greenland off their bodies.


How to Prepare Your Camera and Batteries for Winter Photoshoots
In cold-weather conditions, your camera is more prone to malfunction. Your gear is more susceptible to damage. In order to avoid these maladies, keep a couple things in mind.
Bring extra batteries. You’re going to need them.
This is the absolutely most important thing to remember when photographing outside in the winter. Batteries operate best in warmer temperatures. In cold conditions, your batteries are unable to discharge their energy. The ions move slower and it causes the battery life to drop by almost half.
Keep an extra battery, or two, in your pocket. Keep it close to your body. This will not only keep it warm but it keep it handy. Chances are that you’ll be switching out batteries at least once during your session.
If you’re using an external flash unit such as a Canon Speedlite or Nikon Speedlight, be sure to bring extra batteries for that, too. Their cold-weather life is drastically shorter, just like your camera battery.
Bring an extra camera.
The effects of bitter cold on your camera can be unpredictable. I’ve experienced times when my camera quit functioning, produced error codes, or would not write to my CF card.
Having an extra camera on you will save you the uncomfortable experience of having to explain why your gear isn’t able to handle the cold conditions.
Prepare, but don’t over-fret.
Most modern cameras have good weather sealing and are manufactured to operate in cold conditions. The most trouble begins, however, when it gets below 32 degrees Fahrenheit. Be aware that the LCD screen will operate a little slower and the battery life will be drastically reduced. This is normal.
Protect Your Camera Gear From Snow and Condensation During Winter Photography Sessions
A critical step to being a successful professional photographer is to make sure your gear is up-to-par. Cold weather stresses your equipment. The brutal conditions bring their own set of unique challenges.
The main culprit of cold-weather camera problems is condensation. Condensation can lead to camera malfunctions, damage to your equipment and lost photos. If you’re not careful
Read below to learn how to effectively protect your camera gear from the moisture damage caused by condensation.
What causes condensation on your camera, batteries and lenses?
After photographing an outdoor winter session and opening up your camera bag, you’ll notice one thing immediately: condensation.
This is because your camera, lenses and batteries were exposed to cold air for a long time. When you bring it indoors the warm, humid air causes tiny water droplets, or condensation, to form on those cold surfaces.
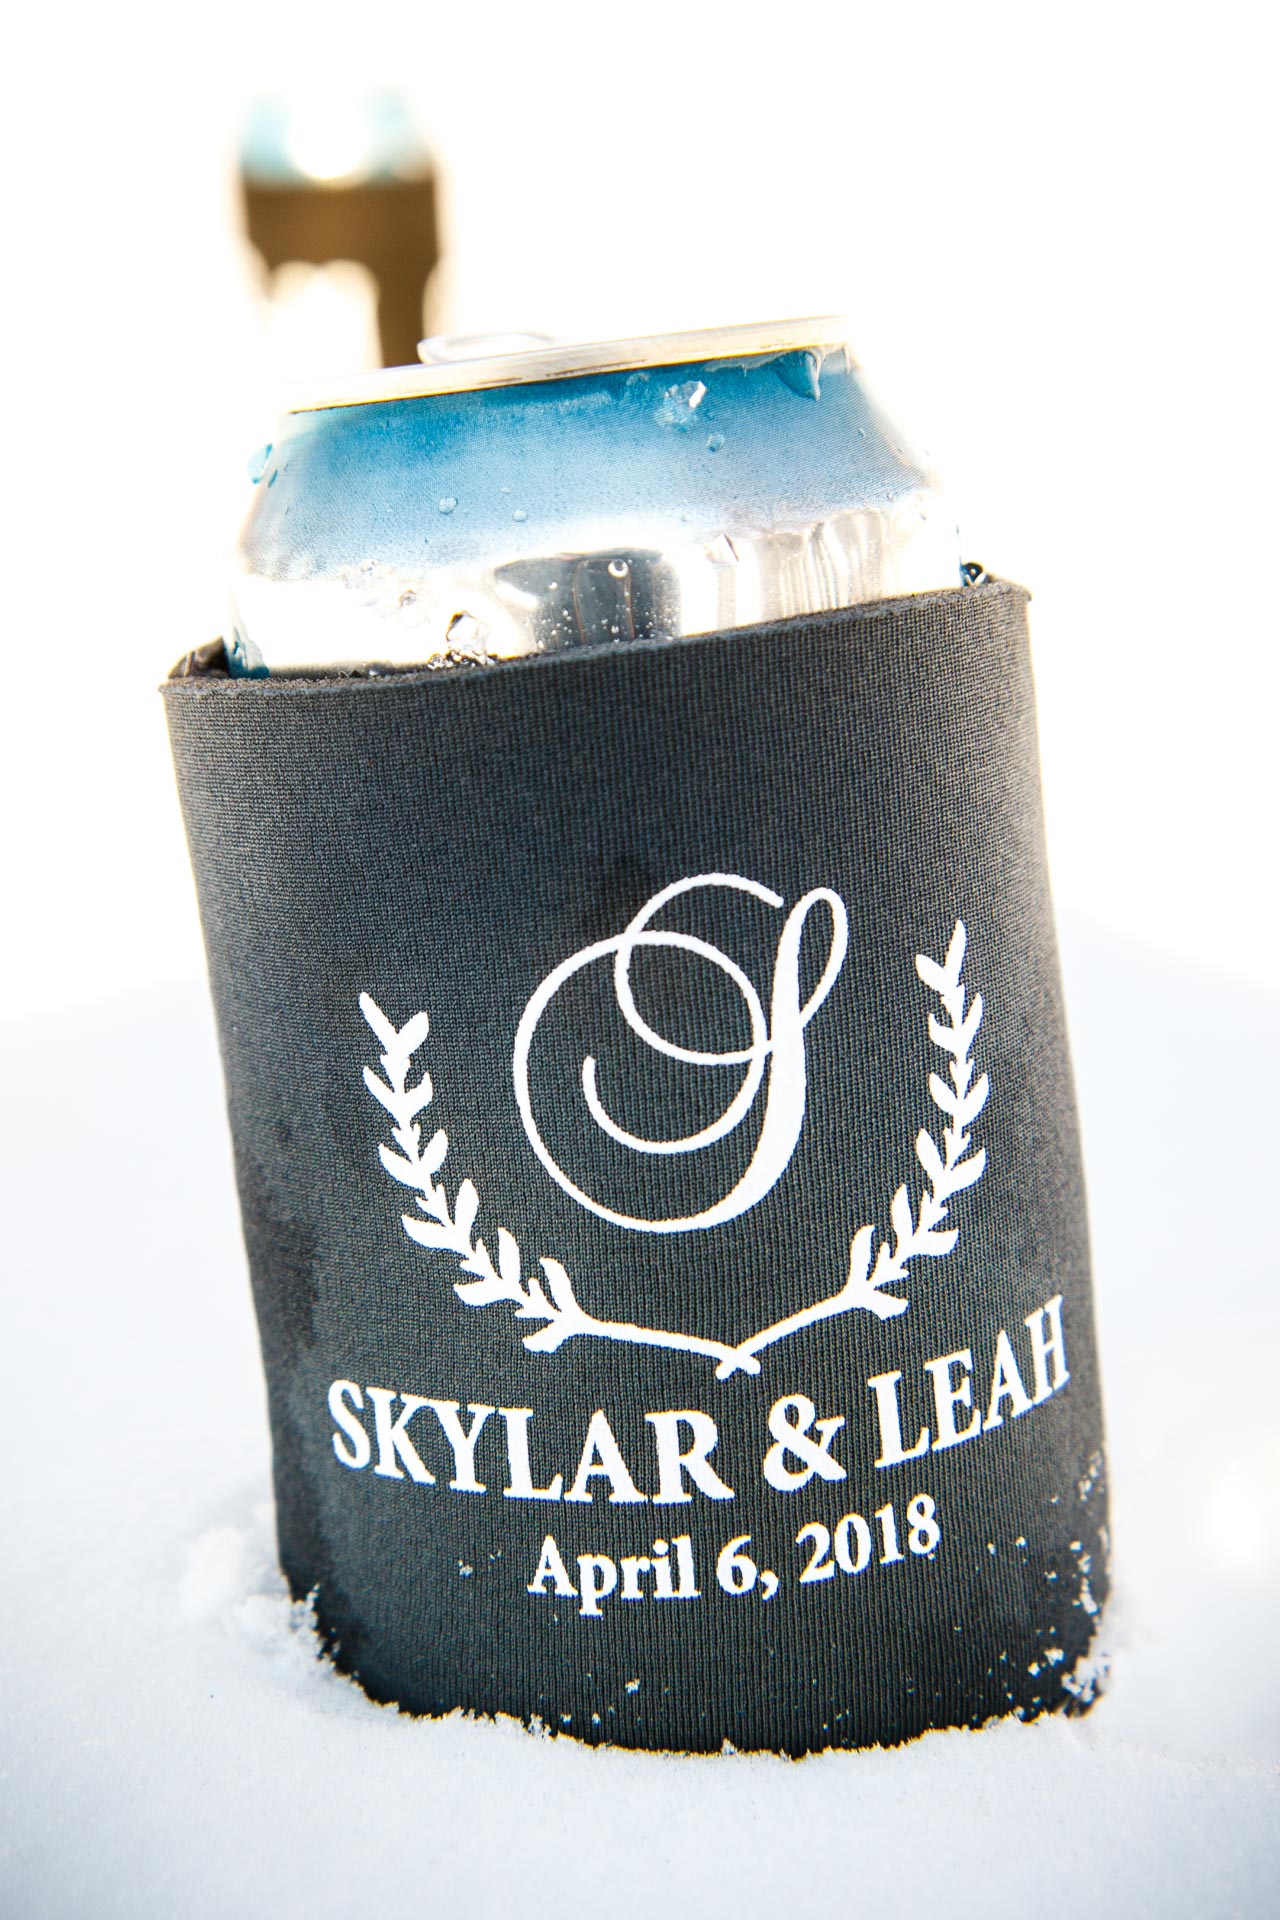
It’s similar to when you bring a cold bottle of Wisconsin Spotted Cow beer outdoors in the summertime.
Condensation is your worst enemy when it comes to your photo equipment. It will erode contacts, damage sensitive electrical components, and shorten your gear’s lifespan.
This means potentially losing photos, buying a new camera or replacing those expensive lenses.
Prevent condensation by acclimating your camera after the engagement photoshoot or wedding day.
To prevent condensation from forming, acclimate your gear when you arrive back from your photoshoot. There are a couple common ways to do this.
The first method is to use a good backpack or camera bag that is well-sealed. This means durable zipper enclosures and water-resistant lining. I’m a big fan of LowePro photography backpacks and have been using them for years. They have good-quality zippers that seal the inside of the backpack effectively.
When you’ve finished shooting, pack all of your gear into the bag. Take it inside where it’s warmer. Leave your equipment inside of the bag for at least a few hours before opening it.
During this time, your photography equipment will slowly acclimate to room temperature. This will help eliminate the condensation that wants to form on the sensitive contacts, lens surfaces and internal components of your gear.
The second, and more involved, way to do this is to use a large plastic Ziplock bag. The best bags to get are the jumbo-sized bags in most retail stores or on Amazon.
While you’re still in the cold-weather, place your entire camera bag inside of the cold bag plastic and bring it inside. Leave it there for a few hours. You’ll notice that condensation will form on the bag instead of the sensitive electronics inside.
The Ziplock bag-method is especially effective if you don’t have a well-sealed zipper camera bag for all your equipment. Or, just want to make sure your equipment is as protected as much as possible.
Here’s an extra tip: If you happen to accidentally open your bag and notice a lot of condensation on your camera or lenses, don’t freak out. Let them sit out in dry air to help it evaporate as quickly as possible. If a lens is attached to your camera, take it off and allow the inside of the camera to dry. This exposes the inside to dust, so do not leave it in a dusty setting.
Reduce condensation by keeping your equipment in the bag while shooting your wedding or engagement session.
Keeping your lenses and extra accessories inside your equipment bag will help reduce any moisture damage coming from snow. It will also keep it away from your body and slippery, wet gloves while shooting.
Want to go even further? Add a few packs of silica gel inside of your camera bag. I’ve found the rechargeable Ruggard Desiccant Silica Gel Packs at B&H Photo to be useful. They can help preserve your gear, and you don’t have to through them out. You simply need to reheat them to recharge them.
Keeping packs of silica gel in your bag at all times is a good idea. This applies to any season or any location. Even a small amount of moisture will cause your equipment, especially metal contacts, to corrode faster.
Wrap it up, yo!
If you’re extra-cautious about your camera and gear, you can take the extra step of purchasing a camera-ready plastic bag to protect your camera. This will prevent snow from getting in the nooks and crannies while you lay on the ground getting an amazing shot.
Check out this inexpensive option from B&H Photo here. I’ve found these bags to be a little cumbersome while using gloves, however, they do protect your gear fairly well. If it’s not snowing, I simply leaving my camera “naked” and remain extra careful. If it’s snowing, however, these definitely come handy to keep my camera body and lens dry.
Don’t put your camera in your winter jacket.
If it’s cold or snowing, your first instinct will probably be to tuck your camera inside of your warm, cozy jacket. Don’t do it!
Why? When you take your camera out, it will be covered in moisture. Your lens will be foggy and you’ll be trying to wipe it away with your gloves. Which will complicate your situation even more.
The heat and moisture trapped inside of your jacket will immediately cause condensation to form on the outside of the camera. And fog your lens. Yuck.
The better option: leave your camera exposed to the cold and dry air. It’s OK! Just be careful.
Hang it around your neck and tilt it down. Or use that plastic bag I talked about before.
If you’re walking a longer distance, place it in your camera bag and carry it on your back. But don’t put it in your jacket.
Setting Expectations for Wedding & Engagement Clients Seeking to Photograph During the Winter
A major factor in maintaining happy clients is to under-promise, and over-deliver. Be honest and straightforward. Be yourself.
Winter photoshoots are a different animal. The ambient temperature is low. The climate is harsh. You are working with a more compressed timeframe due to light.
I often inform my clients that in harsh winter conditions our timeline may be shorter than other sessions. The bitter cold can seep into their bones, causing them to get super chilled. This can result in frigid-looking photos. Or, it may cause them to want to end the shoot sooner.
If they are on board with that, I often remind them that a few other factors can appear. Red noses, runny nostrils, watery eyes and cold appendages can lead to less-than-flattering profiles. These can, of course, be abated a bit by some editing.
If these issues are not a concern, then it’s game on. Winter photoshoots can provide to be some of the most unique, intimate and captivating of any type of photo session. Their friends and family are likely to say, “You did WHAT outside?!”
About Adam Shea Photography: A Wisconsin-Based Wedding Photography Business
Adam is a wedding photographer based out of Neenah, Wisconsin. He serves areas such as Green Bay, Appleton, Neenah, Menasha, Oshkosh and Door County and Fond du Lac.
He also travels across the state of Wisconsin and abroad for destination weddings. He focuses on rich, vibrant photos which tell the story of his clients' wedding days.
When not photographing weddings, Adam also photographs engagements, corporate events, families, high school seniors, boudoir portraits, and professional headshots. Adam experiments with time-lapse astrophotography and loves to create short films as well. His main subjects are his two dynamic daughters at home.
Adam loves to roast coffee, fish and is active in the political scene. He strives for equality, fairness and compassion amongst all members of society.
Adam Shea started Adam Shea Photography in 2007 and his goal has remained simple: create timeless, beautiful images for couples. He focus on capturing real moments that are crisp, vibrant and beautiful.
